
About a year ago, I stumbled upon images of a modified Zeiss Contaflex Pro Tessar 4/115 lens, and its aesthetic instantly captivated me. While some collectors might acquire lenses purely for their visual appeal, my aim is always to use them with a camera – though I certainly appreciate a lens that’s also beautiful to look at. This led me to wonder: are these lenses, including the 3.2/35 and 3.2/85 versions I also obtained, actually any good? The short answer is a resounding YES! In my opinion, they absolutely are.
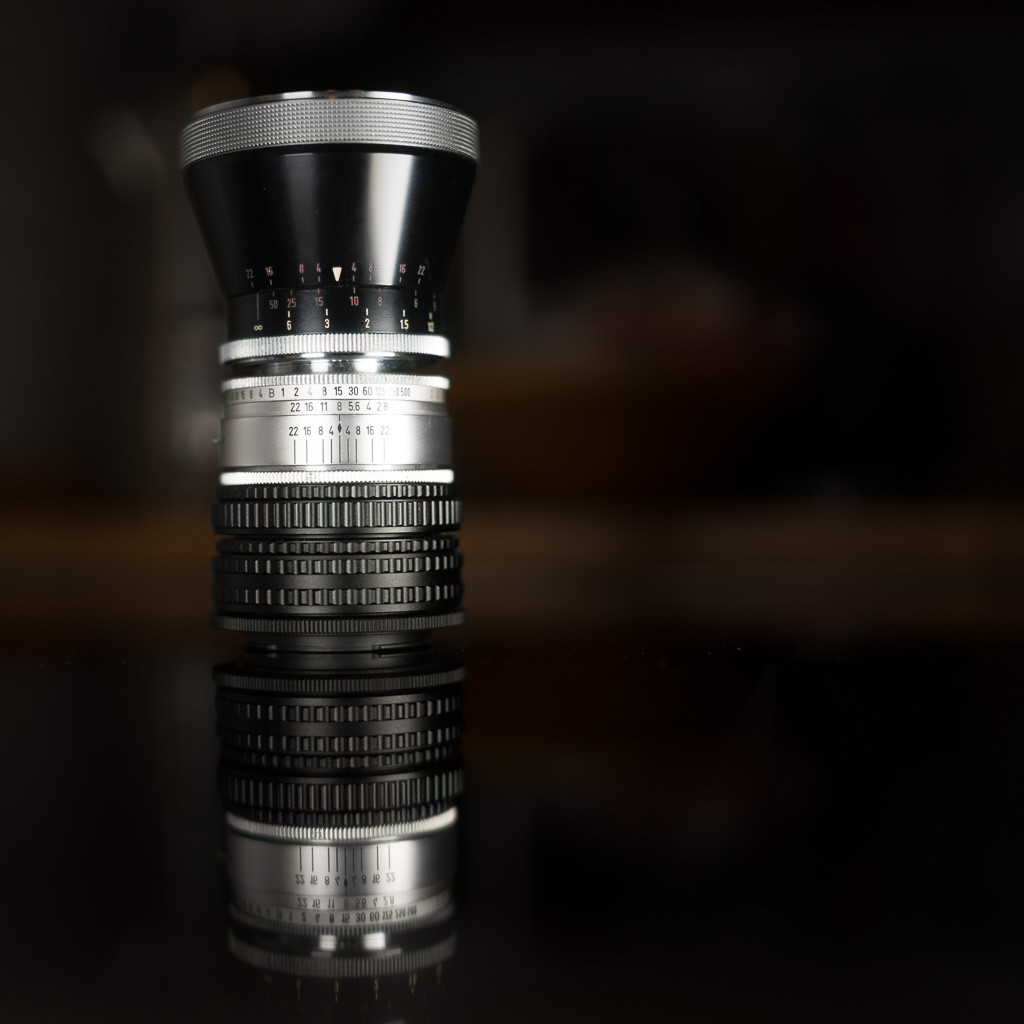 Adapted Contaflex Pro Tessar lens on M42 helicoid
Adapted vintage Contaflex Pro Tessar 4/115 lens mounted on a simple M42 focusing helicoid, showcasing its adaptable design and classic aesthetics.
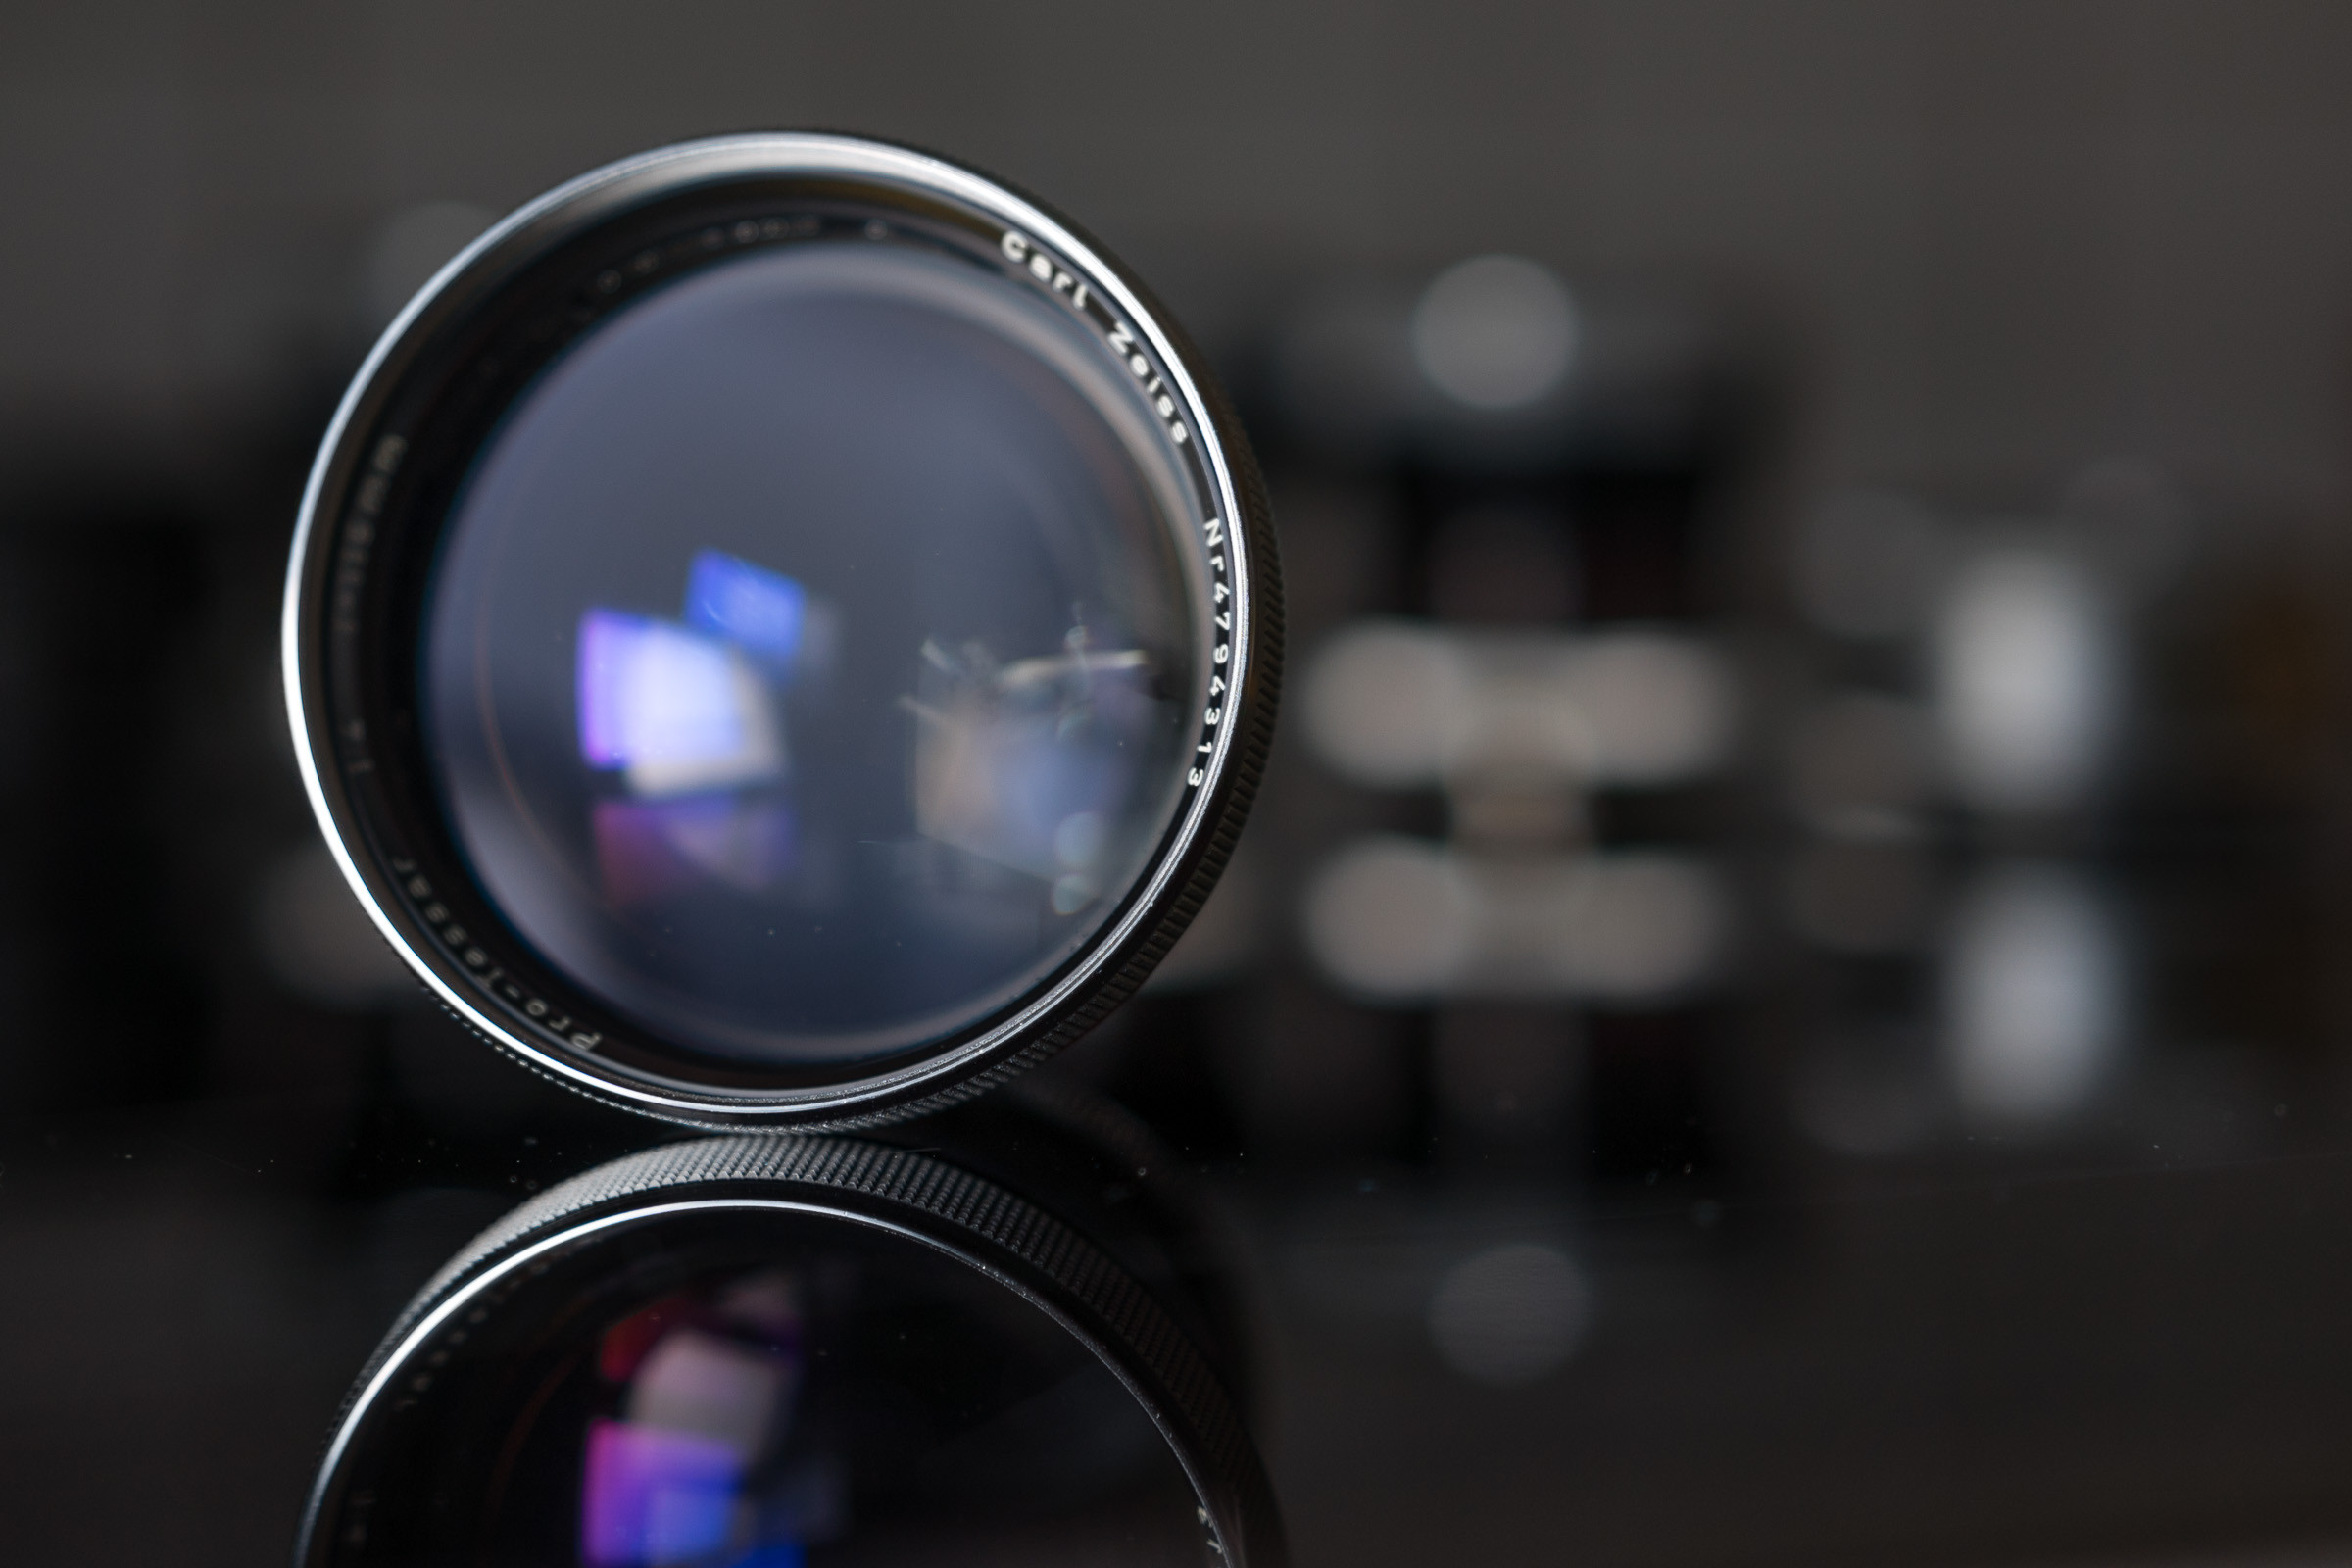 Zeiss Contaflex Pro Tessar 4 115 front element lens
Close-up of the front element of a Contaflex Pro Tessar 4/115 lens, highlighting the quality Zeiss optics.
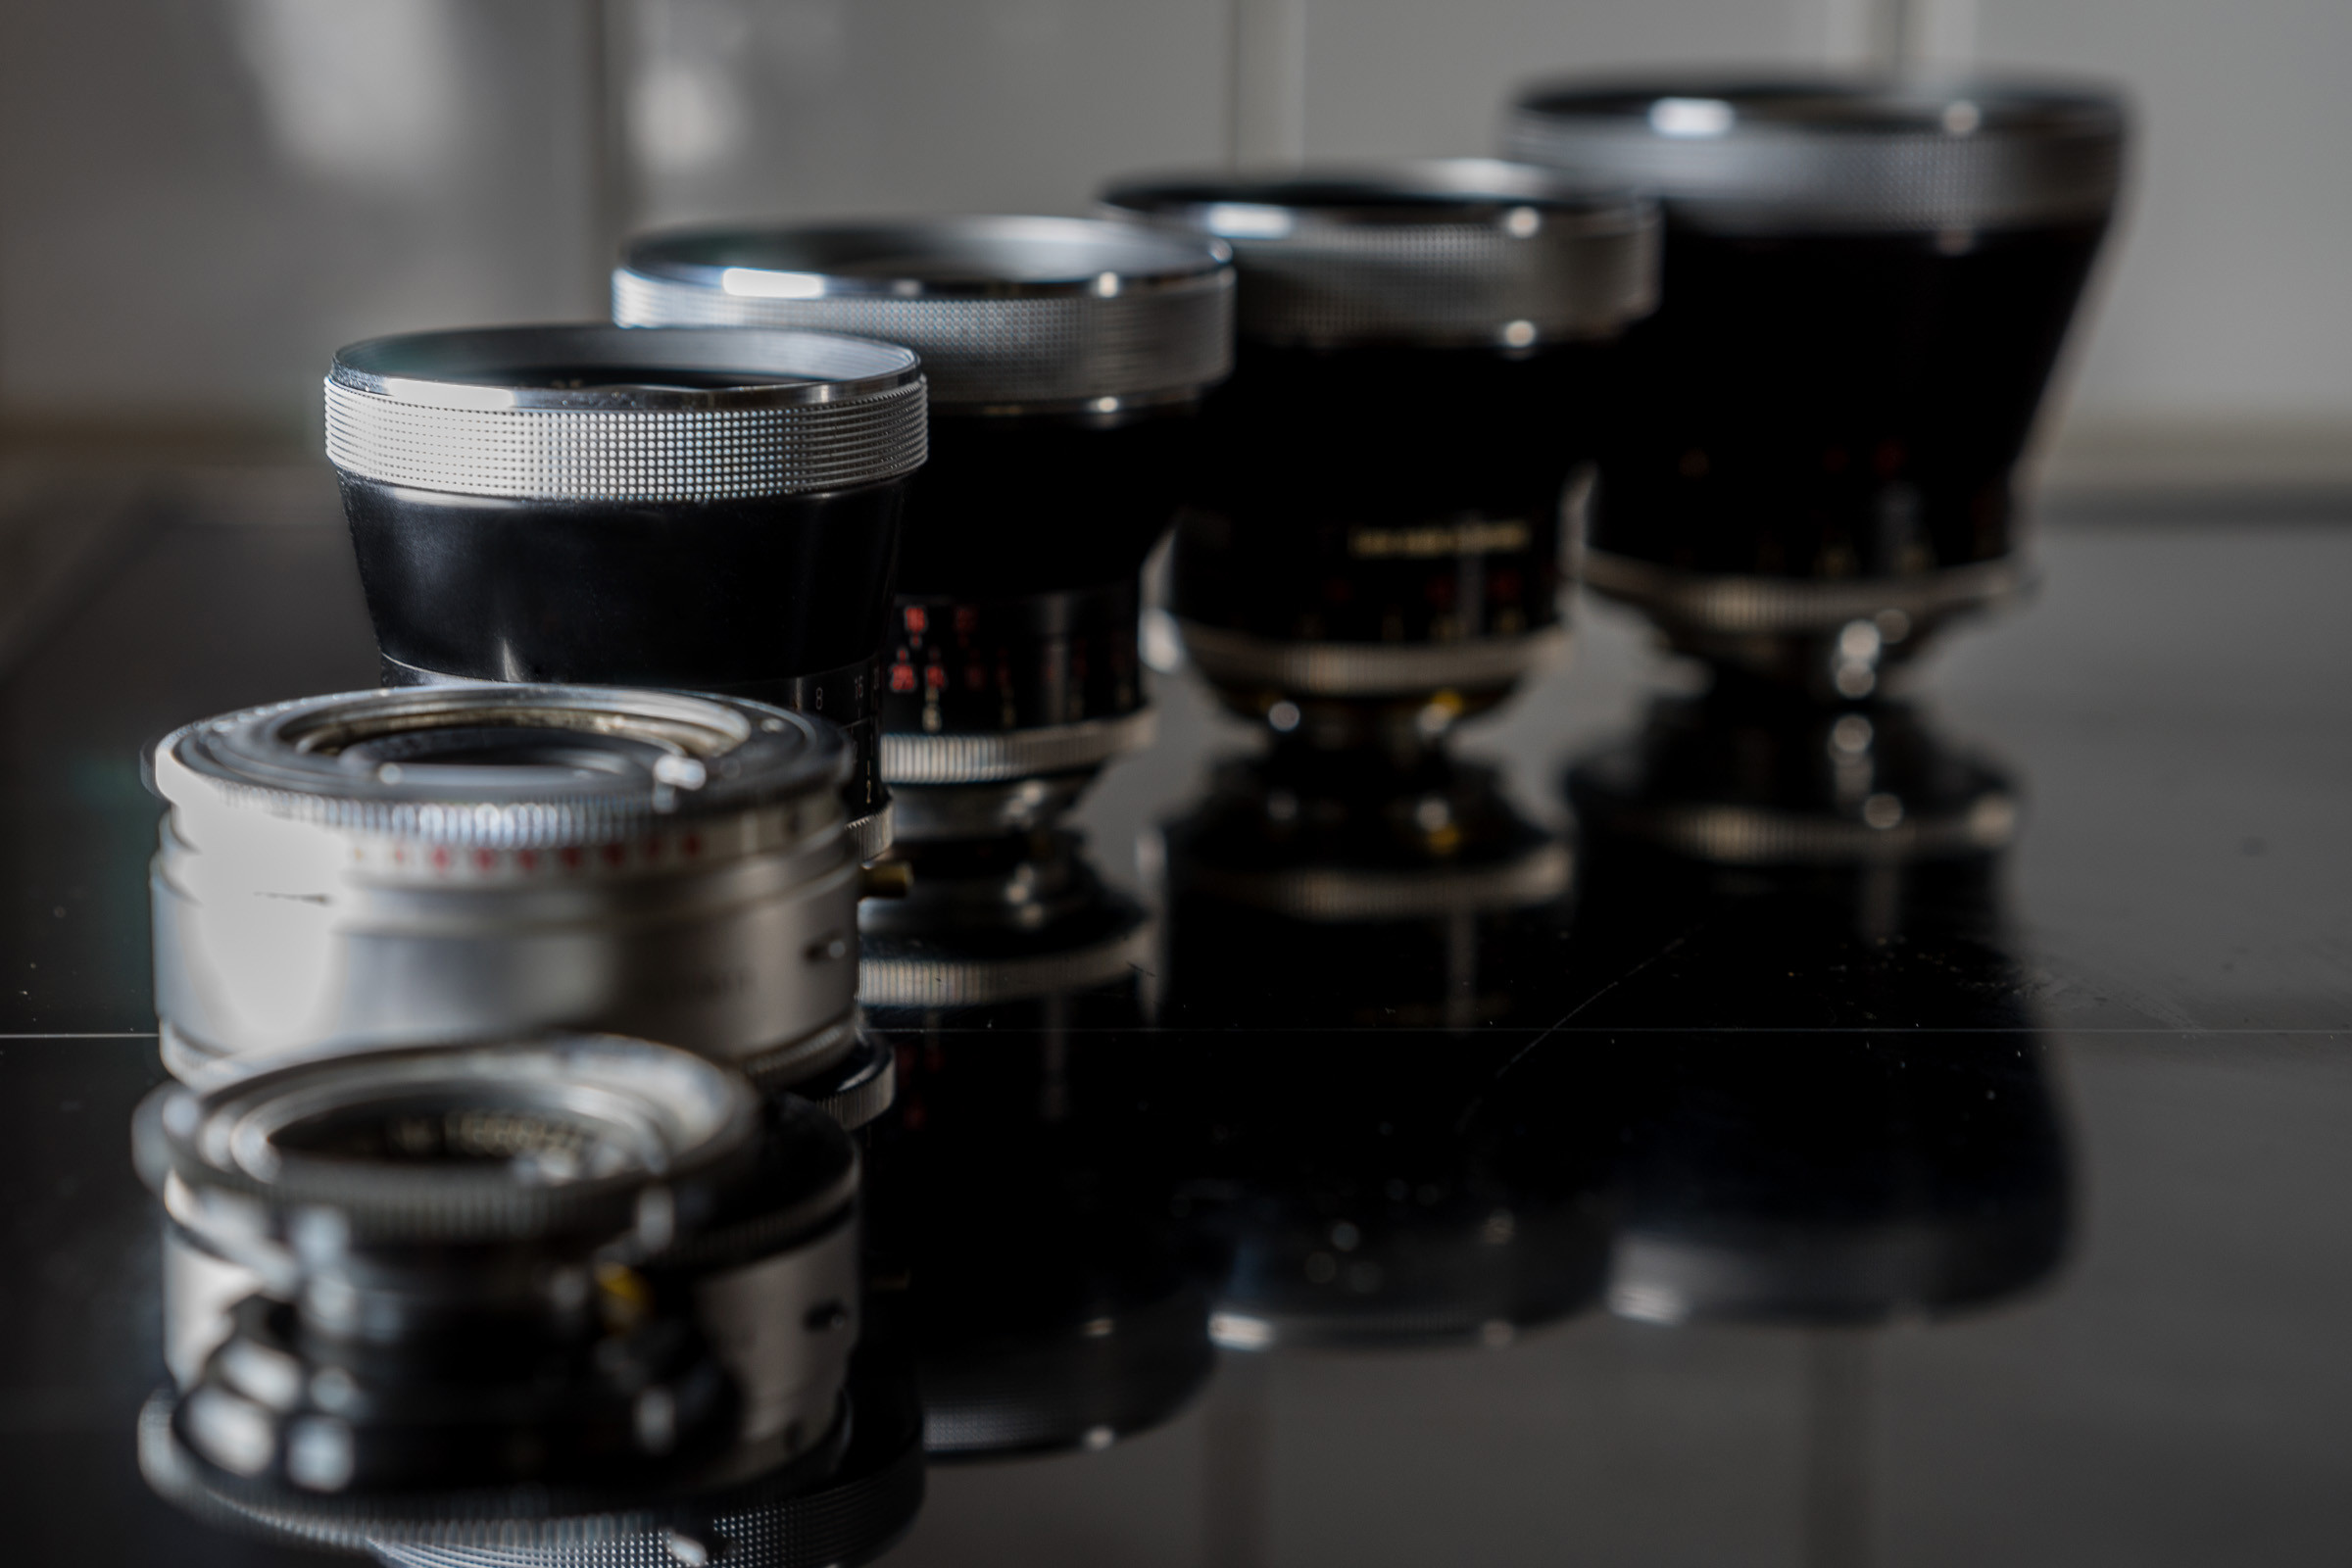 Zeiss Pro Tessar vintage lens family collection
A collection of vintage Pro Tessar lenses, including the 2.8/50, mount adapter, and various focal lengths such as the 3.2/35, 3.2/85, and 4/115, illustrating the Contaflex lens system.
Like any dedicated lens enthusiast, my initial discovery sent me straight to Google and eBay in search of my own Contaflex Pro Tessar. Within minutes, I managed to snag a bargain: a 4/115 along with a 3.2/35 for a mere 30 euros. The seller disclosed that the focusing mechanism was faulty, hence the low price. At the time, I thought, “No problem, I can easily work around that with a focusing helicoid.” However, I soon realized that my purchase wasn’t even intended to be a complete, focusable lens on its own. It was just the front element, essentially “half” a lens. This was when the complexity of adapting these lenses truly dawned on me. My partial lens was useless without the rear component that originally resided within the camera body.
The Contaflex system, starting with the Contaflex III in 1956, employed a unique two-part lens and shutter system. The rear lens element, focusing helicoid, aperture diaphragm, and shutter were all integrated into the camera body. Only the front lens elements were interchangeable. What I had acquired was just this interchangeable front element. Fortunately, vintage Contaflex camera bodies were readily available, many sold cheaply “as is” due to shutter malfunctions – not surprising for cameras reaching their 60th birthday. I picked up a Contaflex III (or possibly IV) body for another 15 euros. This model is crucial for a simpler adaptation process. The earlier Contaflex I and II models lack interchangeable front elements, and later models are likely more challenging to adapt, based on my experience and online guides, such as Leo Roos’s detailed but complex instructions here. So, for around 45 euros, or approximately 60 dollars at the time, I was set to begin my vintage lens adaptation journey. This small investment opened up a world of classic Zeiss optics without breaking the bank.
To make these lenses functional and adaptable to modern cameras, the rear lens component needs to be extracted from the Contaflex body. In my experience with the Contaflex III/IV, this was quite straightforward, mostly achievable with just a screwdriver. You essentially unscrew the lens mount assembly from the camera’s rear. Regrettably, I didn’t meticulously document the process with photos at the time, so I can’t provide a fully detailed step-by-step guide a year later. However, I’ll outline the key steps as best as I can recall.
After detaching the mount assembly (containing the shutter and rear lens element), the next hurdle is removing the shutter mechanism. If memory serves, this was also relatively simple in my case. The rear lens element was accessible without needing to delve deeper into the mount, easily unscrewing with a spanner wrench.
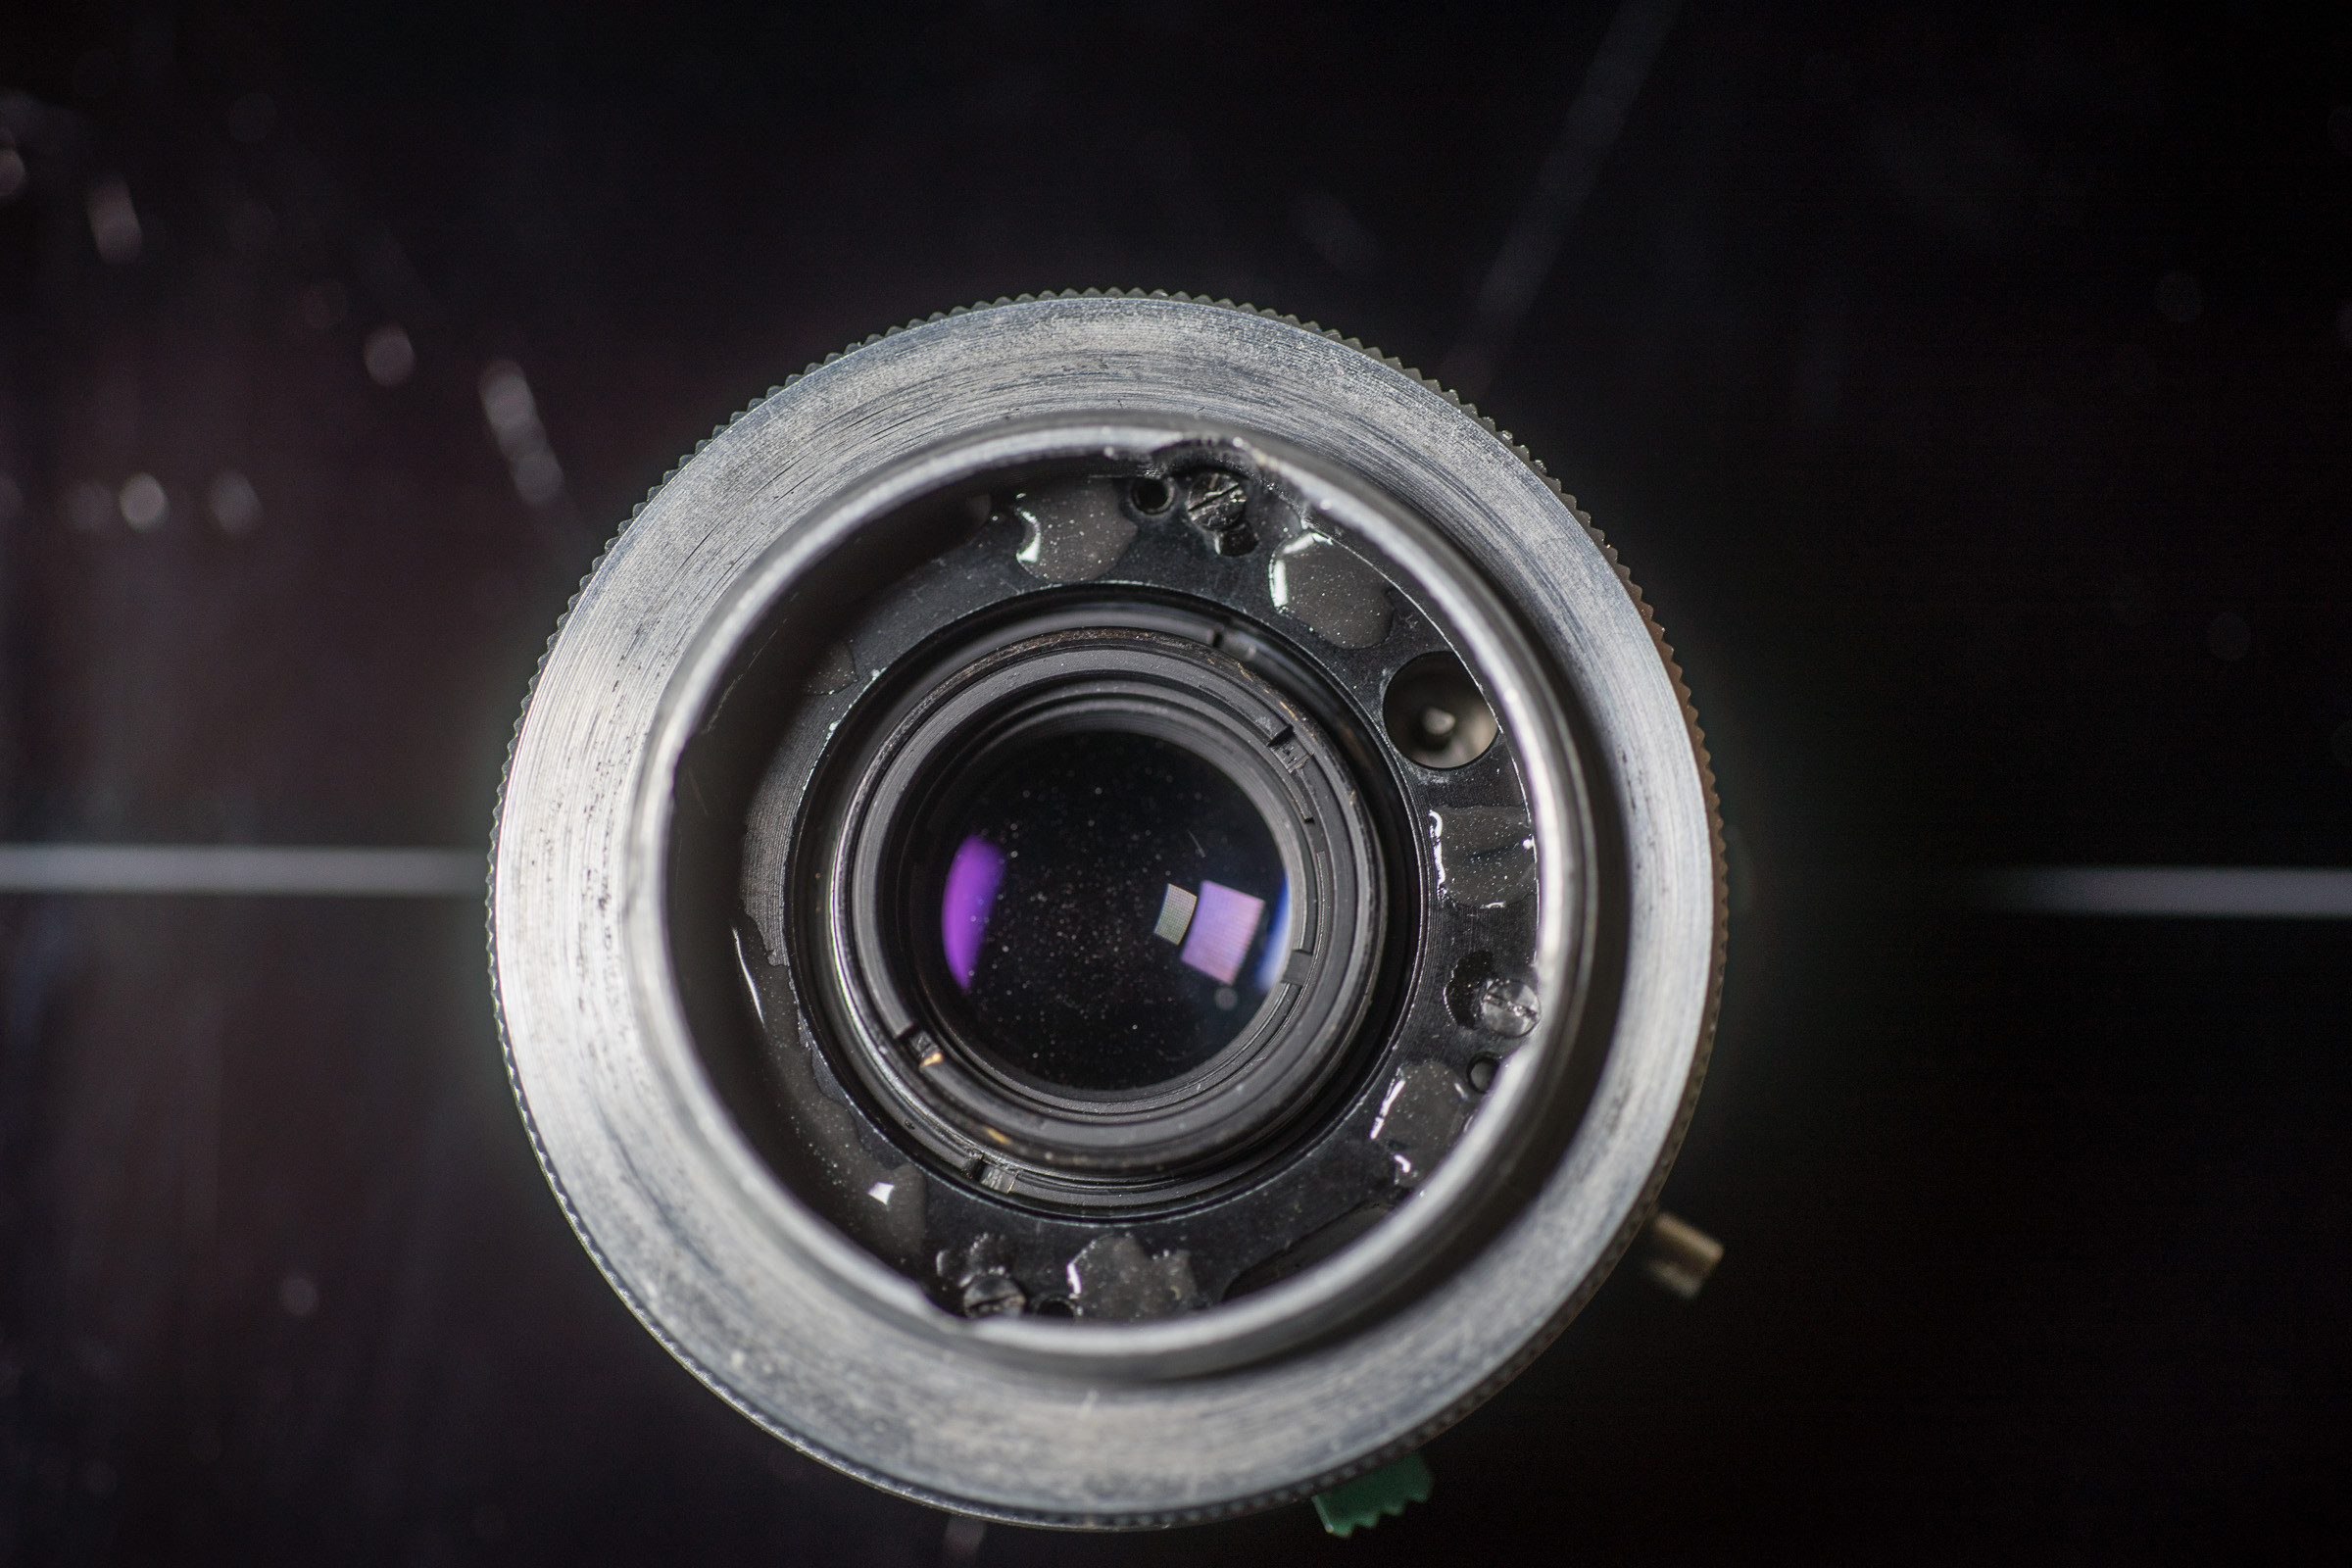 Accessible rear lens element of adapted lens
The rear of the lens adapter shows the accessible rear lens element, which can be easily removed with a spanner wrench to access the shutter leaves for removal.
With the aperture set wide open on the mount, the shutter leaves become accessible and can be carefully extracted using pliers. While perhaps not the most refined method, it’s quick, easy, and avoids disassembling the intricate lens/shutter unit. Exercise caution to avoid damaging the aperture blades during this step.
The subsequent challenge is attaching the Contaflex mount to a focusing helicoid. Again, I opted for simplicity: glue. I used an M42 to M46 macro reverse ring, which fit into my M42 helicoid and snugly into the Contaflex mount. I’ve since learned that an M42 to M52 ring might be even better, allowing it to fit over the mount’s exterior. A precise fit of the ring is crucial for centering the mount correctly. Ensure the ring rests flush against the mount, without any screws obstructing the contact. I had to file down a section of my ring to achieve a perfect fit, as illustrated in the image above.
Next, I glued the macro ring to the mount using a two-part epoxy, being careful to prevent any glue from seeping into the mount’s internal mechanisms through small openings. Once the adhesive cured, my lens adapter was ready for use. I attached my M42 helicoid and an M42-NEX adapter, and I was ready to shoot.
 Macro inversion ring glued to lens mount
Close-up of the macro inversion ring securely glued to the Contaflex lens mount, demonstrating a DIY adaptation technique.
If my straightforward approach doesn’t appeal to you, consider Leo Roos’s more intricate adaptation method mentioned earlier. While exploring adaptation techniques, take a moment to appreciate the images he captured with the 4/115 Pro Tessar; they’re truly inspiring. For German speakers, Dieter’s (Ulganapi’s) guide on the German Digicamclub is another valuable resource here. Additionally, this blog offers a review and numerous sample images.
Once you’ve successfully created an adapter, you unlock the potential of several fascinating lenses. The Contaflex mount typically comes with a Pro Tessar 1:2.8/50 front element, which can be interchanged with other common front elements:
- 4/35 and 3.2/35 (I possess two distinct versions of the 3.2/35)
- 4/85 and 3.2/85
- 4/115
- 1:1 Macro 50mm (f/5.6)
For those wishing to fully immerse themselves in the Contaflex lens system, even more specialized front elements exist, including:
- Steritar (for creating stereo images, specifically version “813” or B for Contaflex III, IV, and later mounts)
- Close-up Steritar (for stereo macro photography)
- Monocular 8x30B (a 400mm telescope lens that can be used as a front element).
Performance:
Based on my experience using these lenses on a Sony A7 camera, here are some general observations about the 4/115, 3.2/85, and 3.2/35 lenses (my 2.8/50 is unfortunately unusable due to severe damage):
- They render beautifully saturated colors, even without post-processing. The color rendition wide open is noticeably different from when stopped down, yet both are appealing in a distinctively “vintage” way.
- They exhibit surprisingly good micro-contrast for their age, often requiring minimal or no post-processing adjustments.
- Wide open, they produce a dreamy, ethereal look, particularly at close focusing distances.
- Center sharpness is excellent even wide open, becoming exceptionally sharp when slightly stopped down, especially at closer ranges.
- They deliver a unique vintage bokeh, which can also be remarkably smooth depending on the subject distance and background.
- Chromatic aberration (CA) is remarkably well-controlled. In my images, I’ve found virtually no CA at normal viewing sizes. Minor lateral CA might be visible near the image borders at 100% magnification, such as on tree branches against a bright sky. This is a particularly impressive characteristic I’ve come to appreciate.
- To achieve optimal performance towards the edges and corners, these lenses need to be stopped down considerably. This characteristic can be advantageous if you desire soft corners, but they are not ideal for landscape or architectural photography unless you can stop down to f/11 or use a camera with an APS-C or smaller sensor.
- These qualities (and limitations) make them exceptionally well-suited for portraiture (people, flowers, insects) and creative “city bokeh” shots. I also find they possess a strong sense of three-dimensionality in images.
Samples
Here are some sample images captured around my local area. Unless explicitly stated, these images are essentially unprocessed. Being shot in RAW format, they were imported into Lightroom and exported with only the following minimal adjustments:
- Minor exposure adjustments (using the basic exposure slider only, without individual shadow or highlight adjustments in most cases).
- No sharpening or any other image manipulation.
- No adjustments to clarity, contrast, or color.
- Some images are slightly cropped to correct perspective or refine composition.
- Butterfly images are heavily cropped, shown close to 100% view to demonstrate lens sharpness, with no sharpening or clarity adjustments applied.
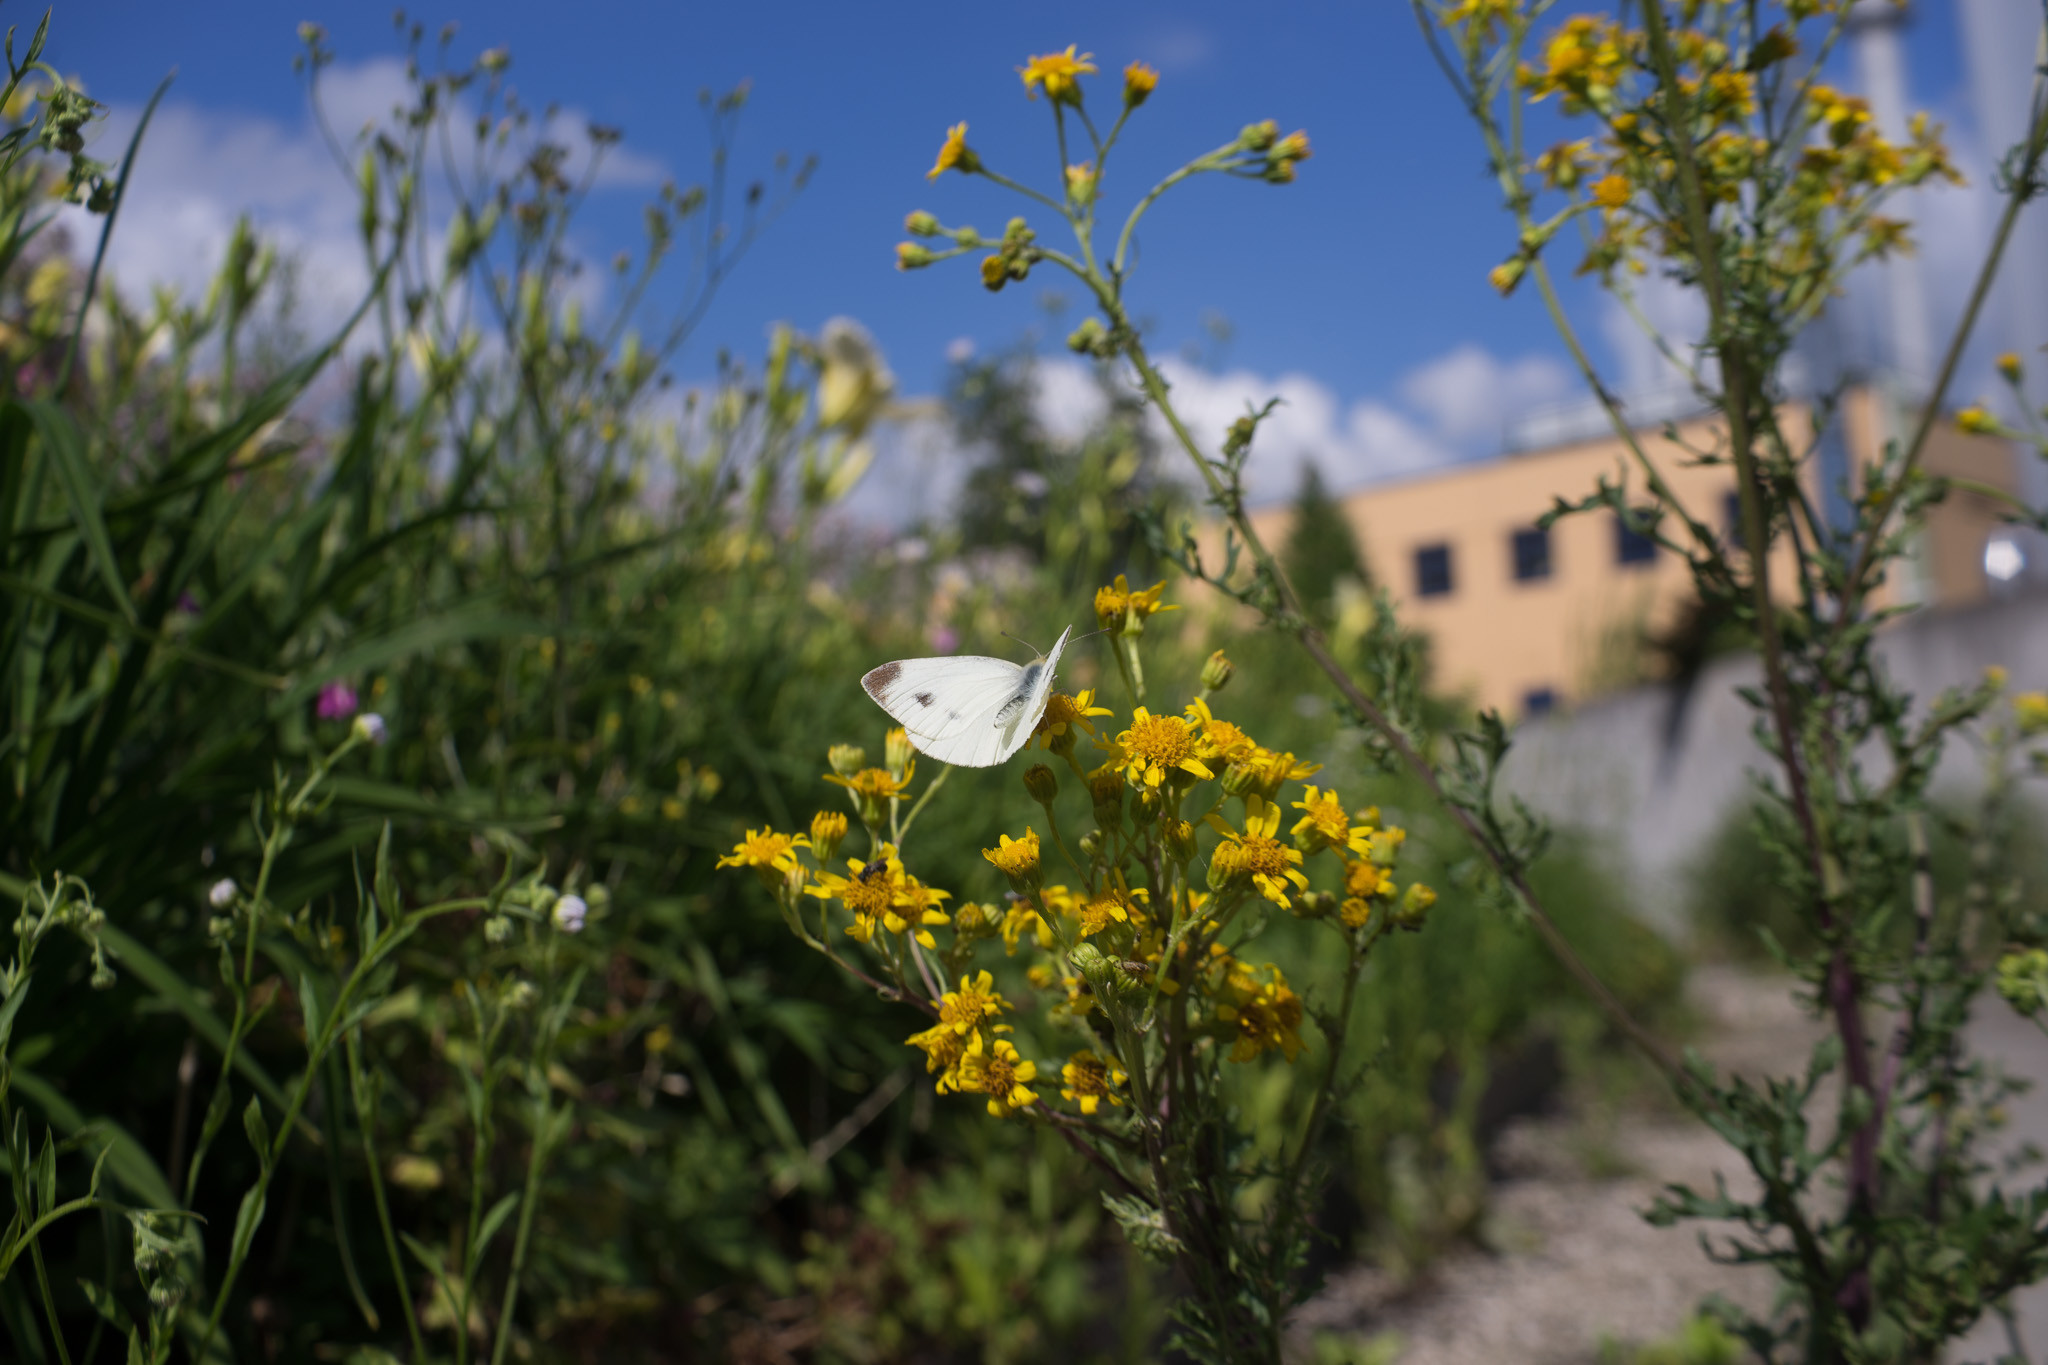
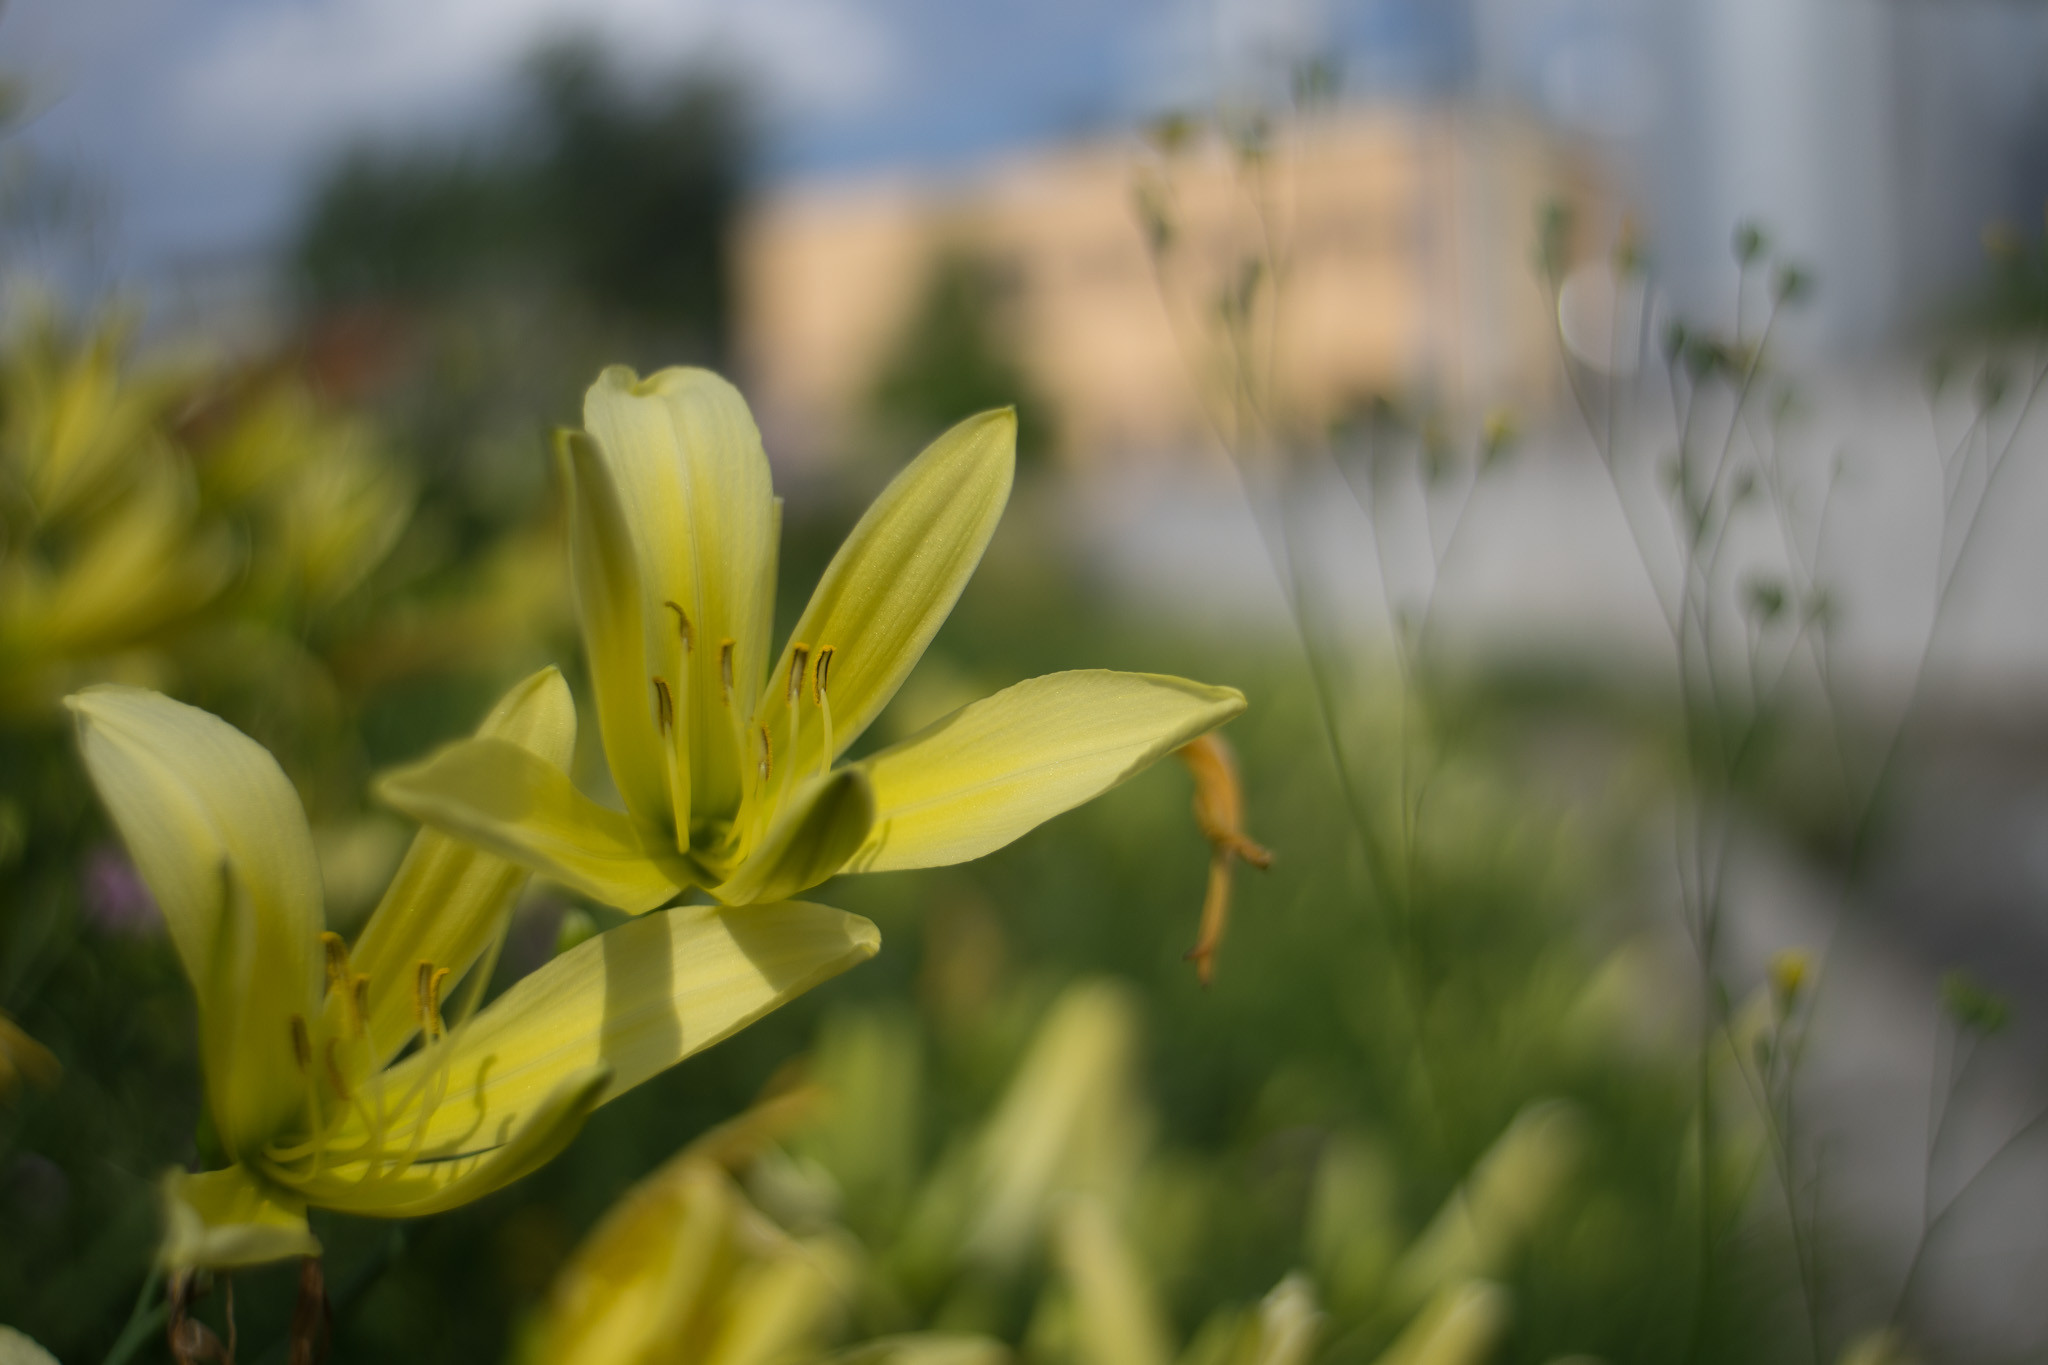
3.2/35 (small, older version):
 Vintage Zeiss 35mm lens sample image
 Zeiss 35mm lens wide open sample image
 Zeiss 35mm lens stopped down sample image
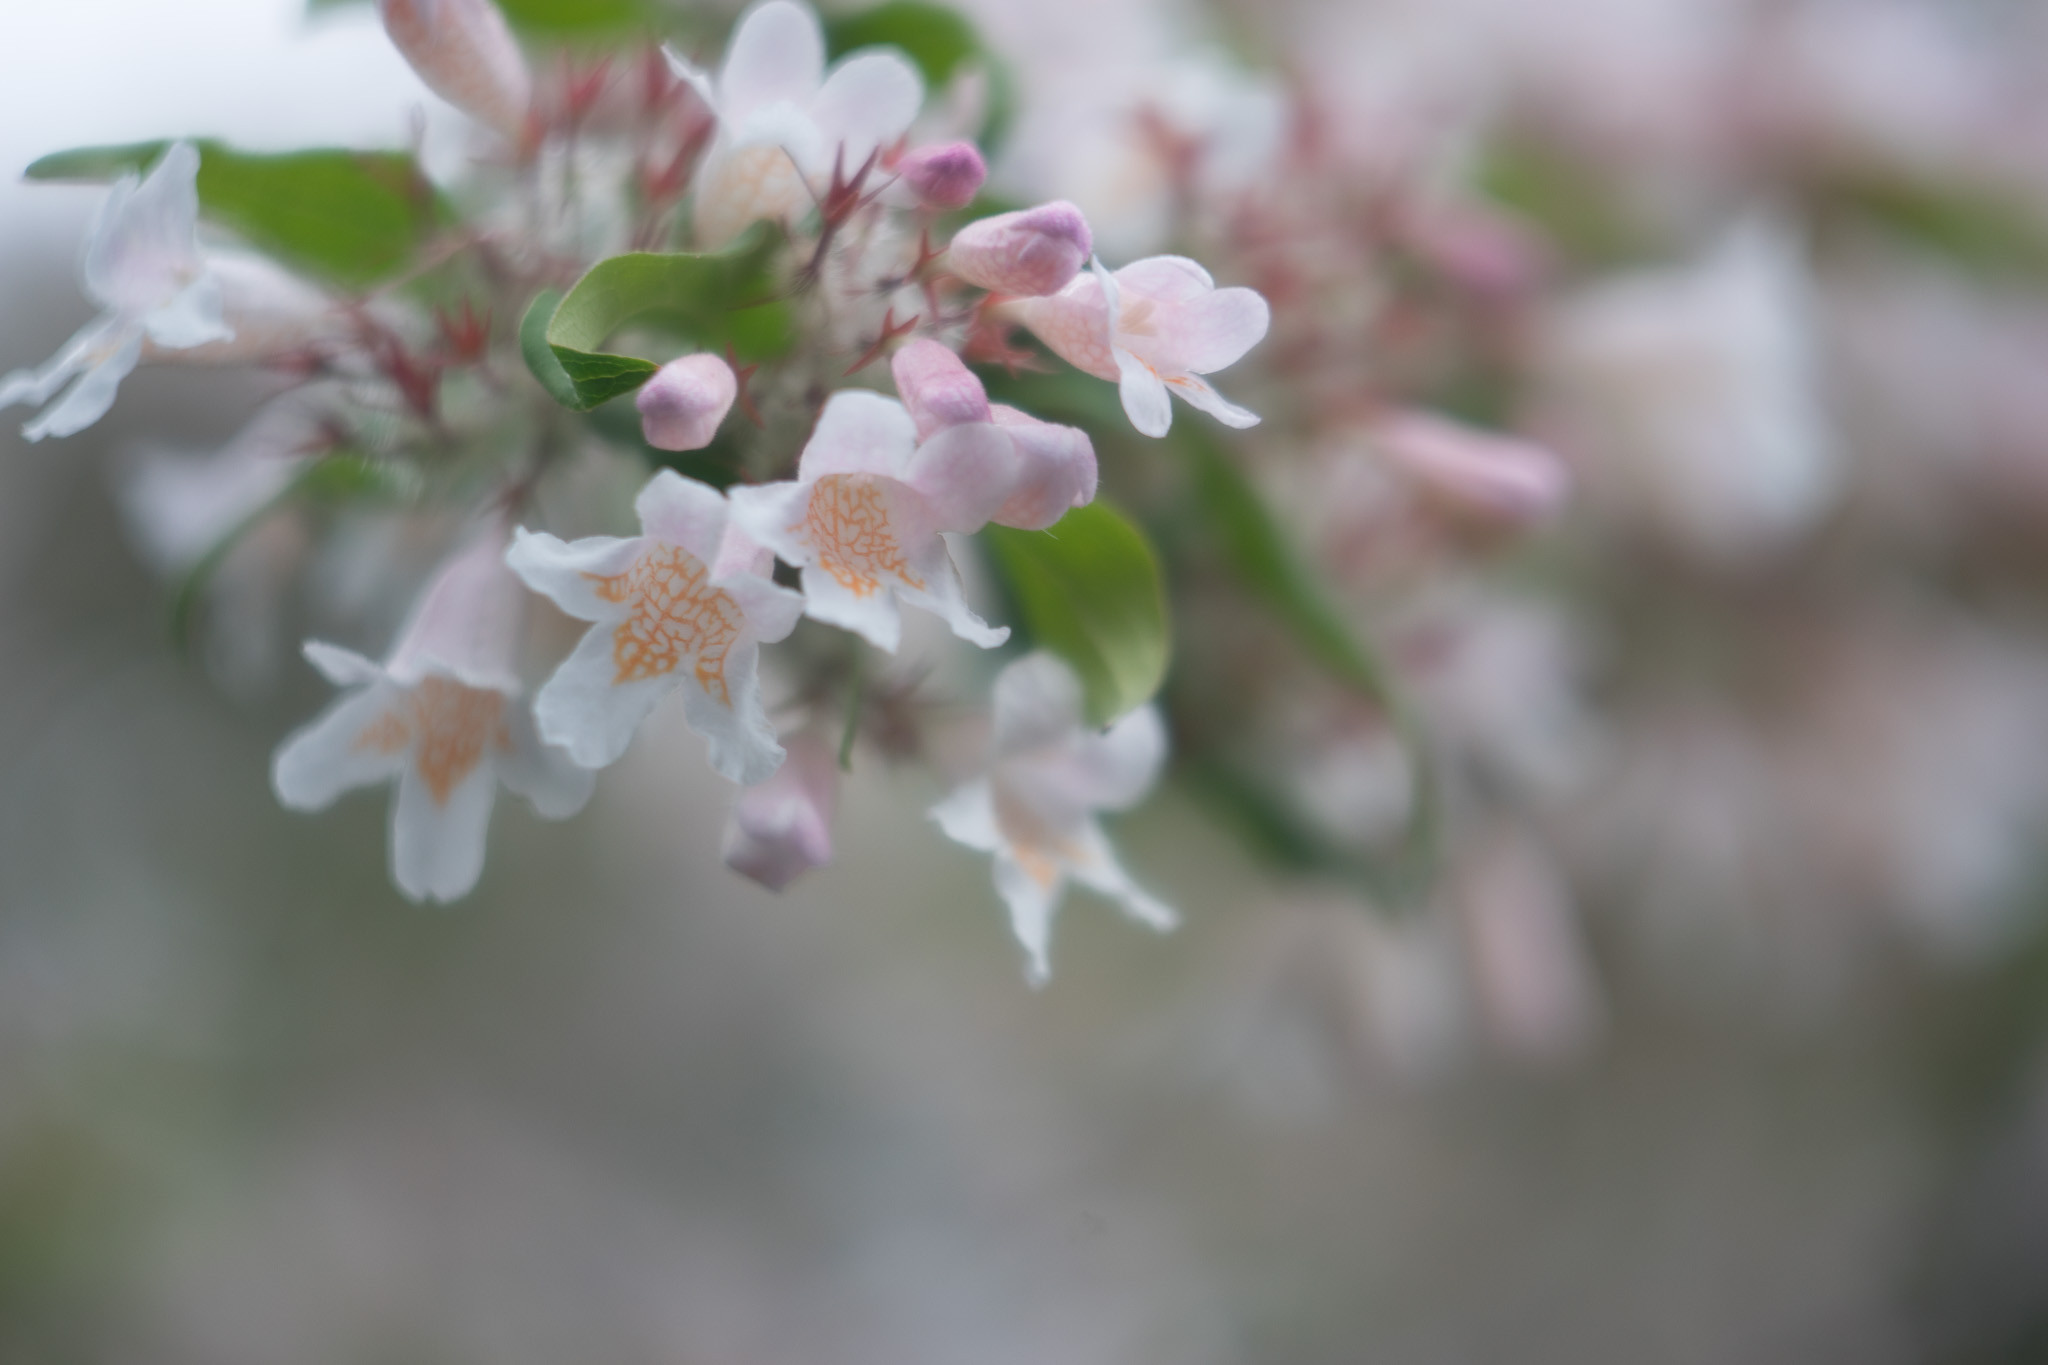
 Zeiss 35mm vintage lens outdoor sample
 Zeiss 35mm lens open aperture sample image
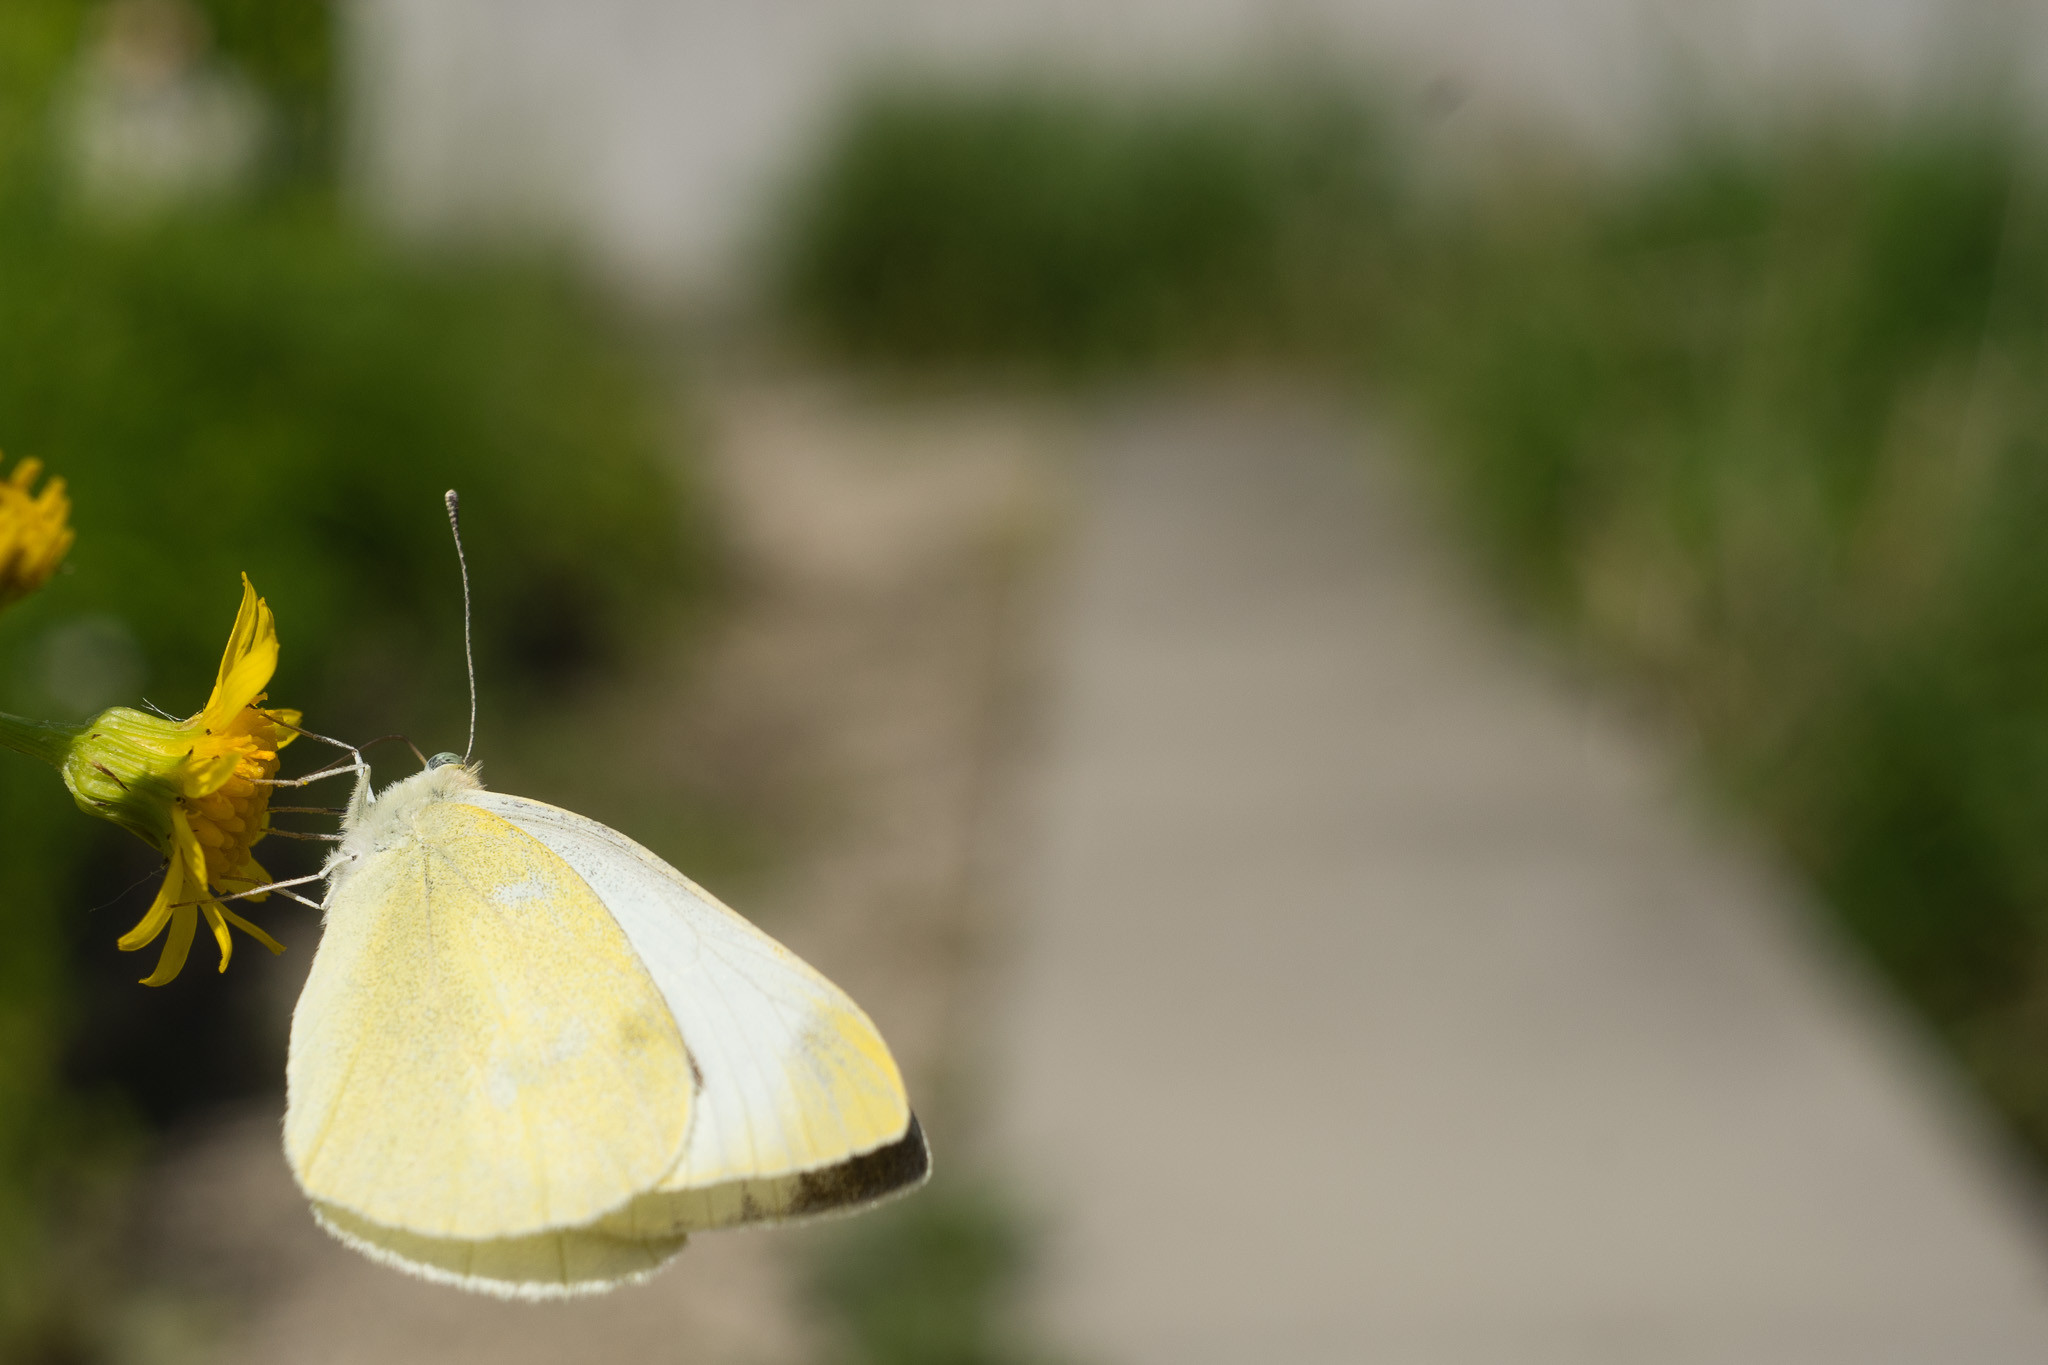
Strongly Cropped Samples (3.2/35 small, older):
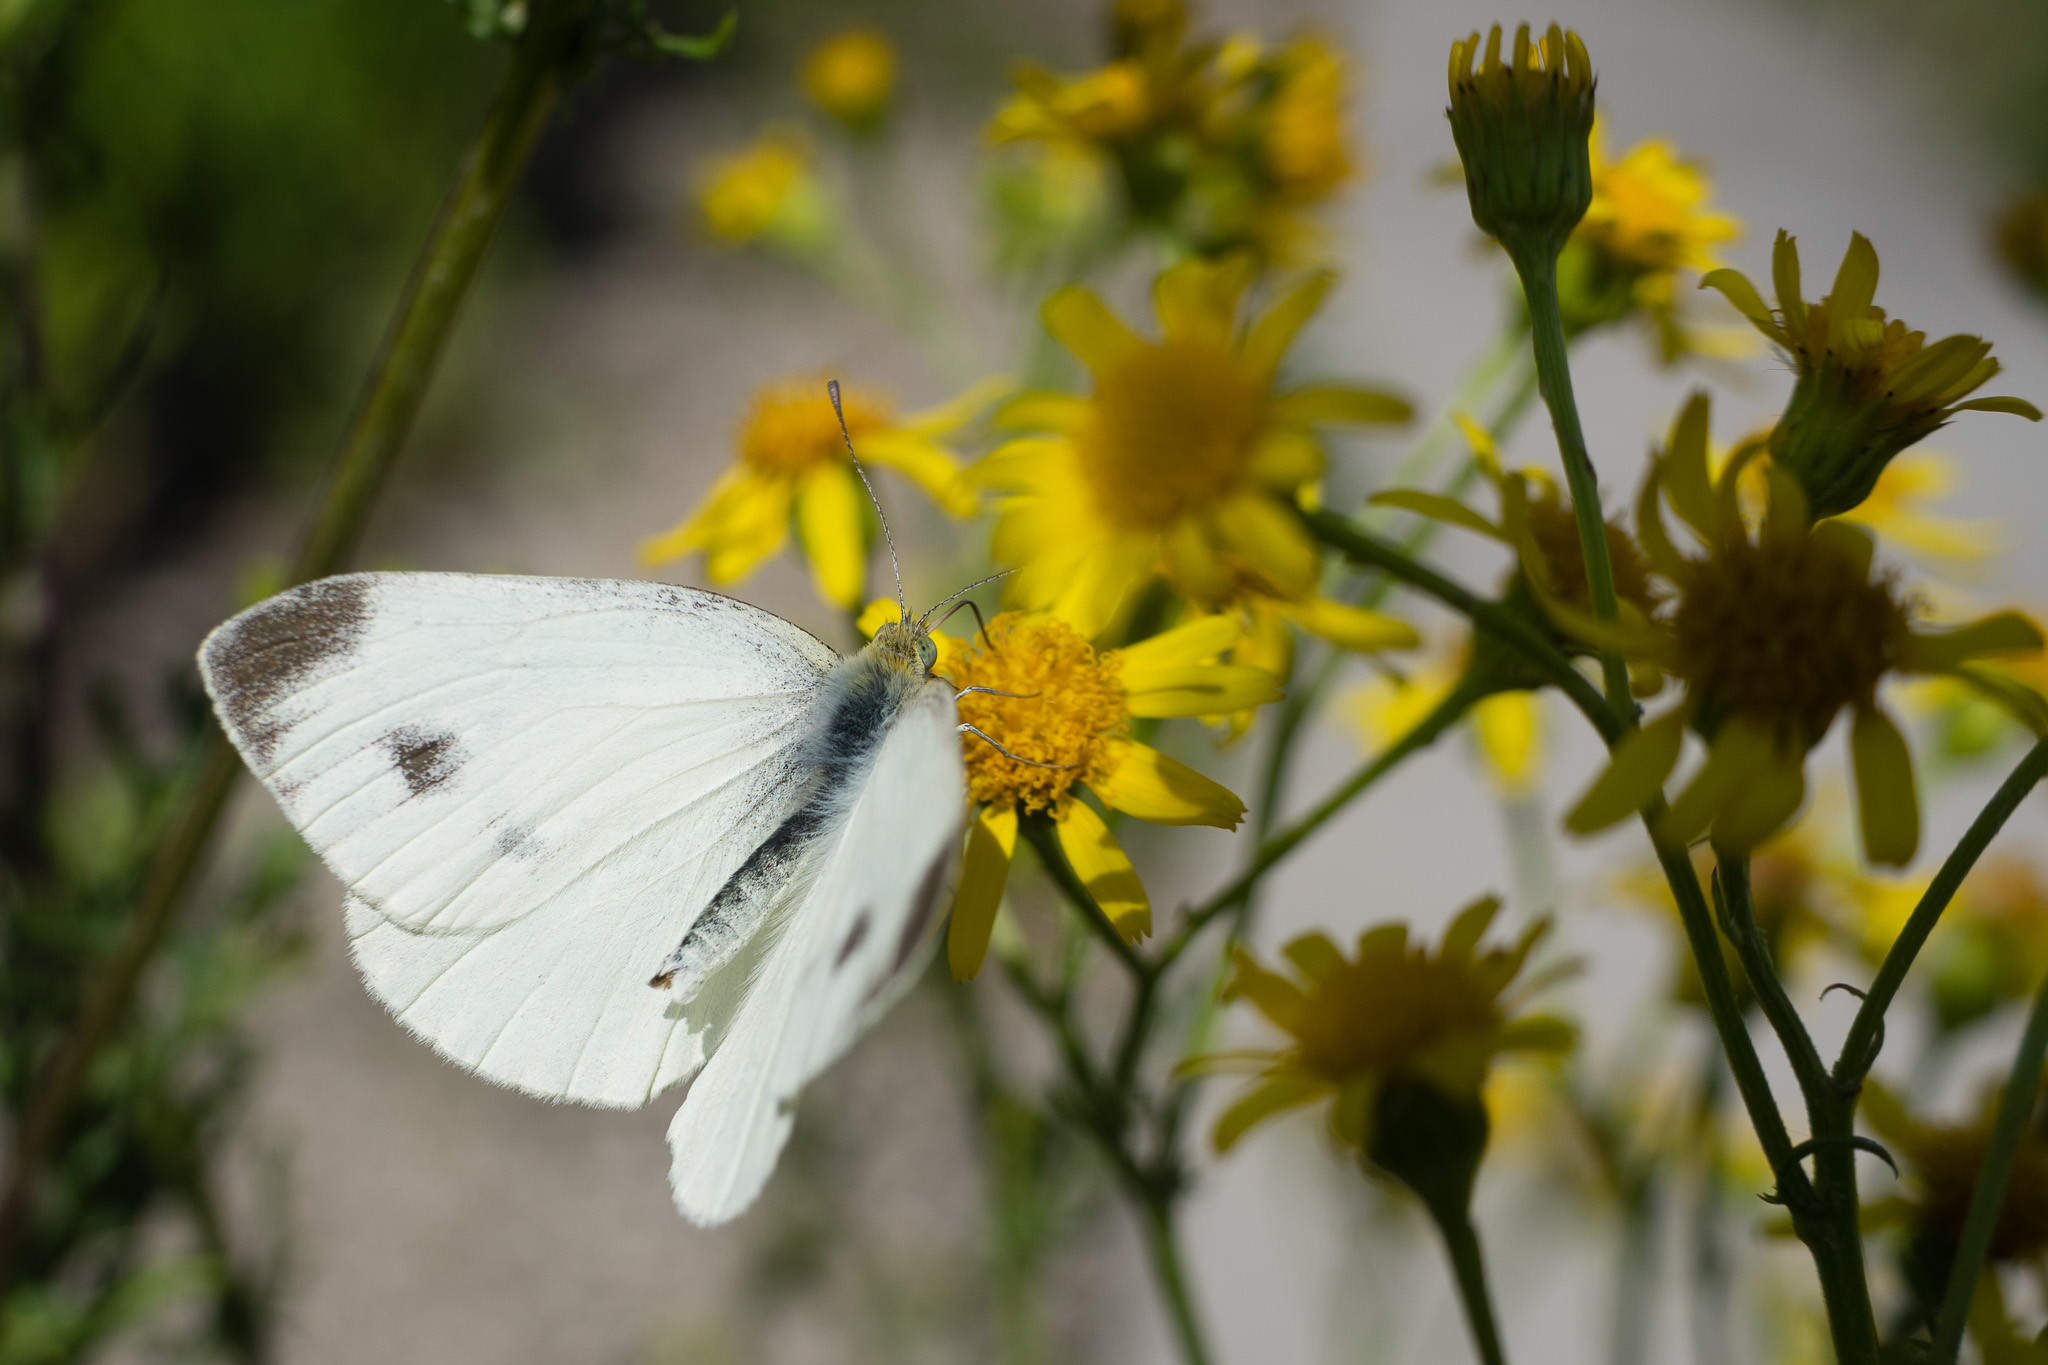 Cropped Zeiss lens sample butterfly image
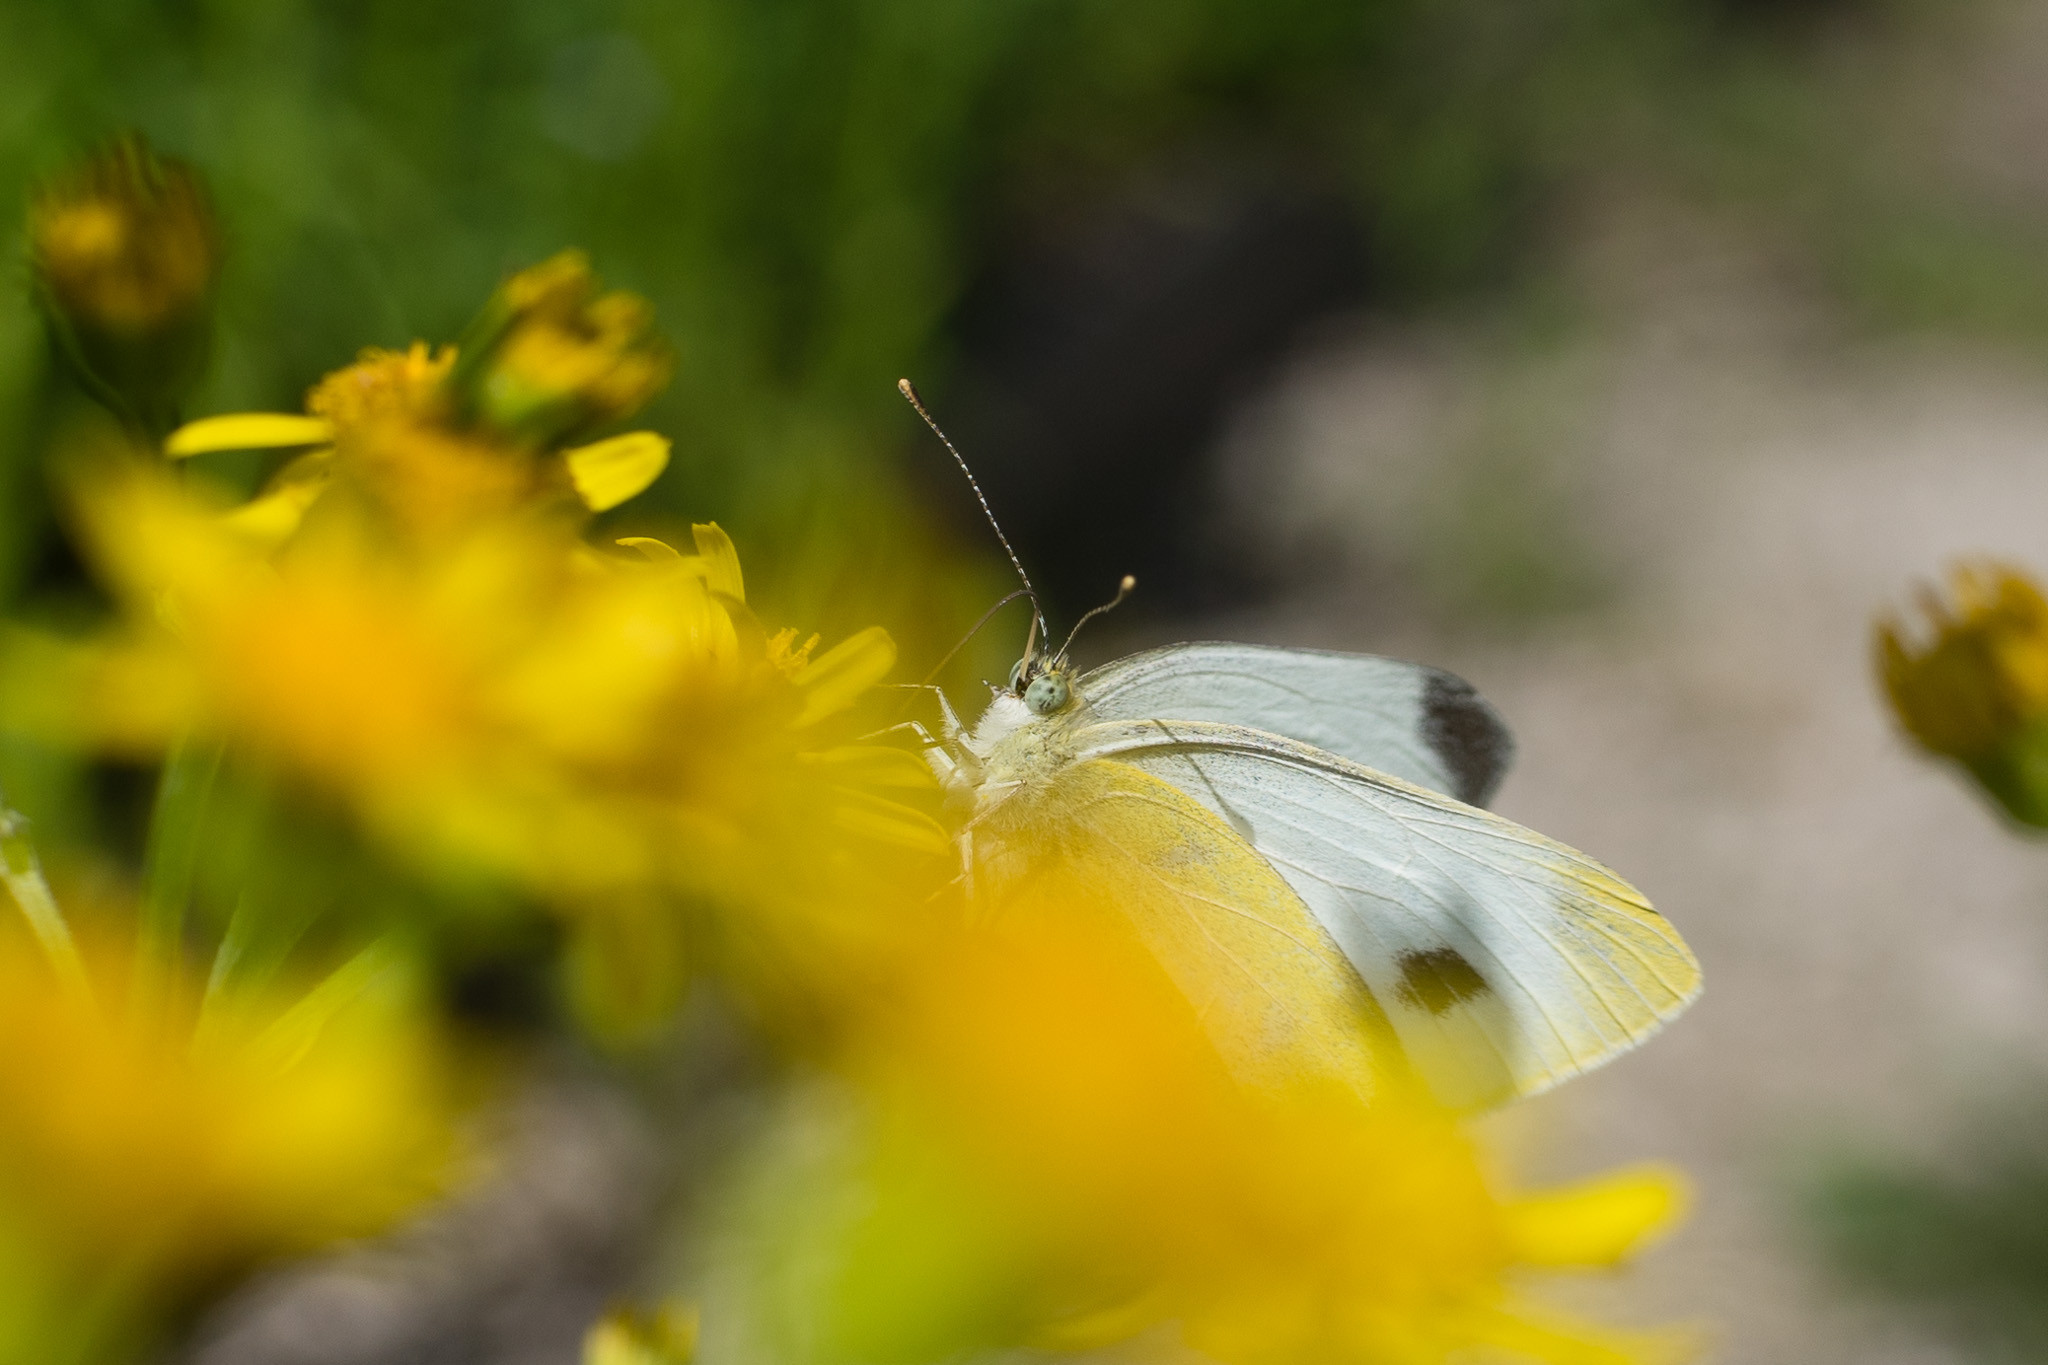 Sharpness sample cropped Zeiss lens image
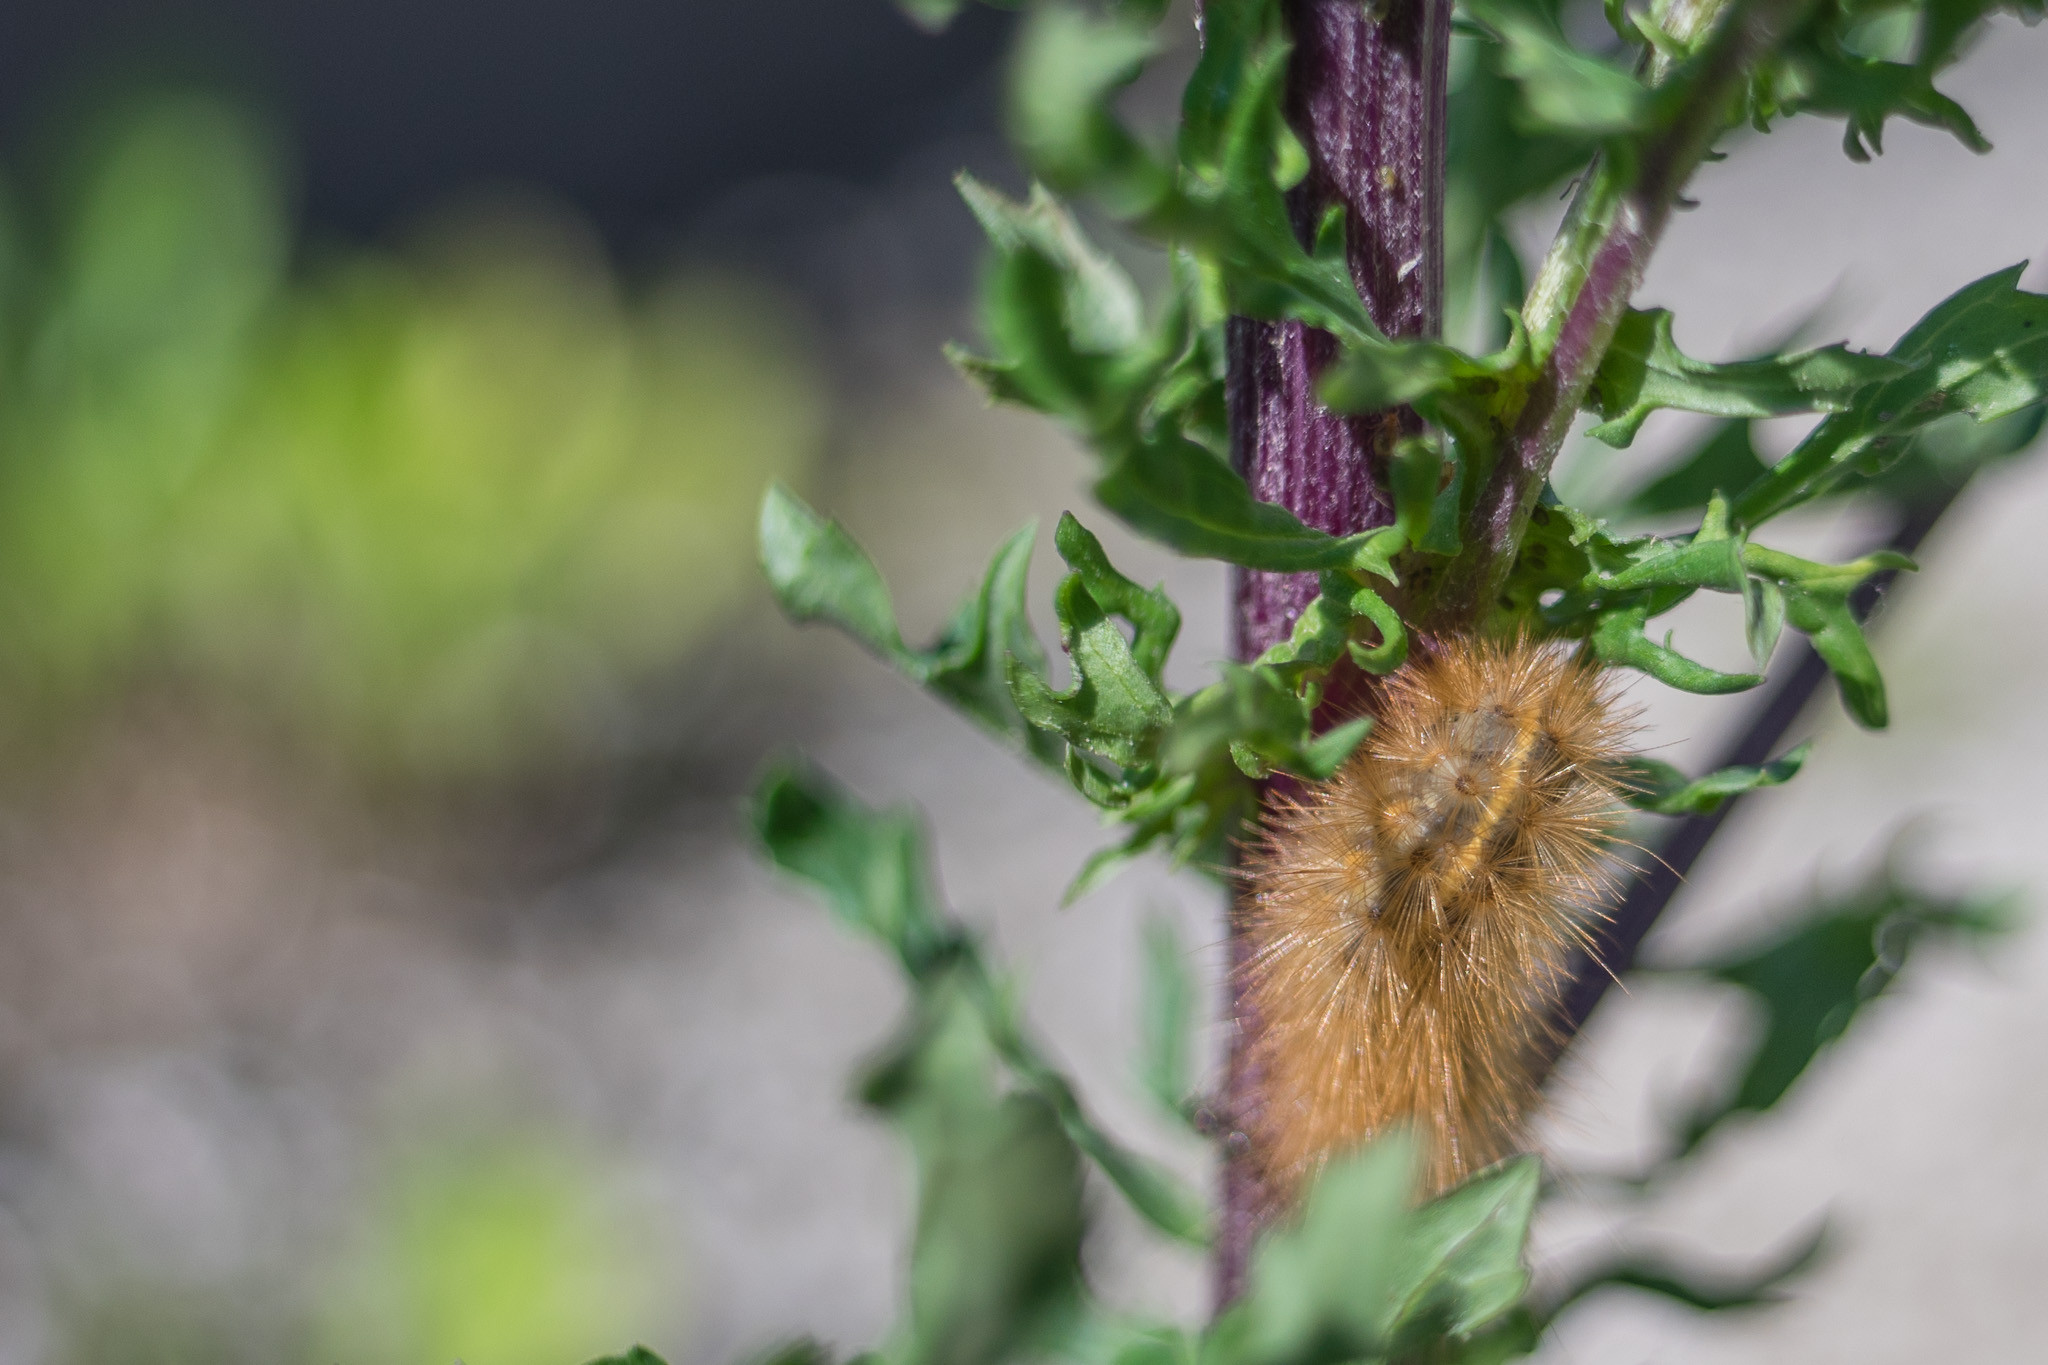
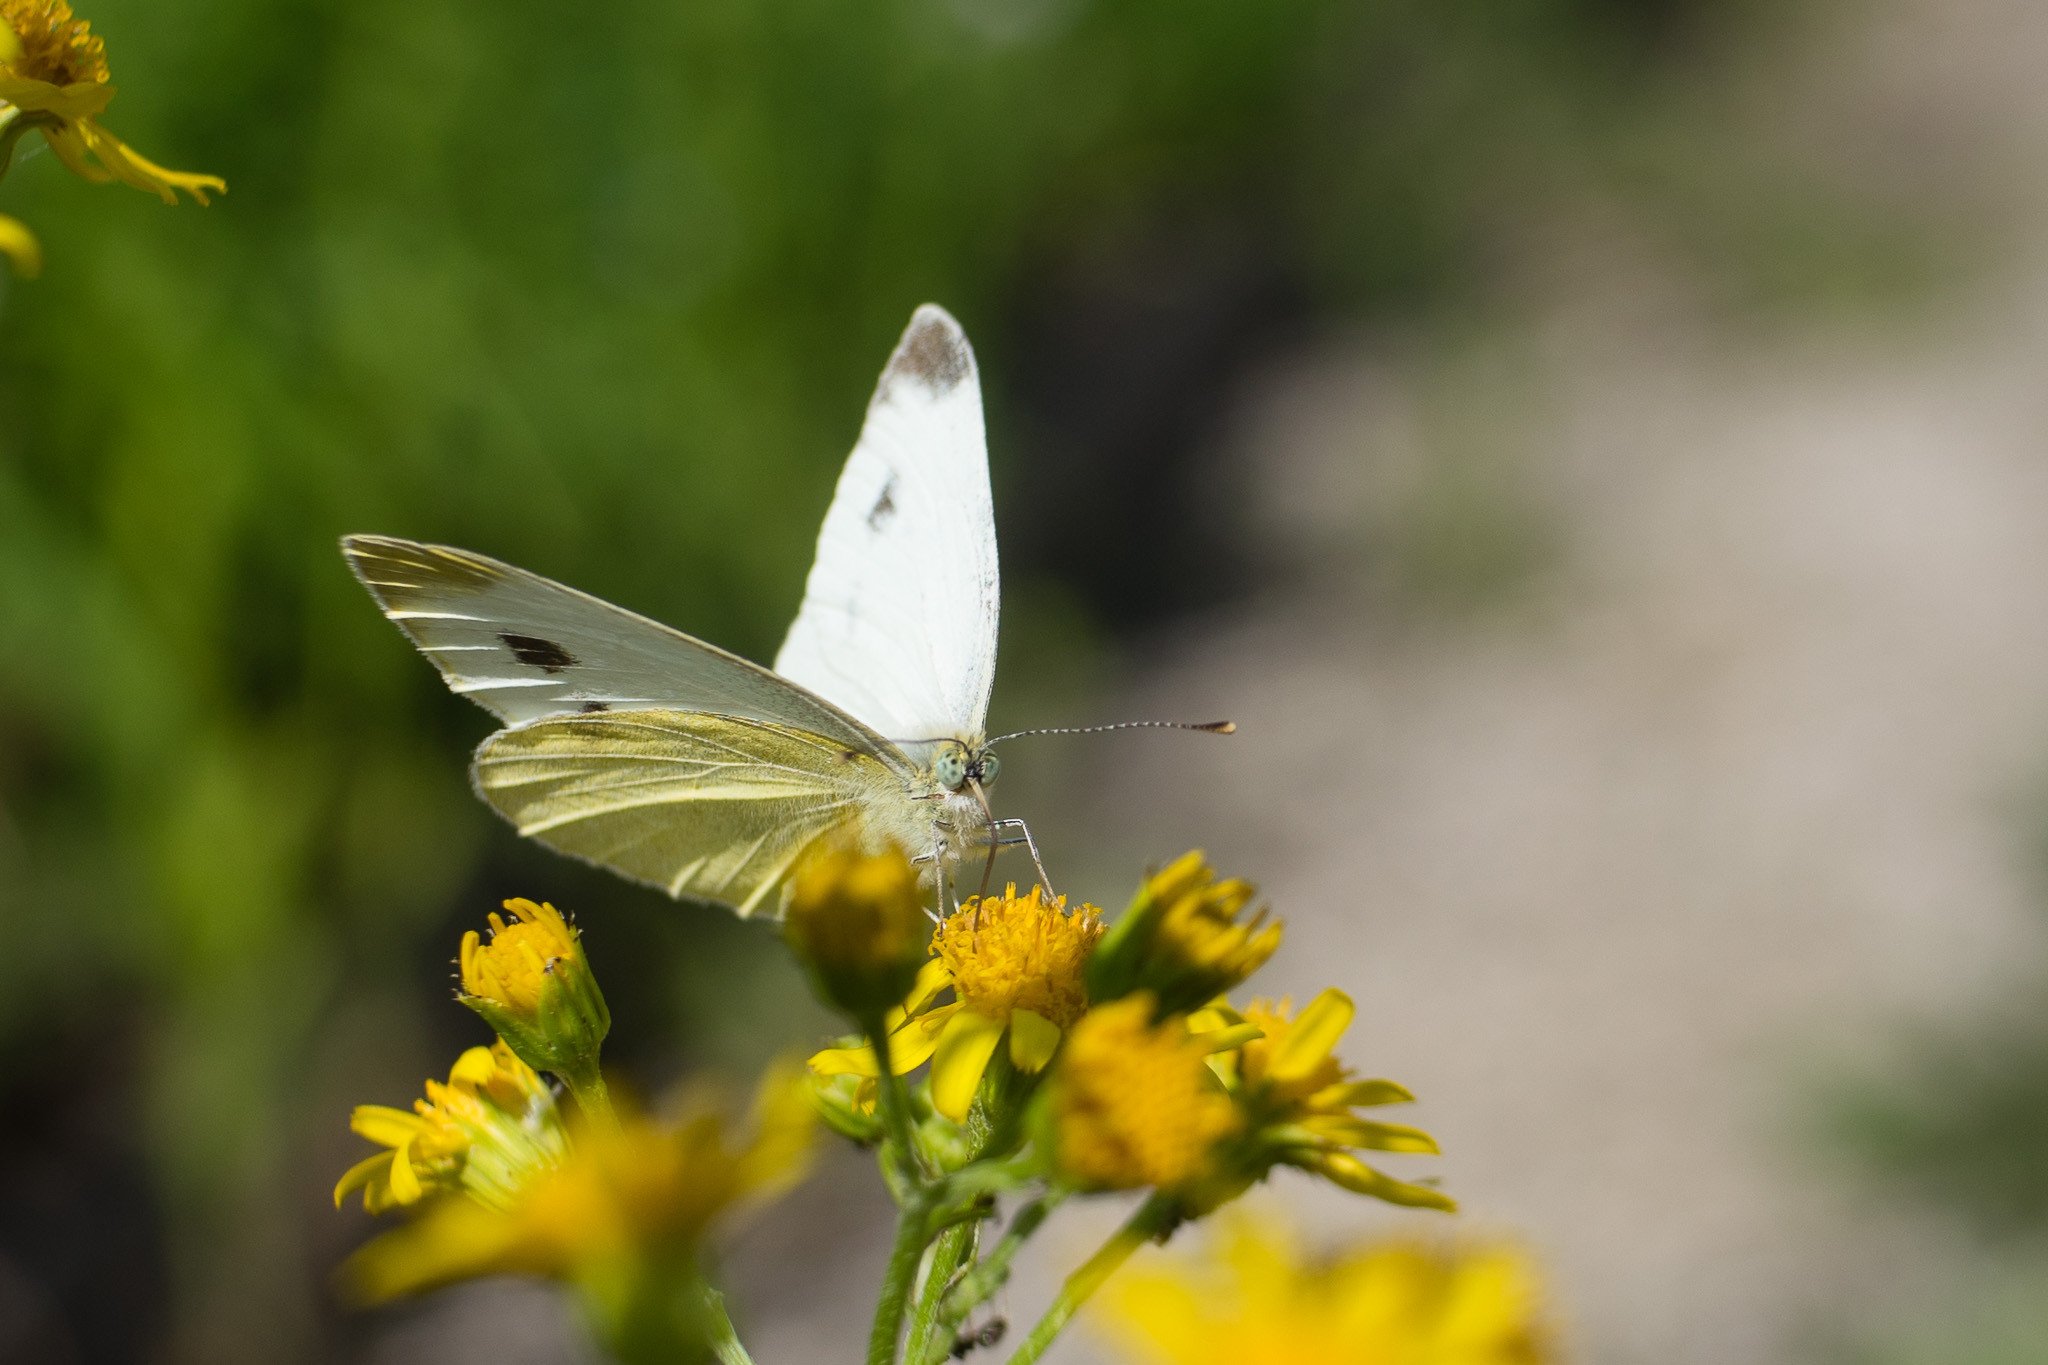 Detailed cropped Zeiss lens butterfly image
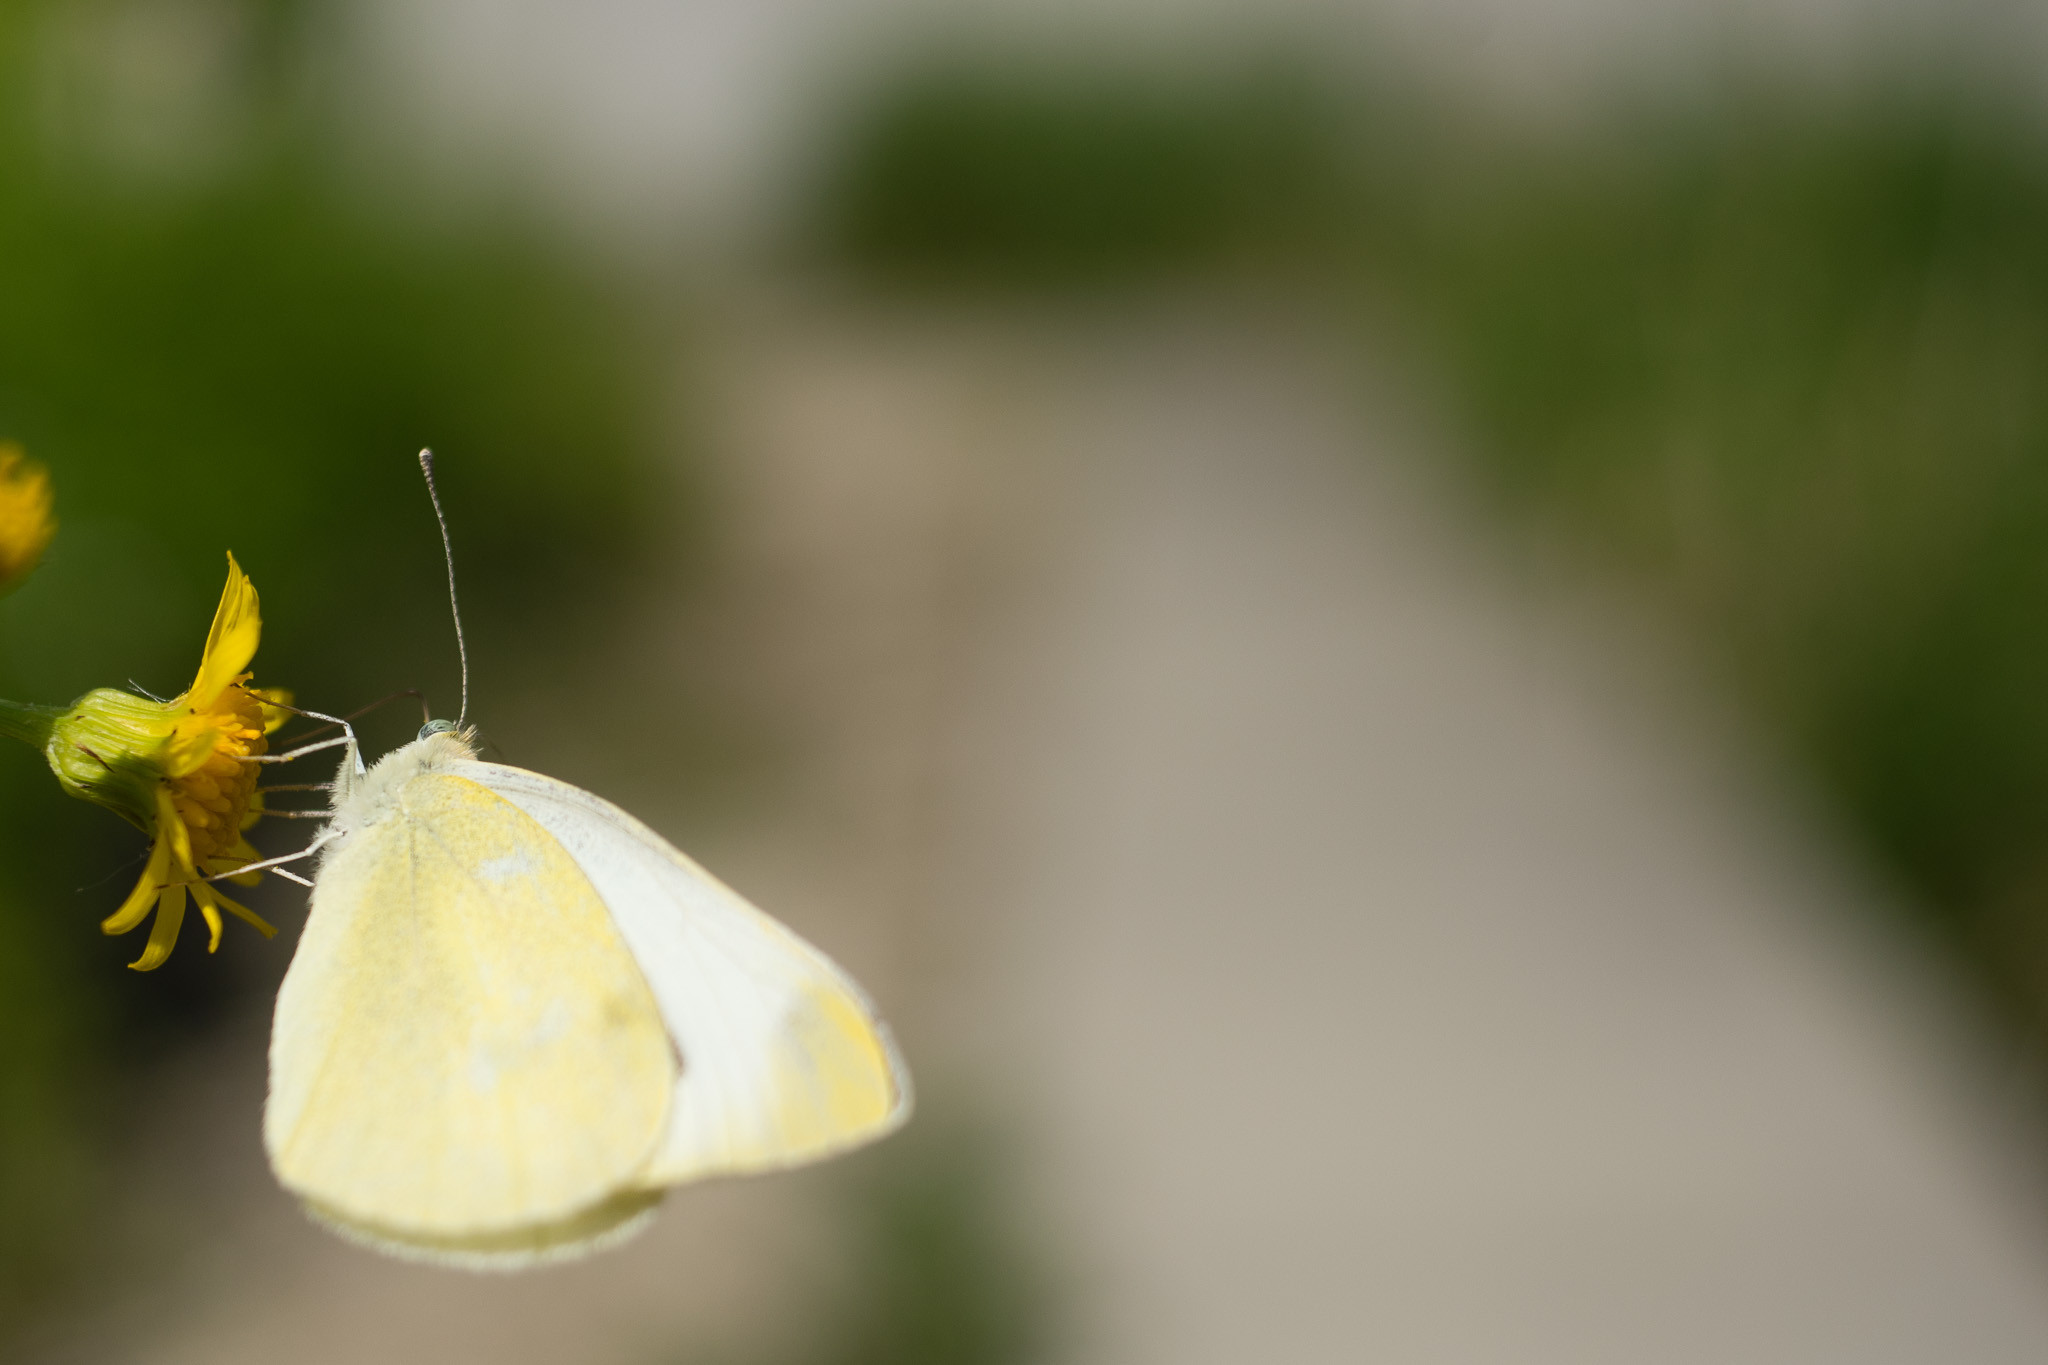
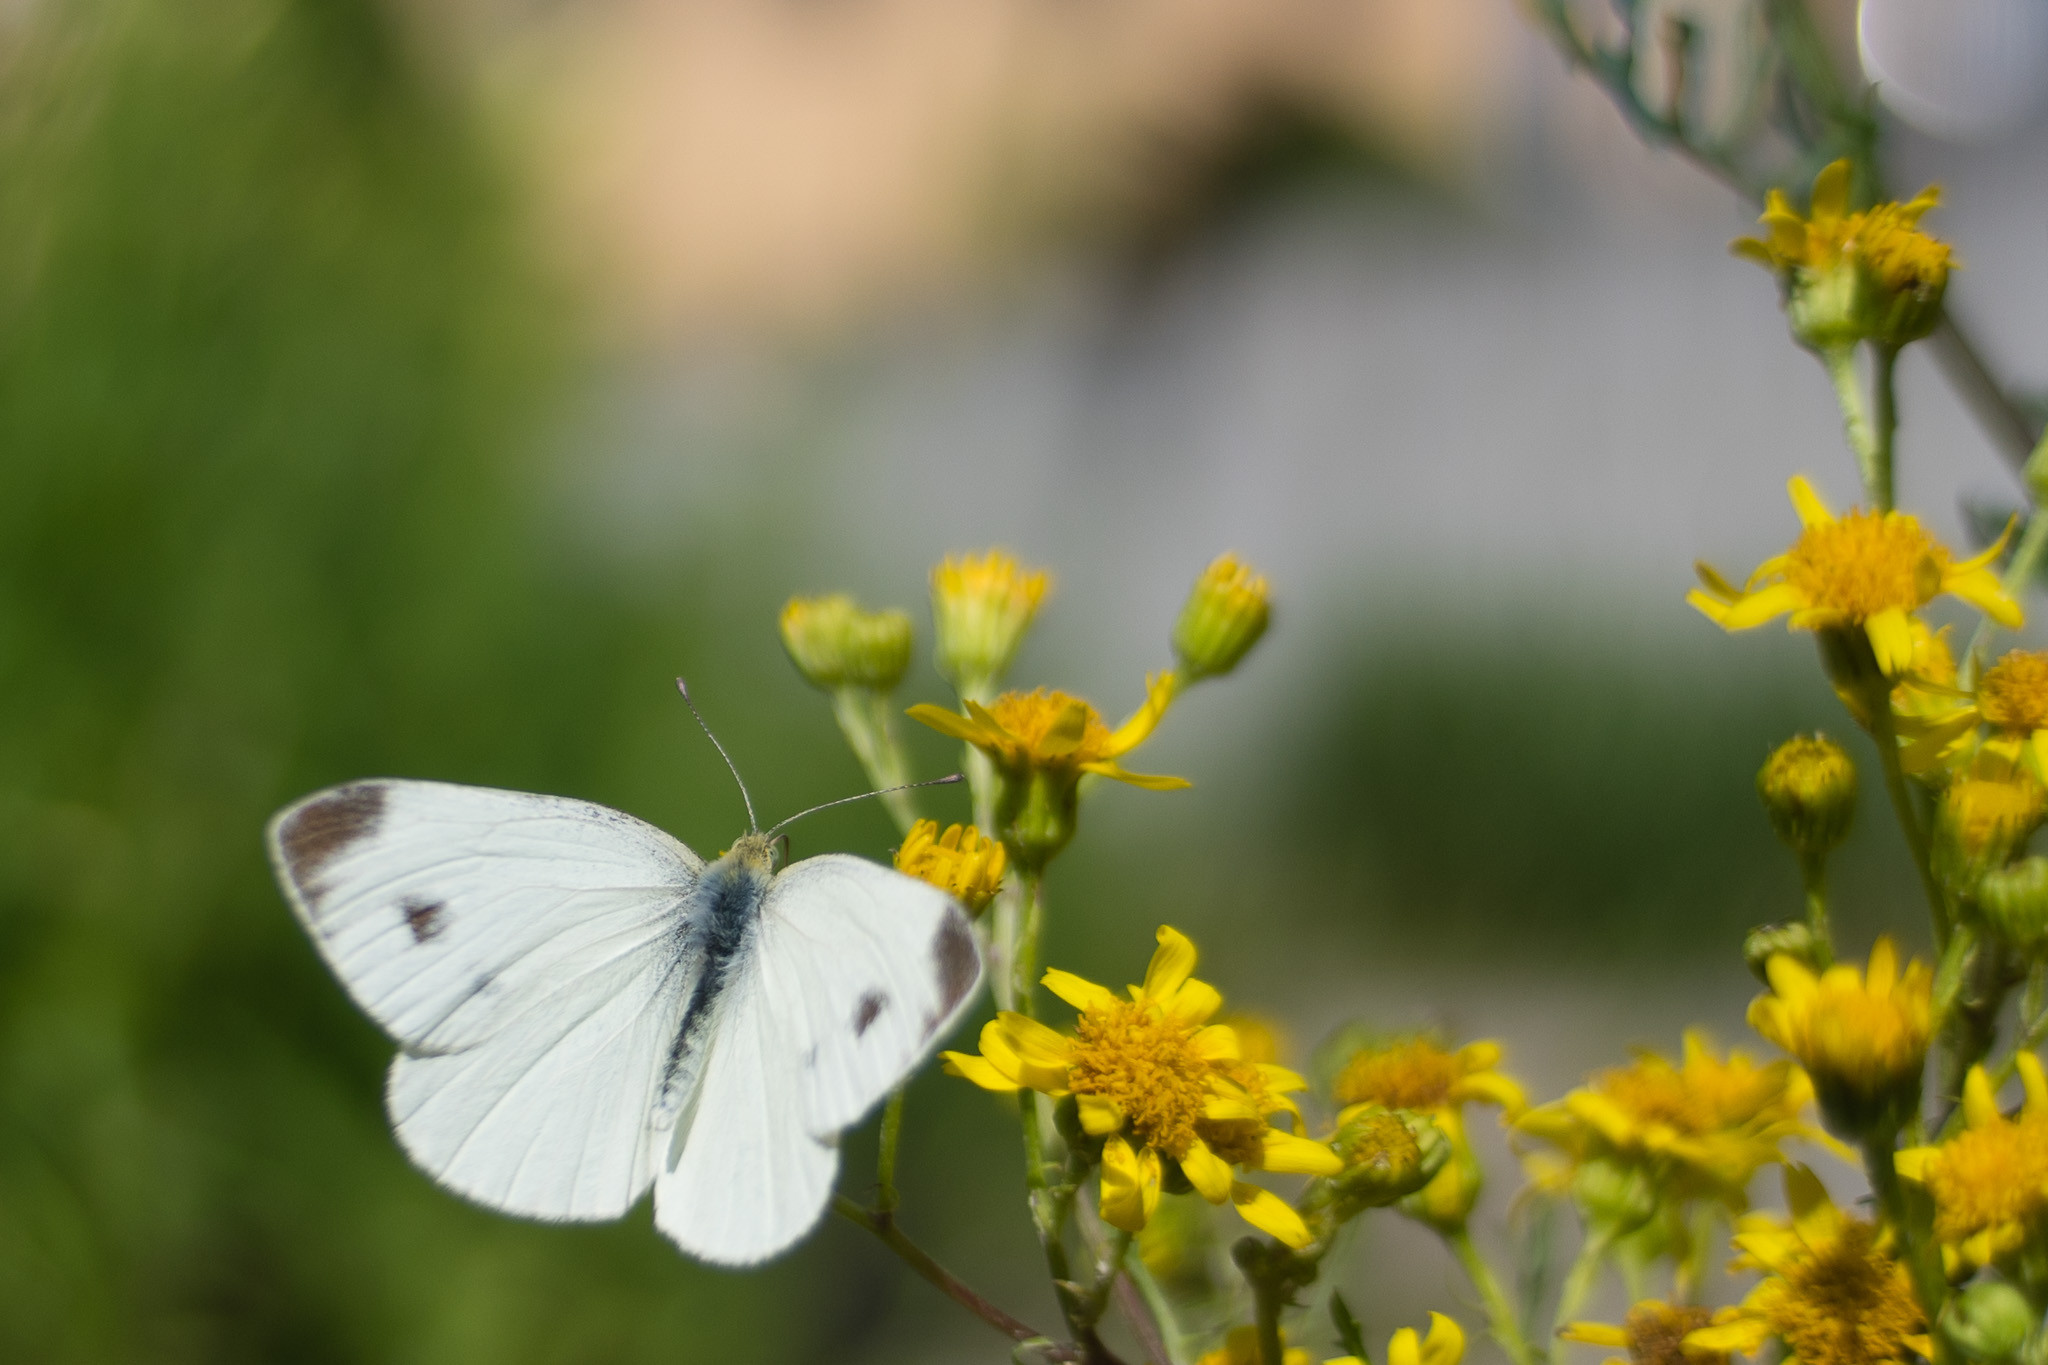 Wide open aperture Zeiss lens butterfly detail
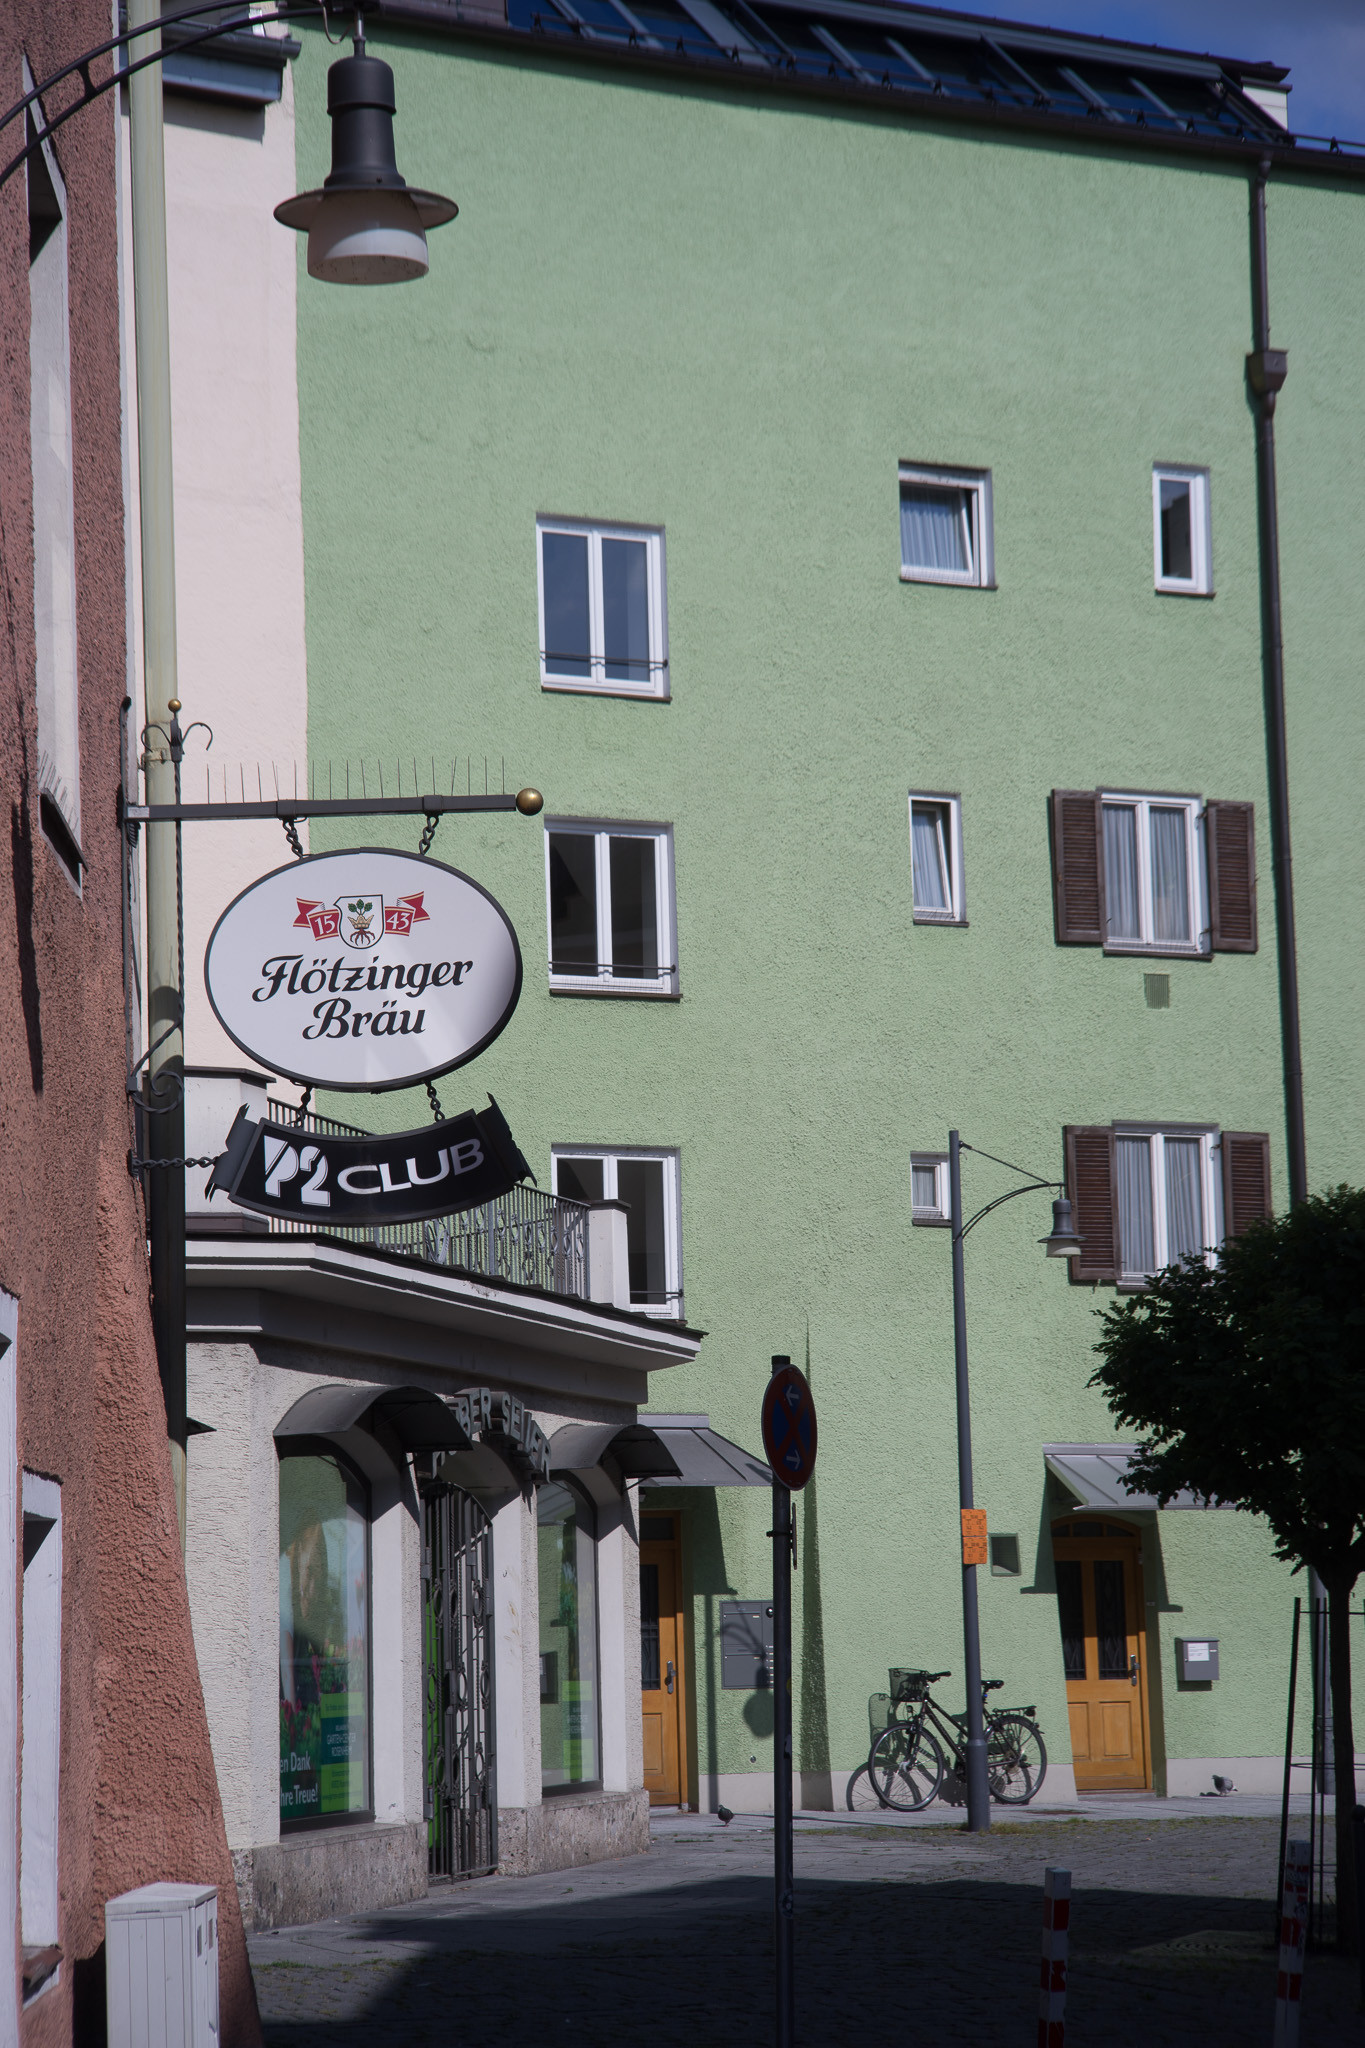
3.2/35 (large, newer version):
 Zeiss 35mm newer lens sample image
 Outdoor sample Zeiss 35mm newer lens
 Zeiss 35mm newer lens nature sample
 Zeiss 35mm newer lens bokeh sample
 Zeiss 35mm newer lens color sample
 Zeiss 35mm newer lens outdoor portrait sample
Strongly Cropped Samples (3.2/35 large, newer) – Sharpness variation by aperture:
 Zeiss 35mm cropped open aperture sample
 Zeiss 35mm cropped f3 2 aperture sample
 Zeiss 35mm cropped one stop down aperture sample
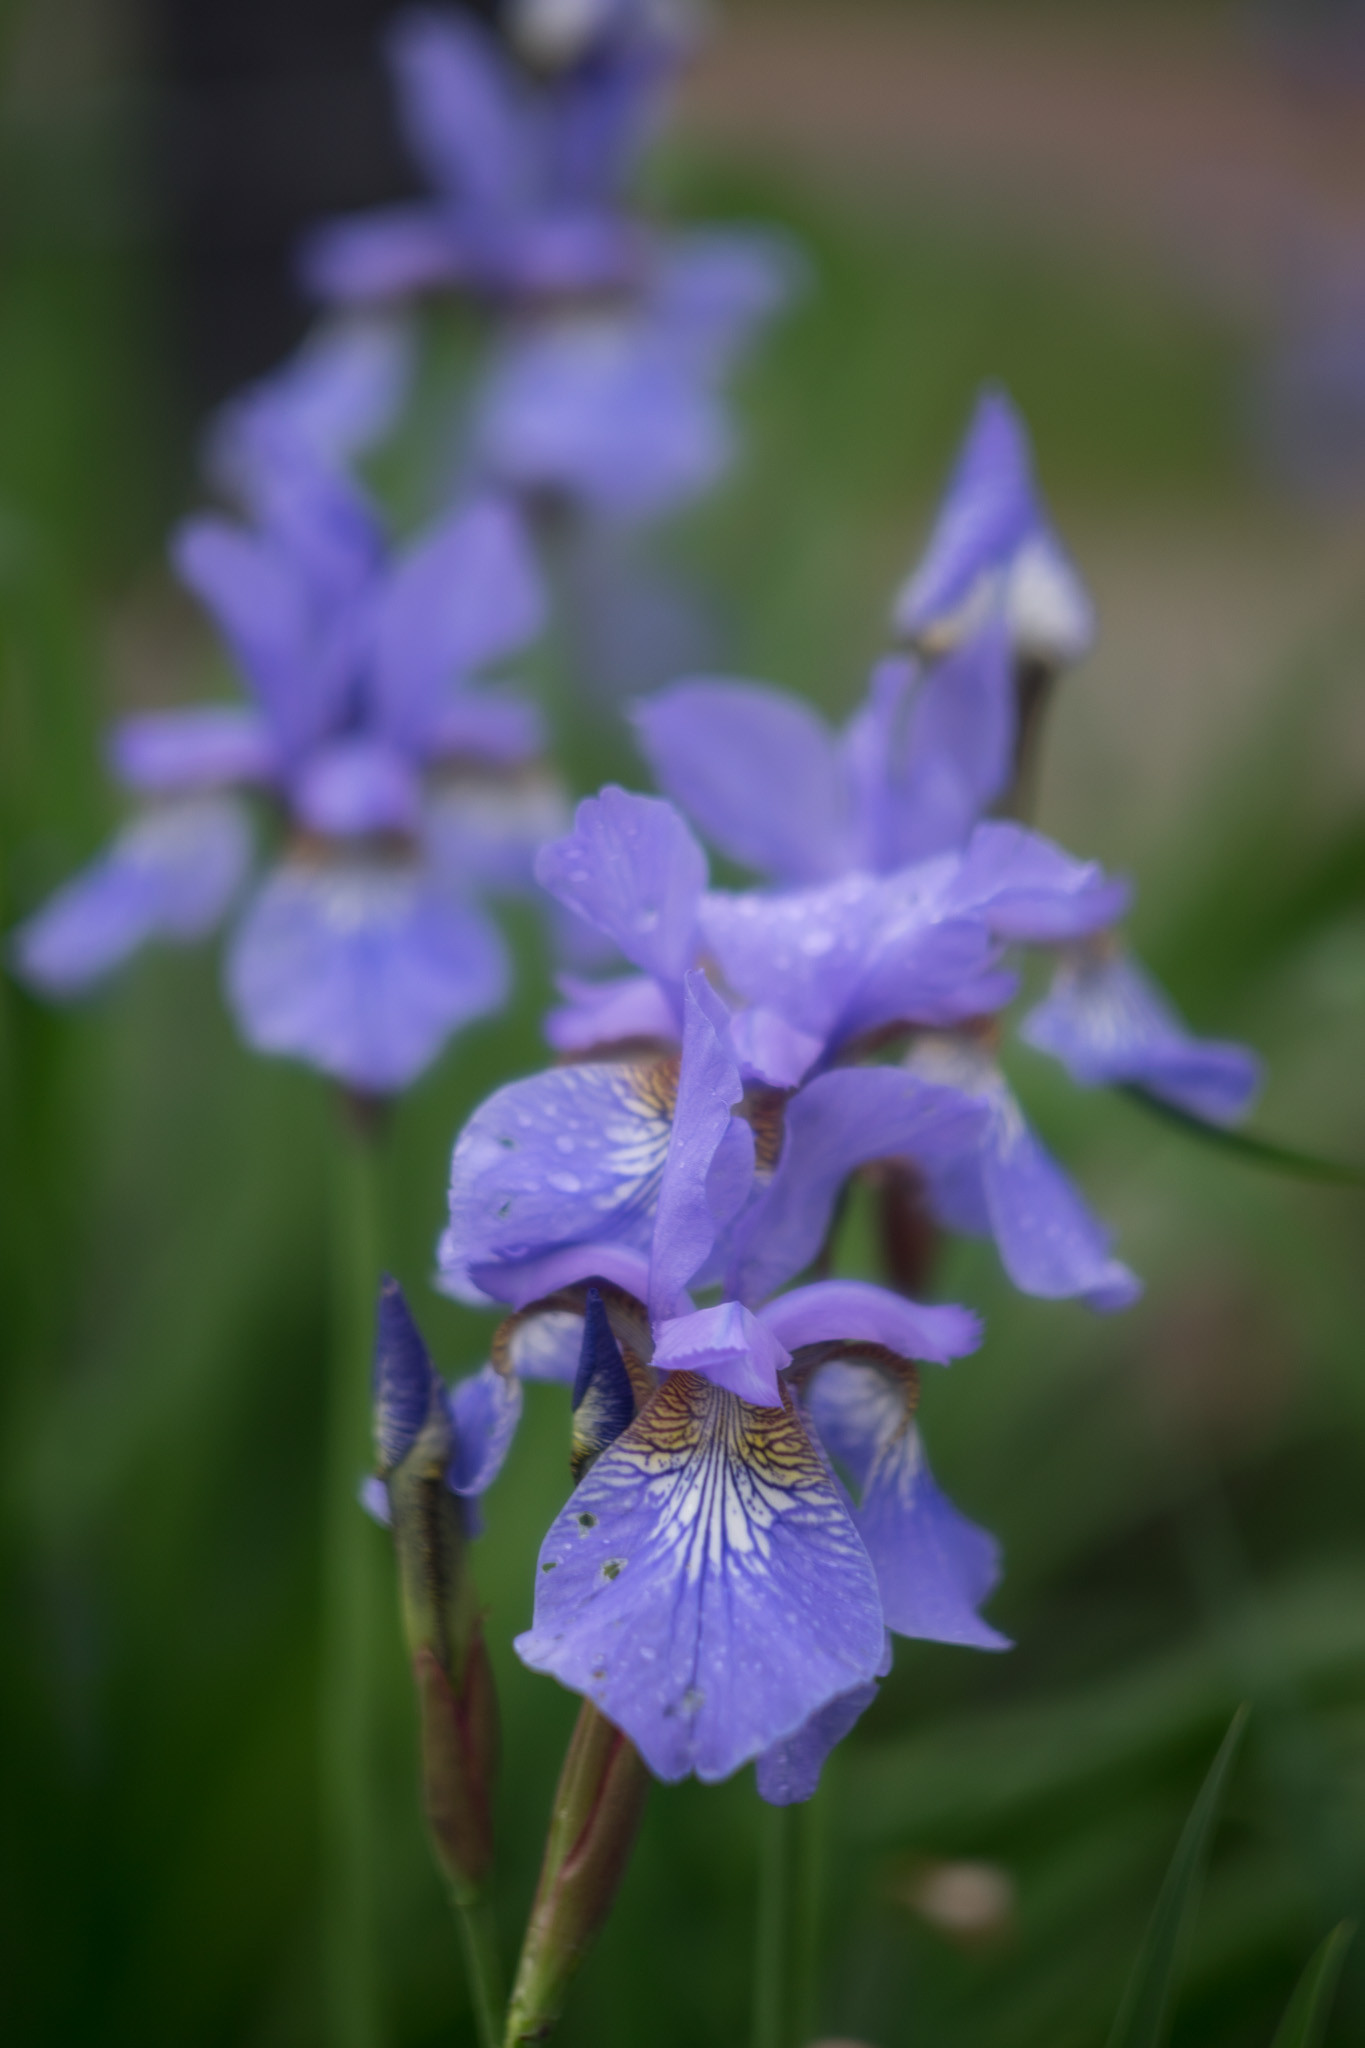
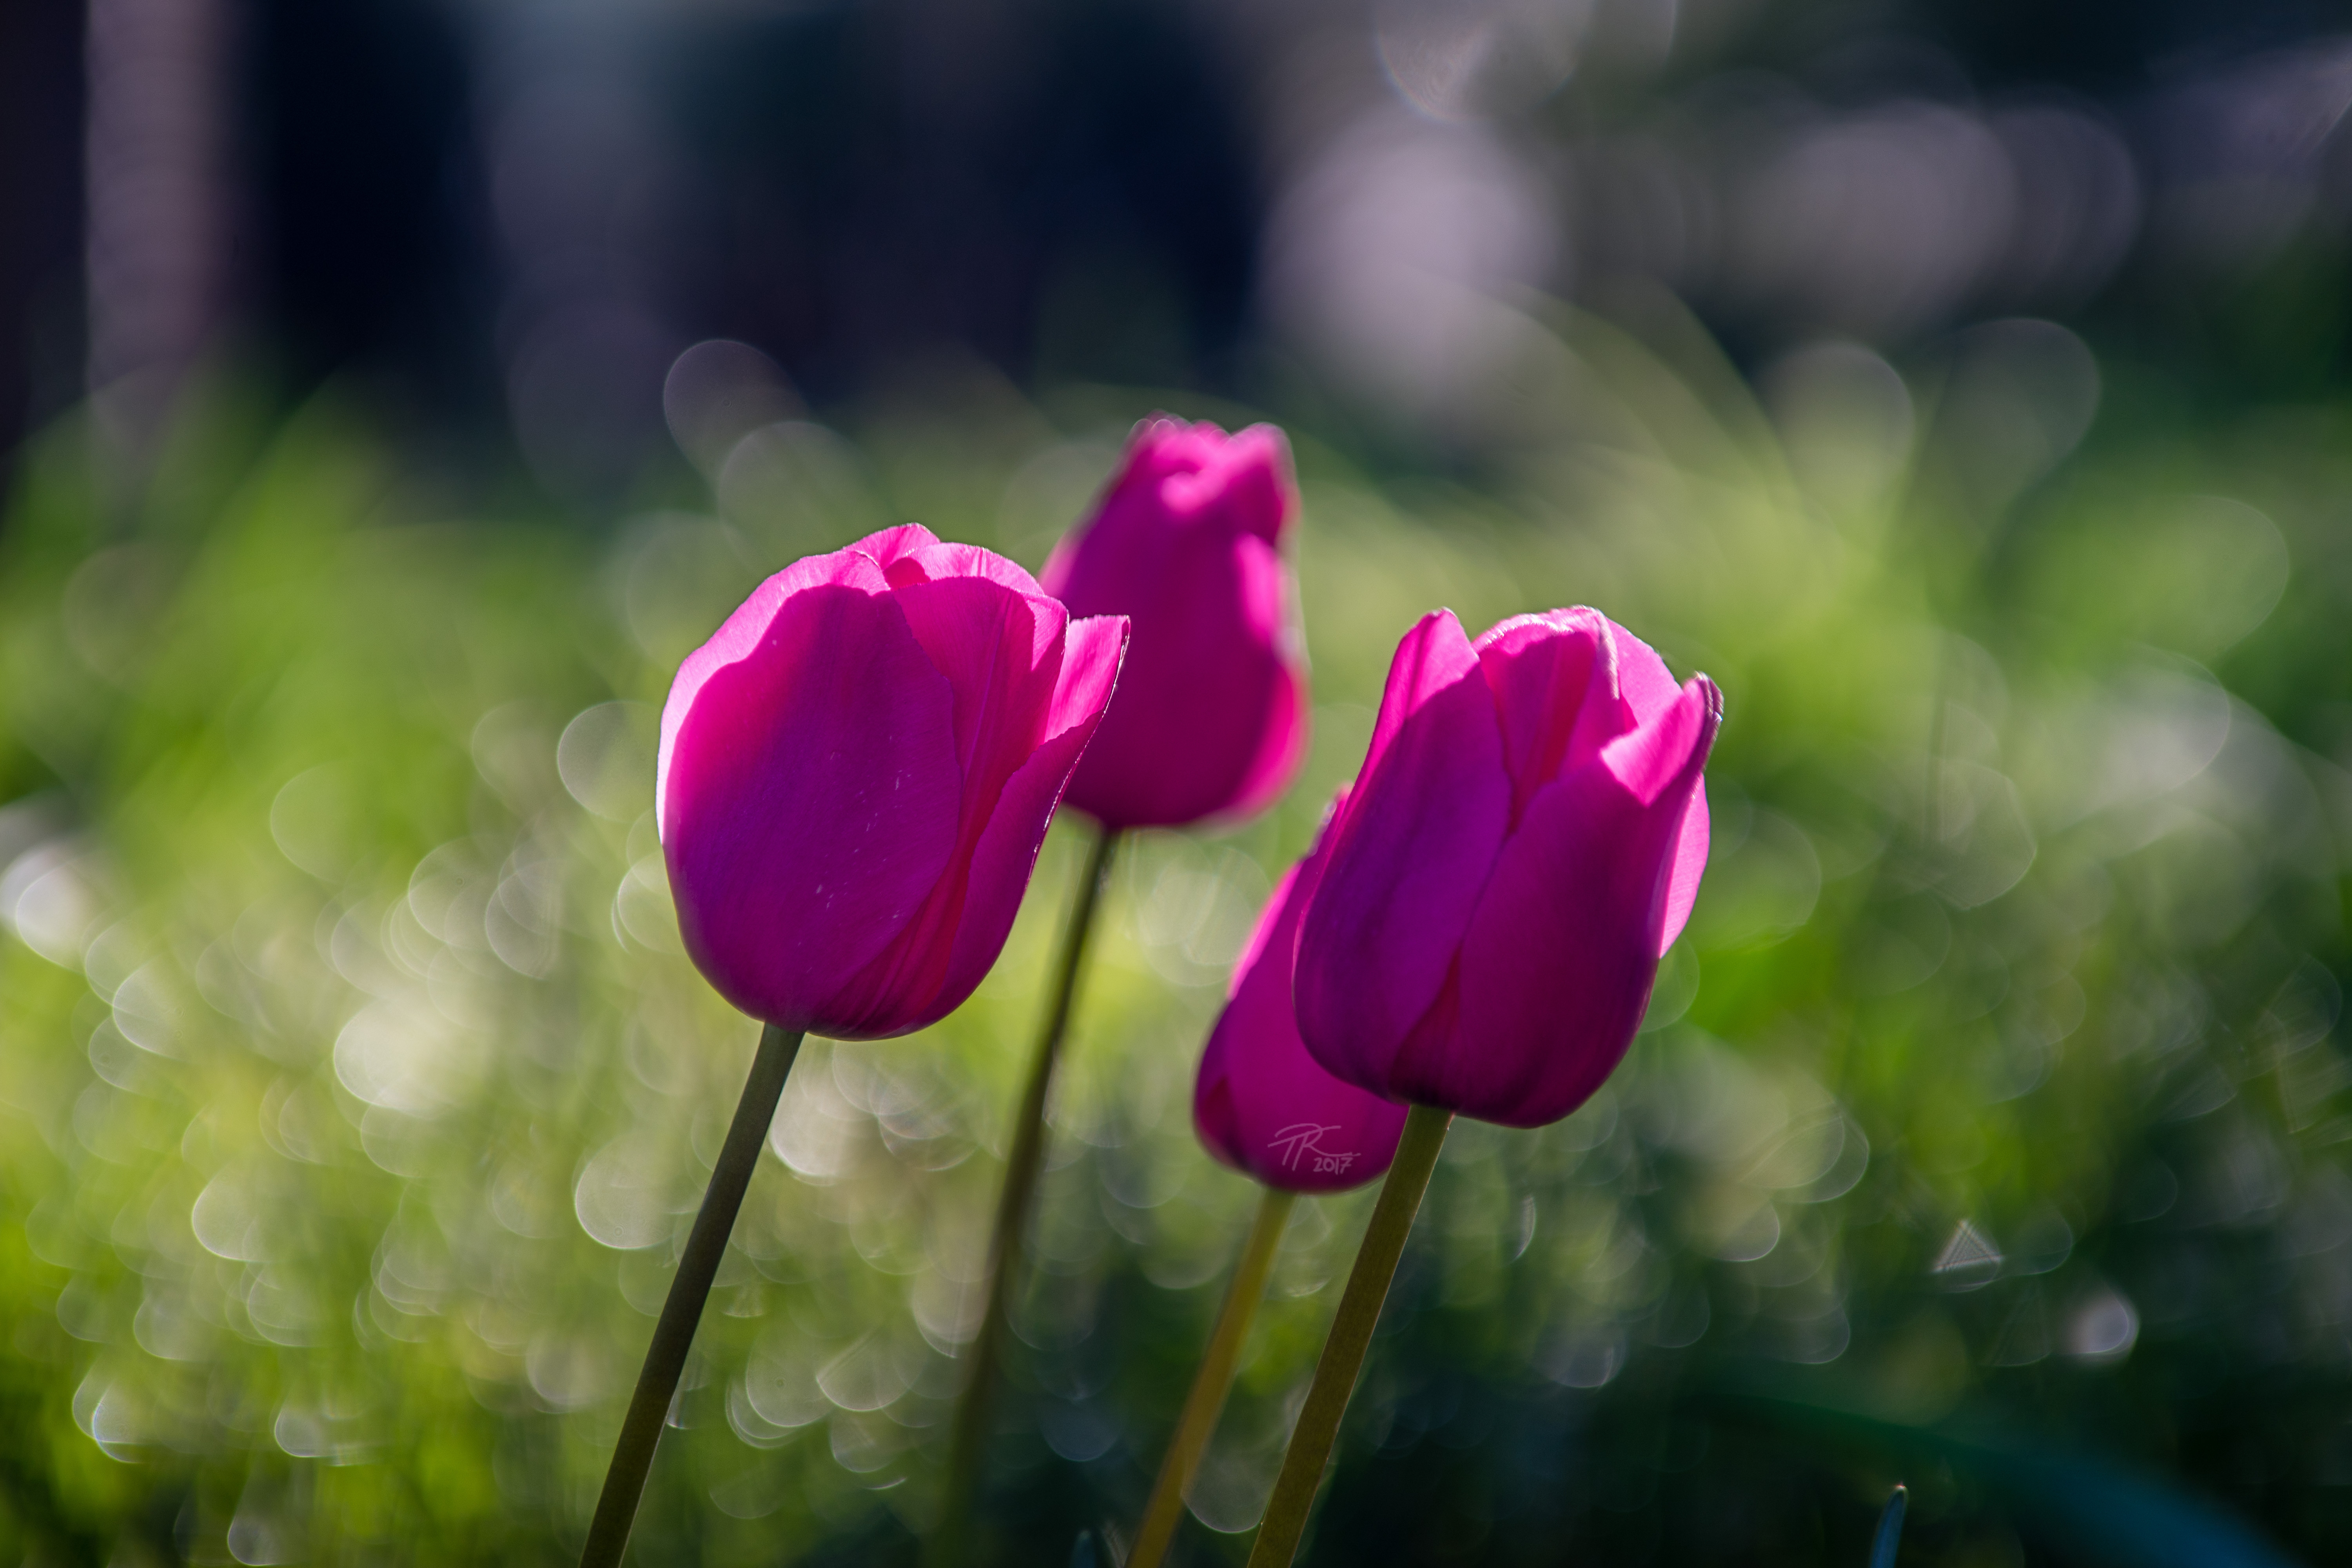
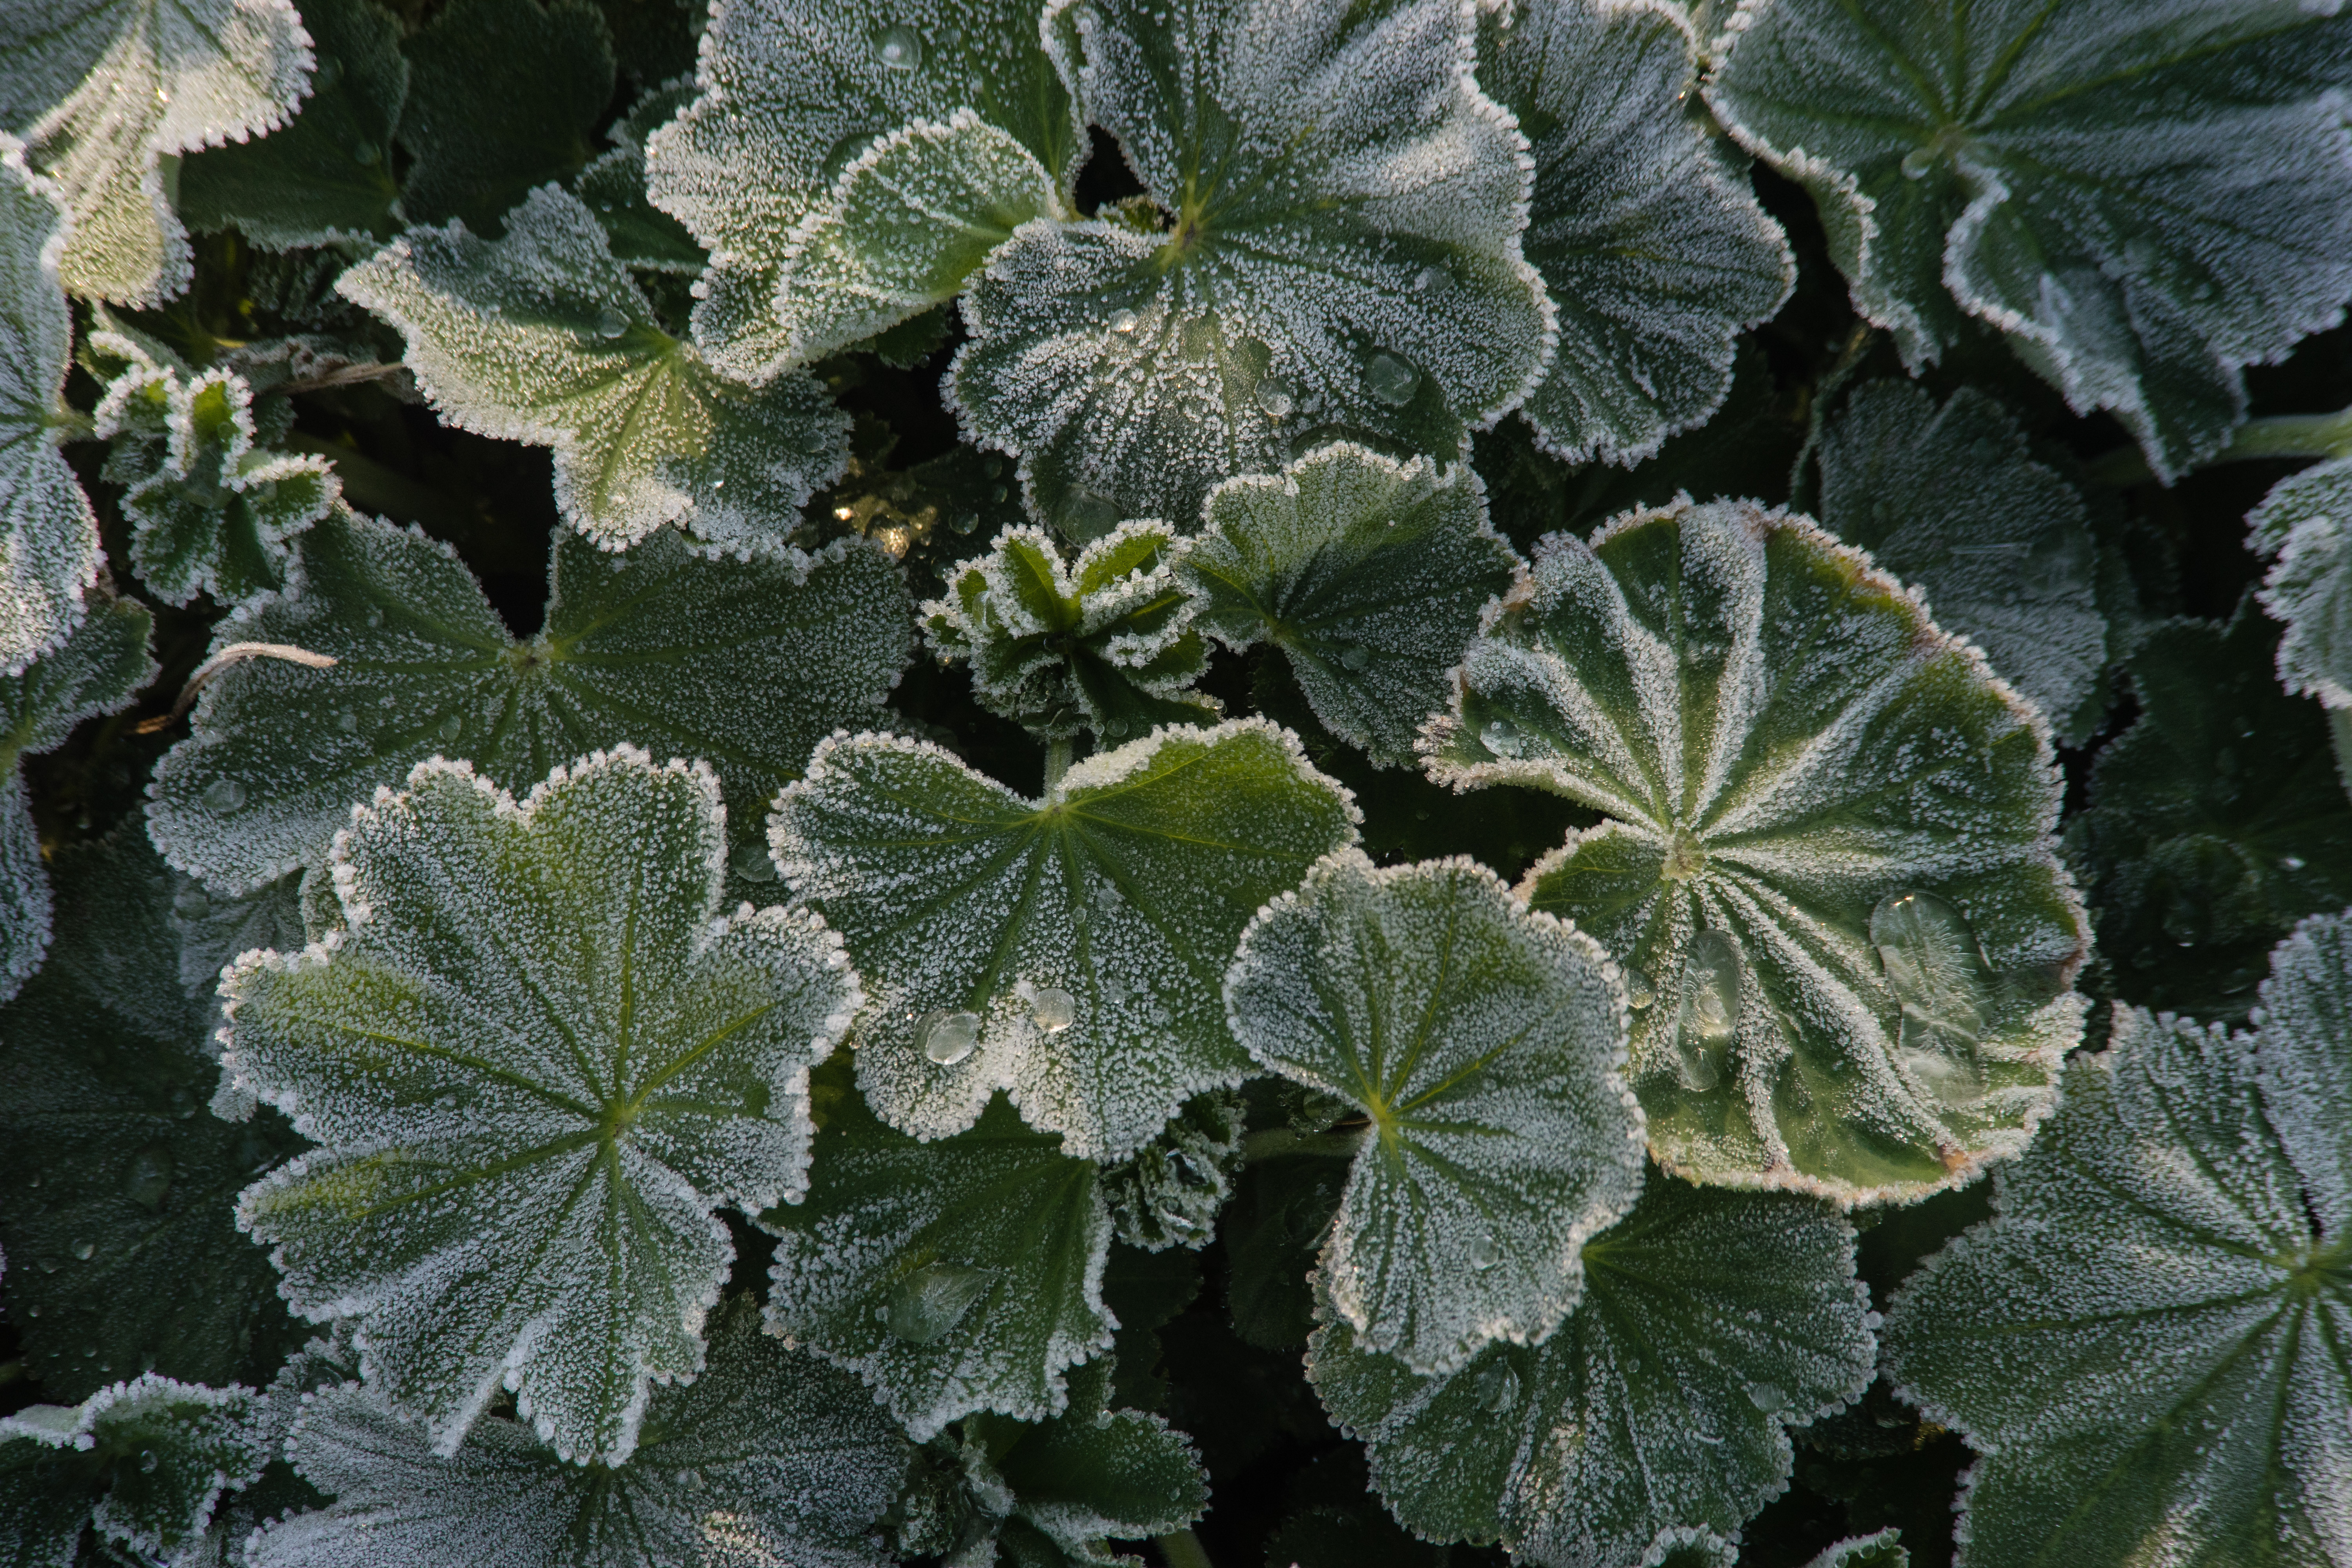
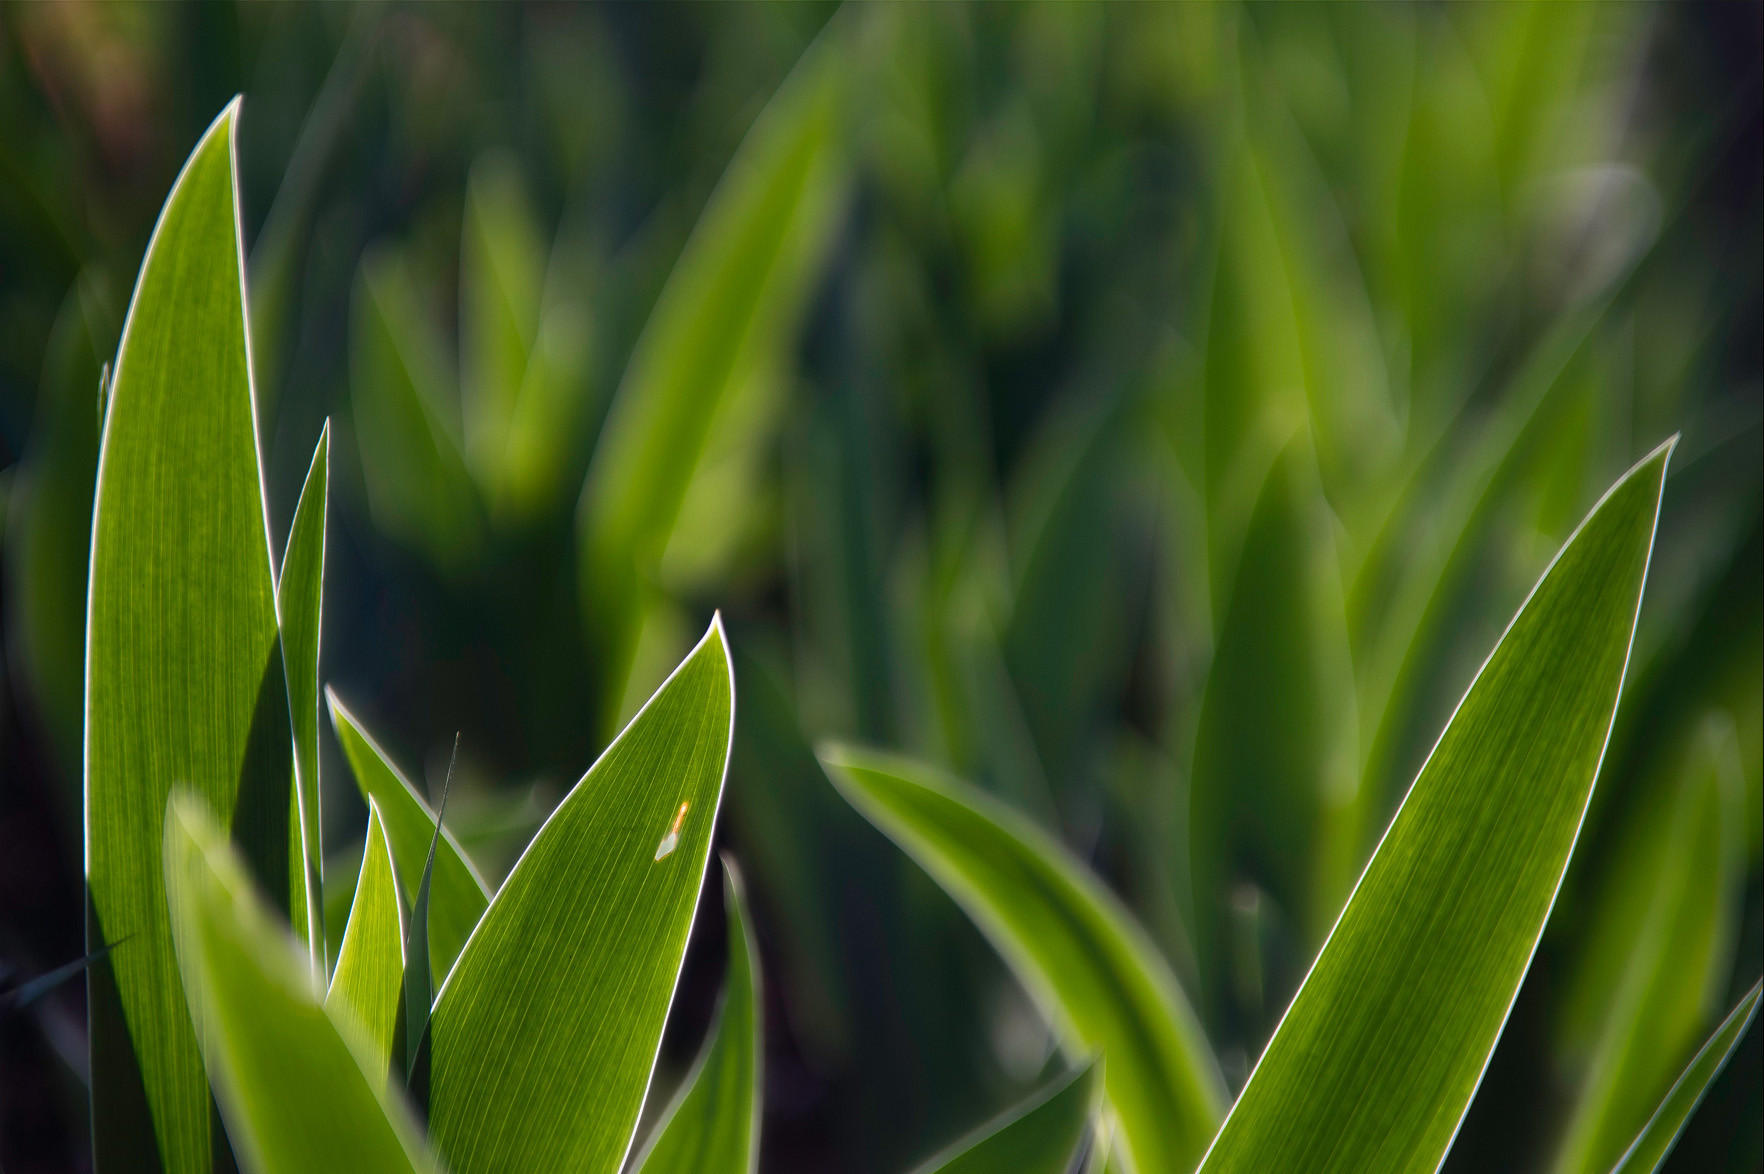
3.2/85:
 Zeiss 85mm lens outdoor sample image
 Zeiss 85mm lens stopped down close focus sample
 Zeiss 85mm lens bokeh outdoor sample
 Zeiss 85mm lens nature sample image
 Zeiss 85mm lens flower close up sample
 Zeiss 85mm lens stopped down infinity sample
 Zeiss 85mm lens open aperture close focus sample
 Zeiss 85mm lens portrait sample image
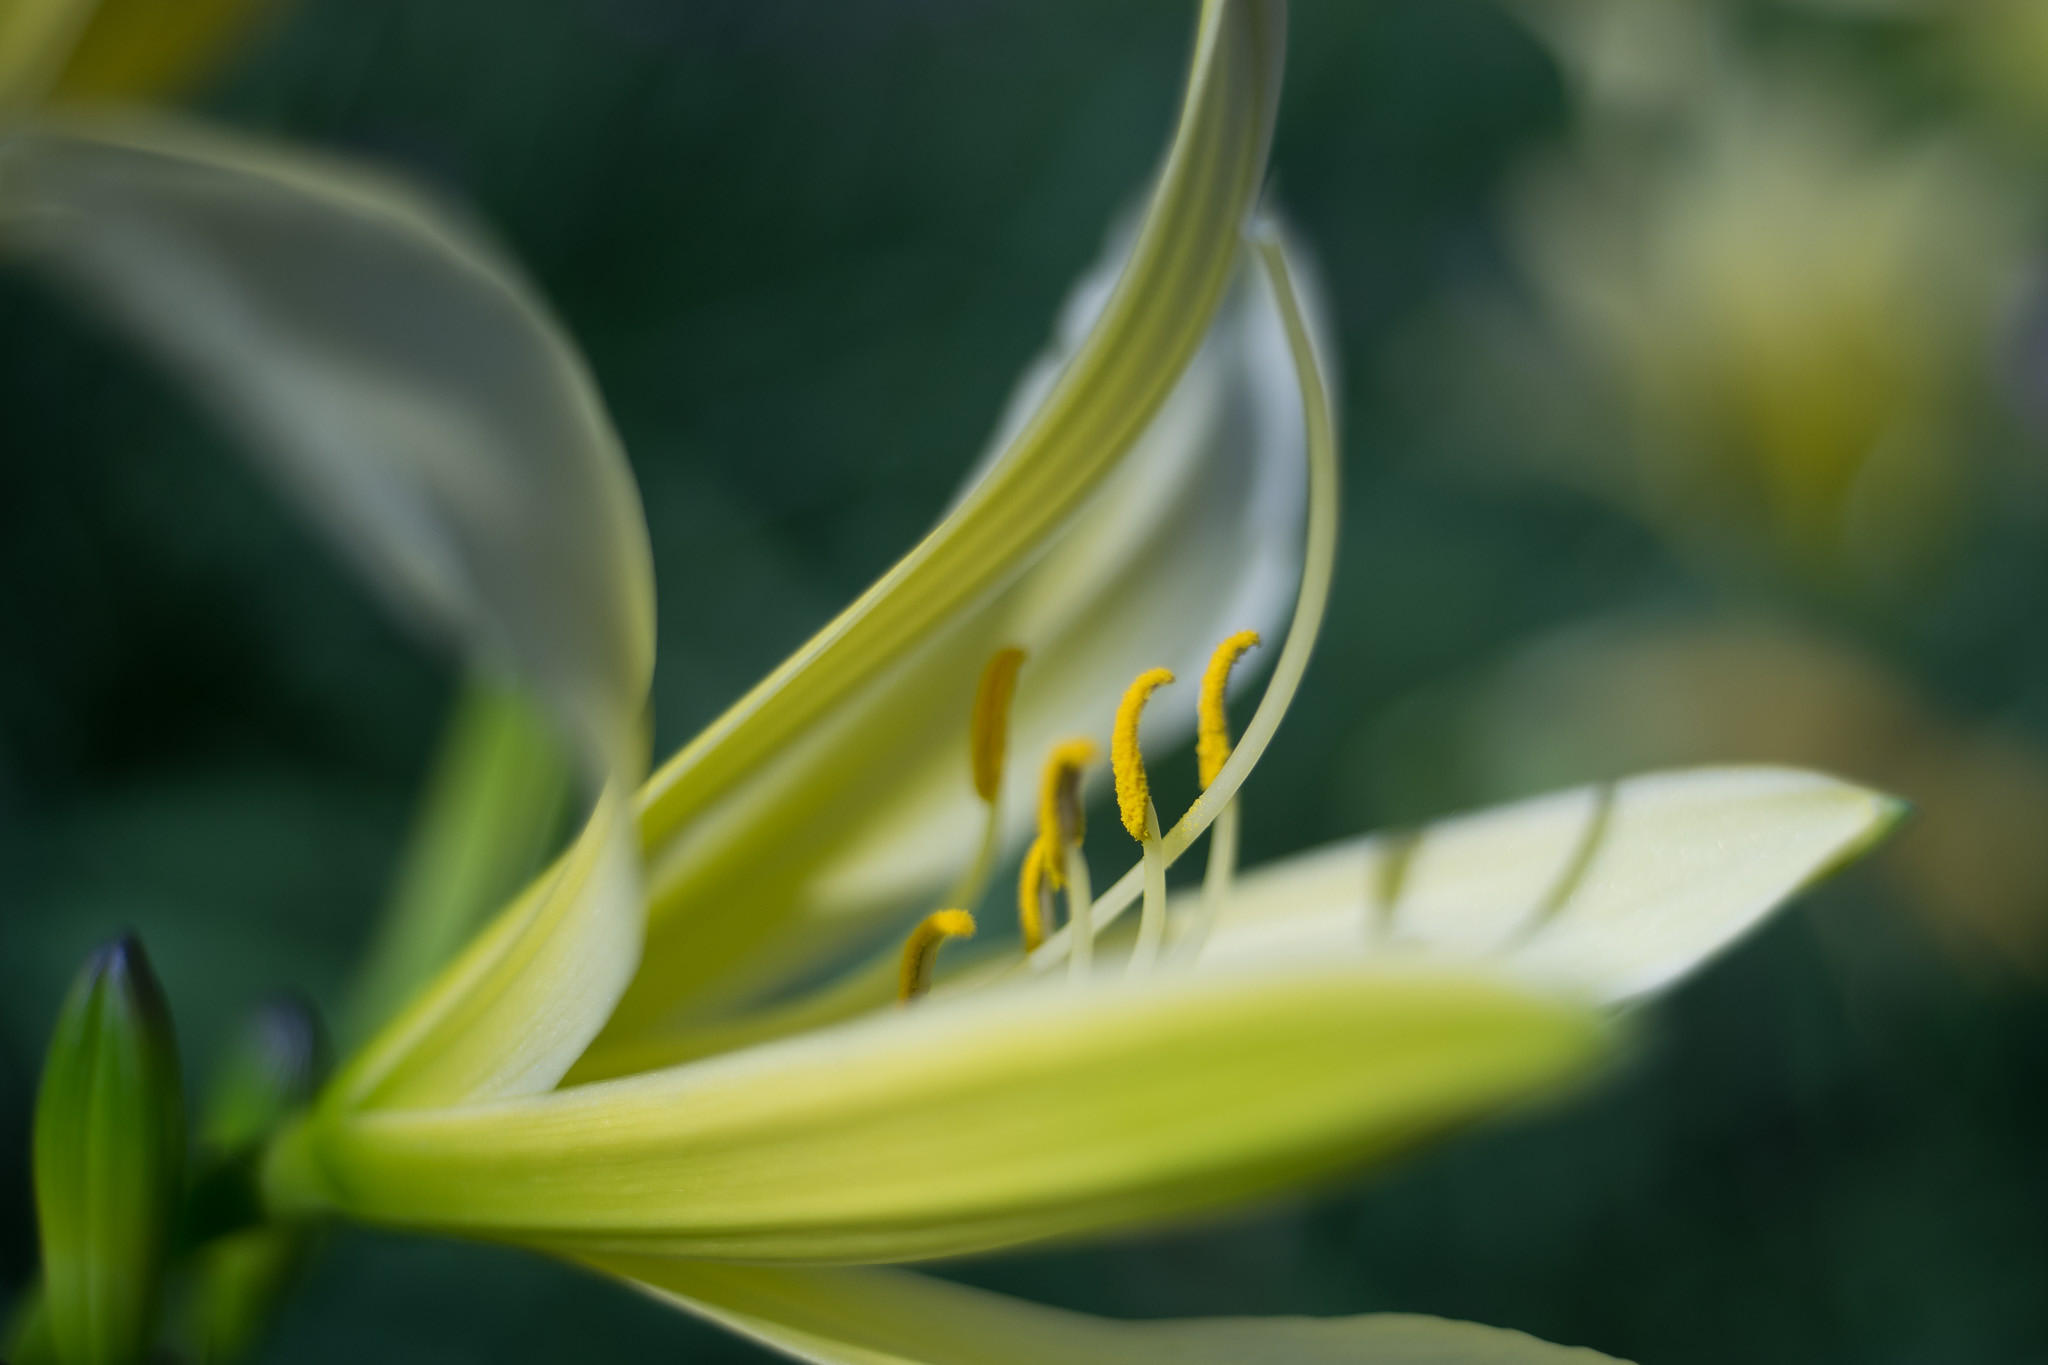
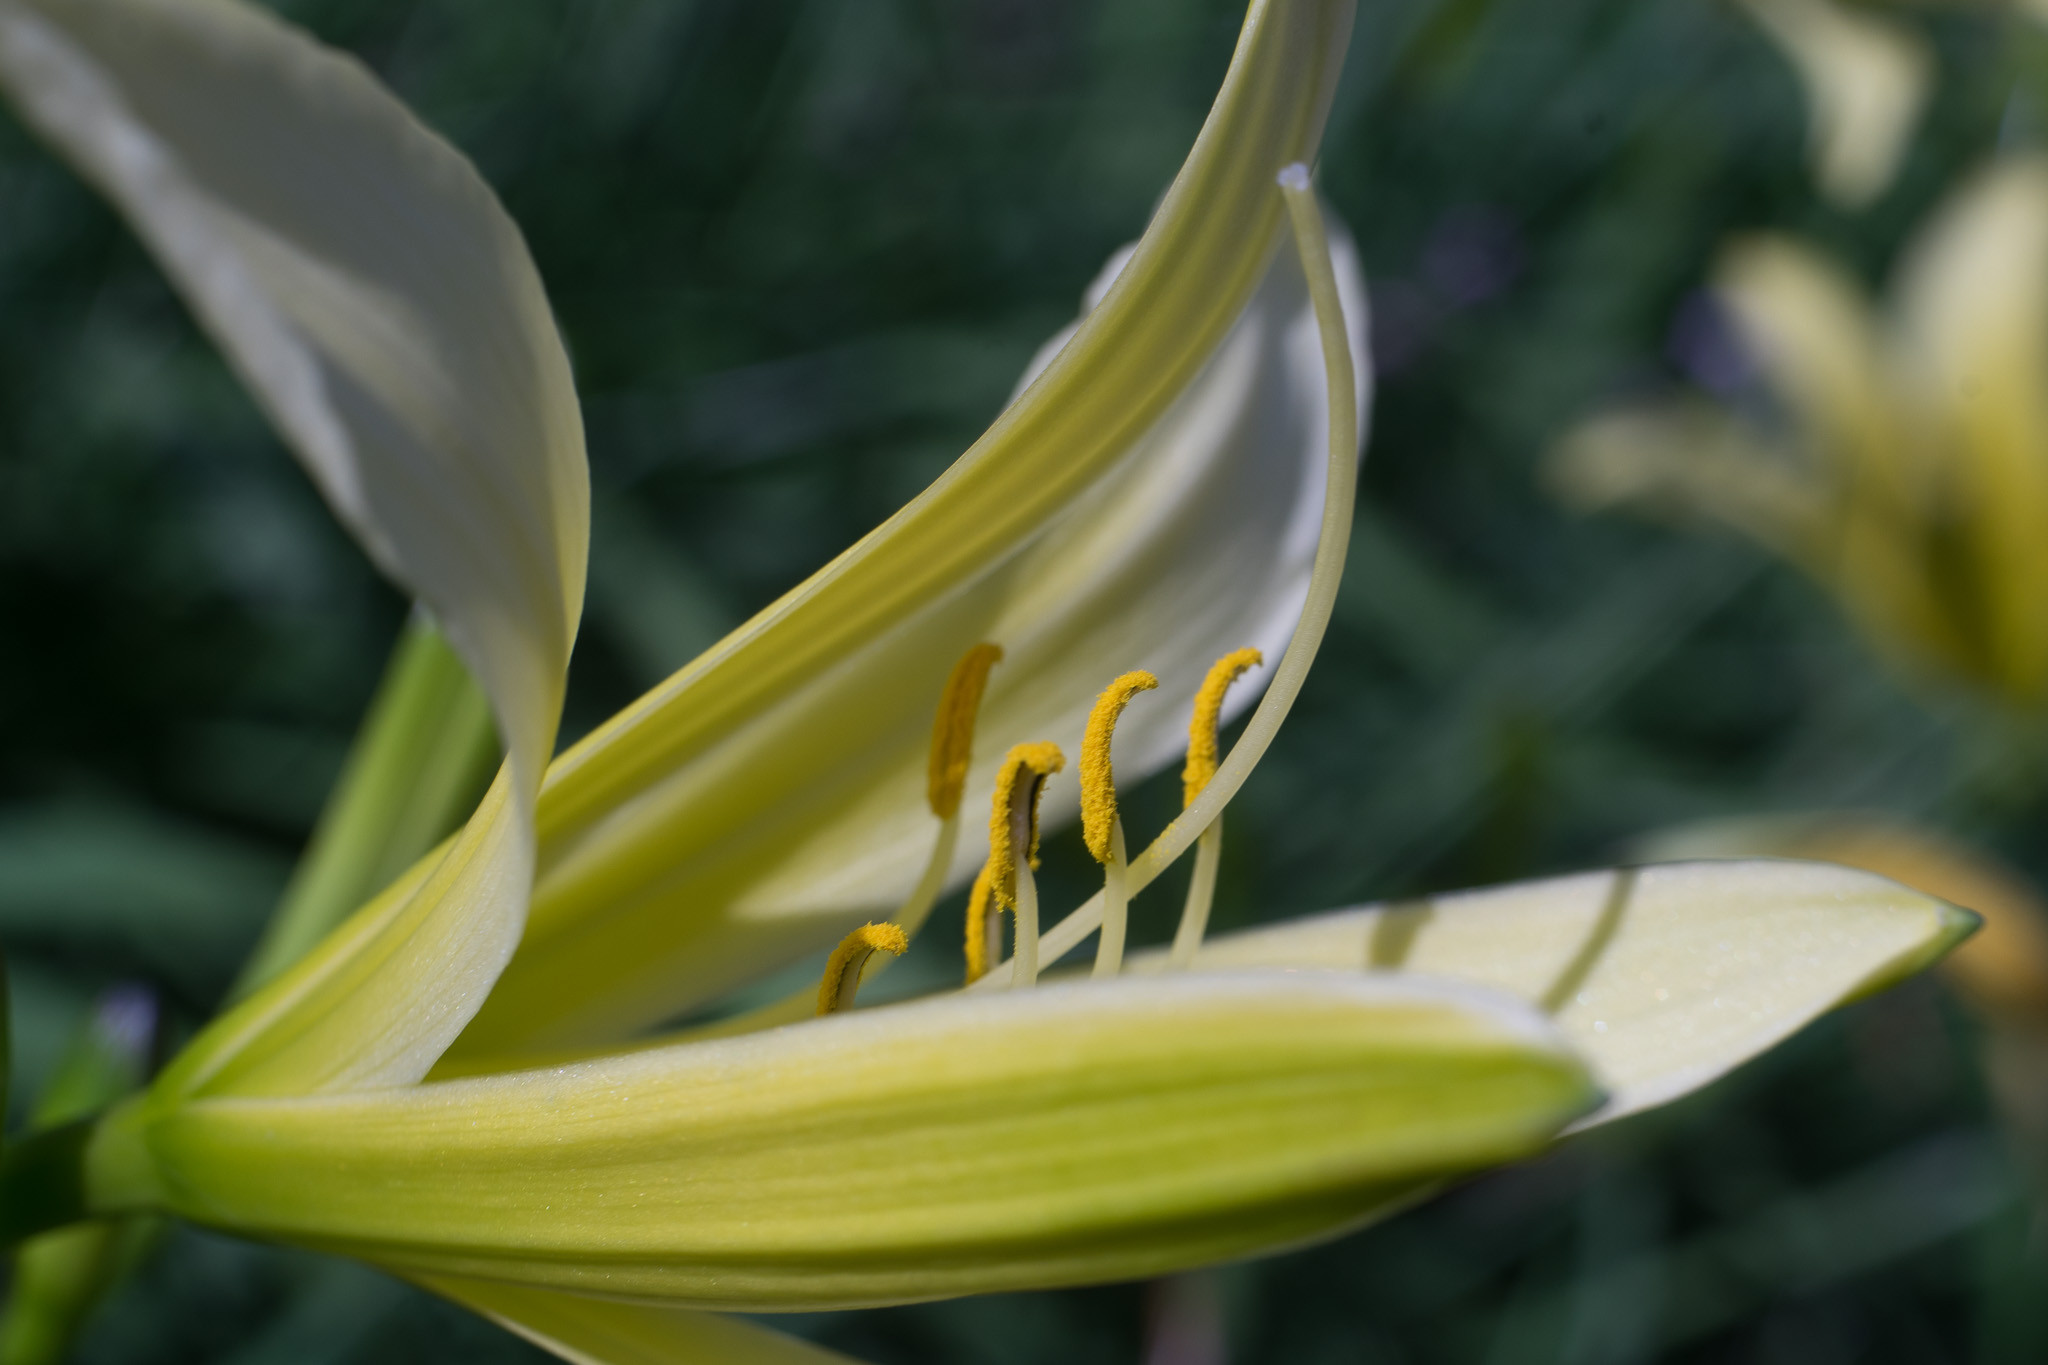
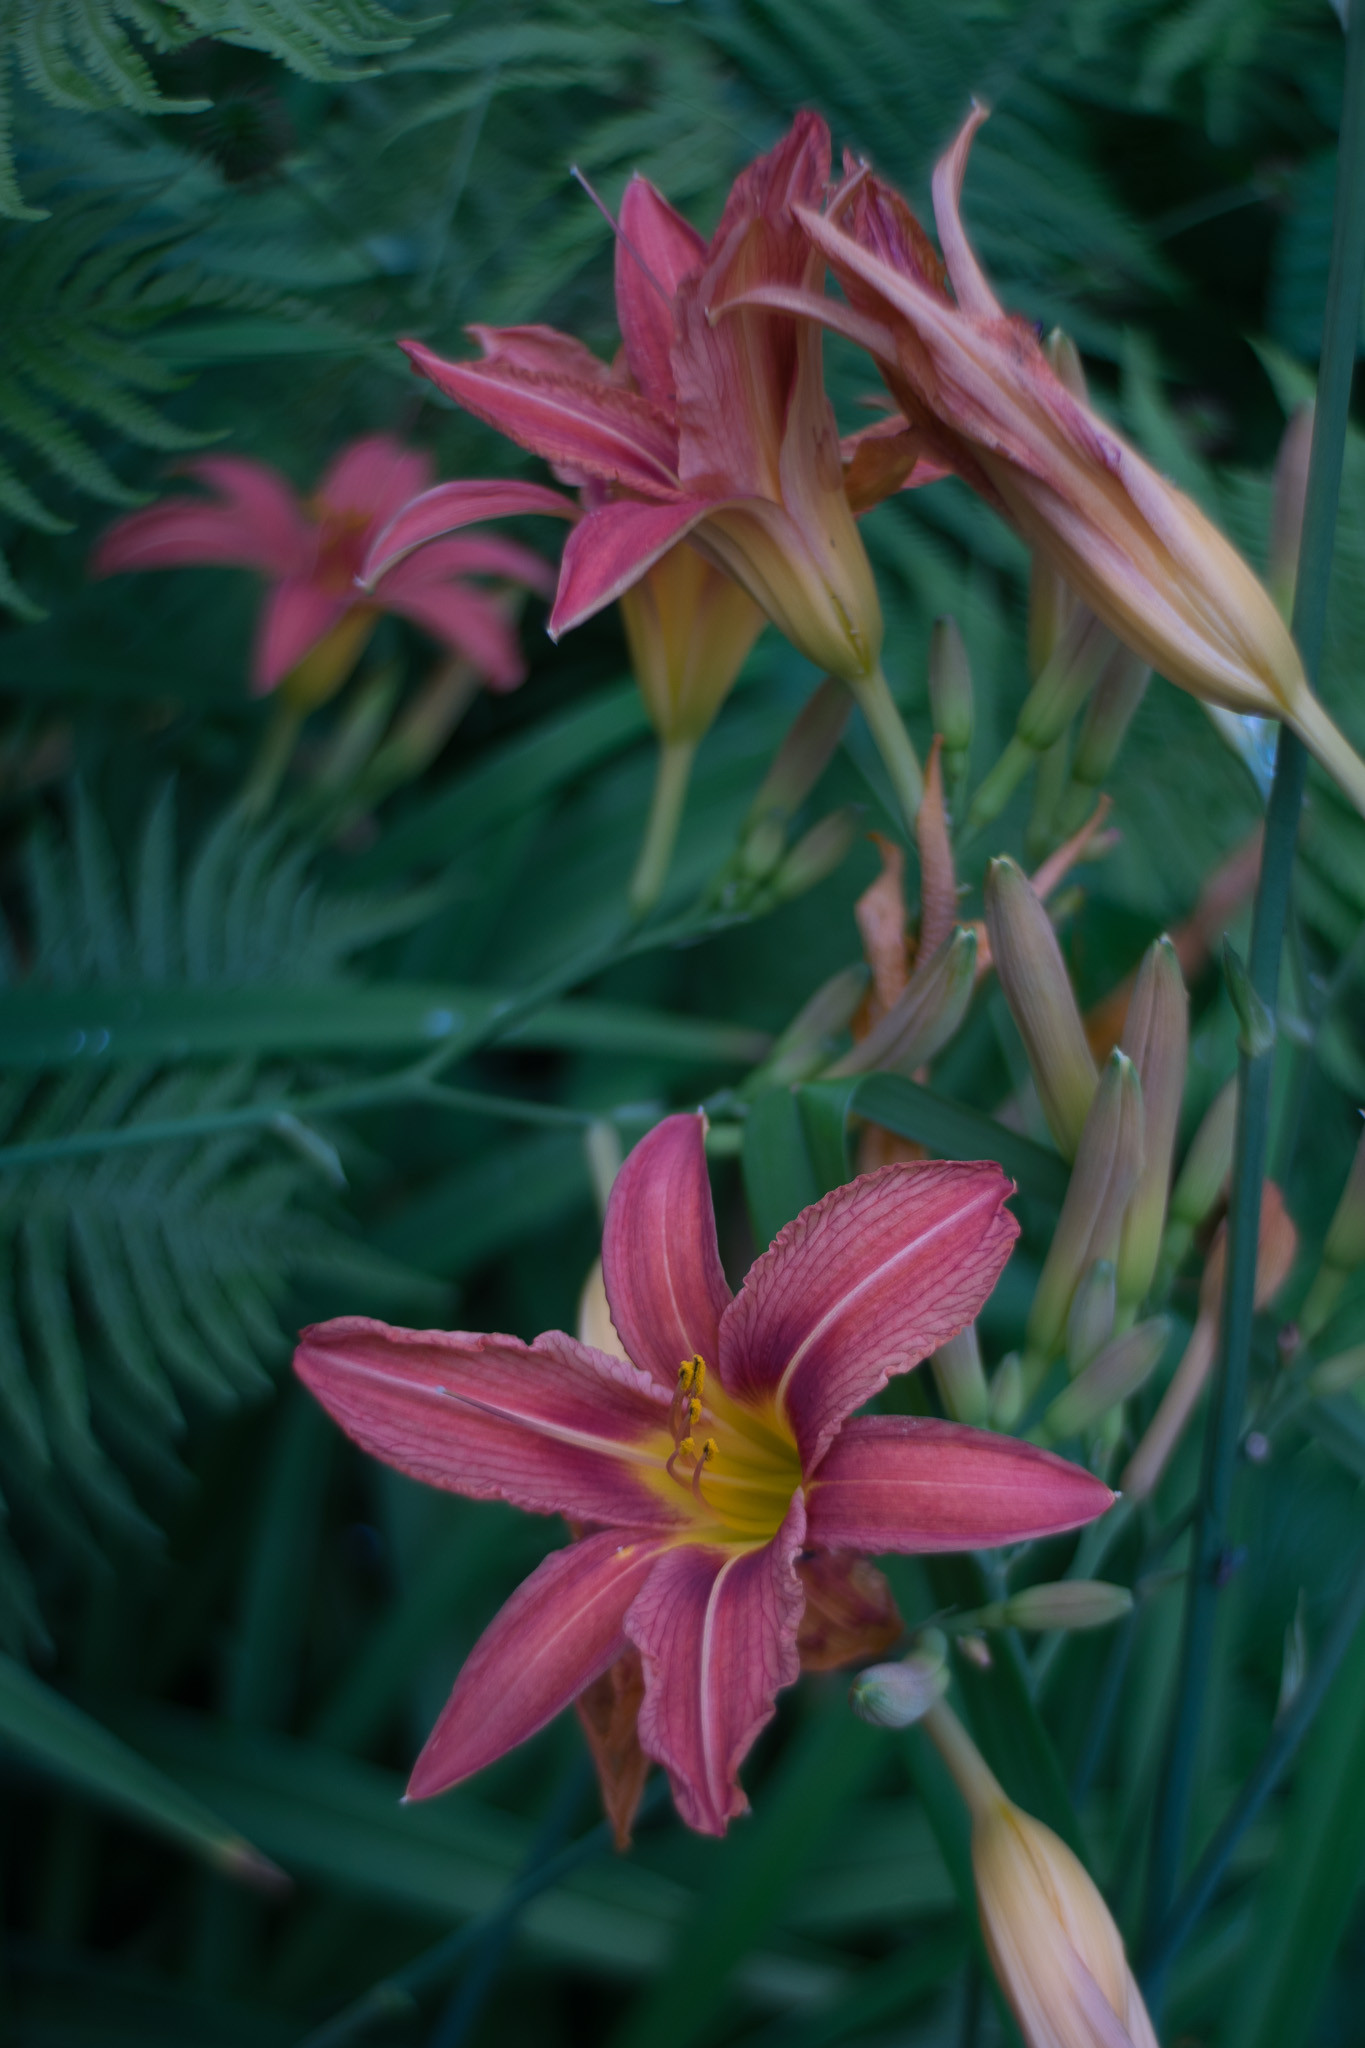
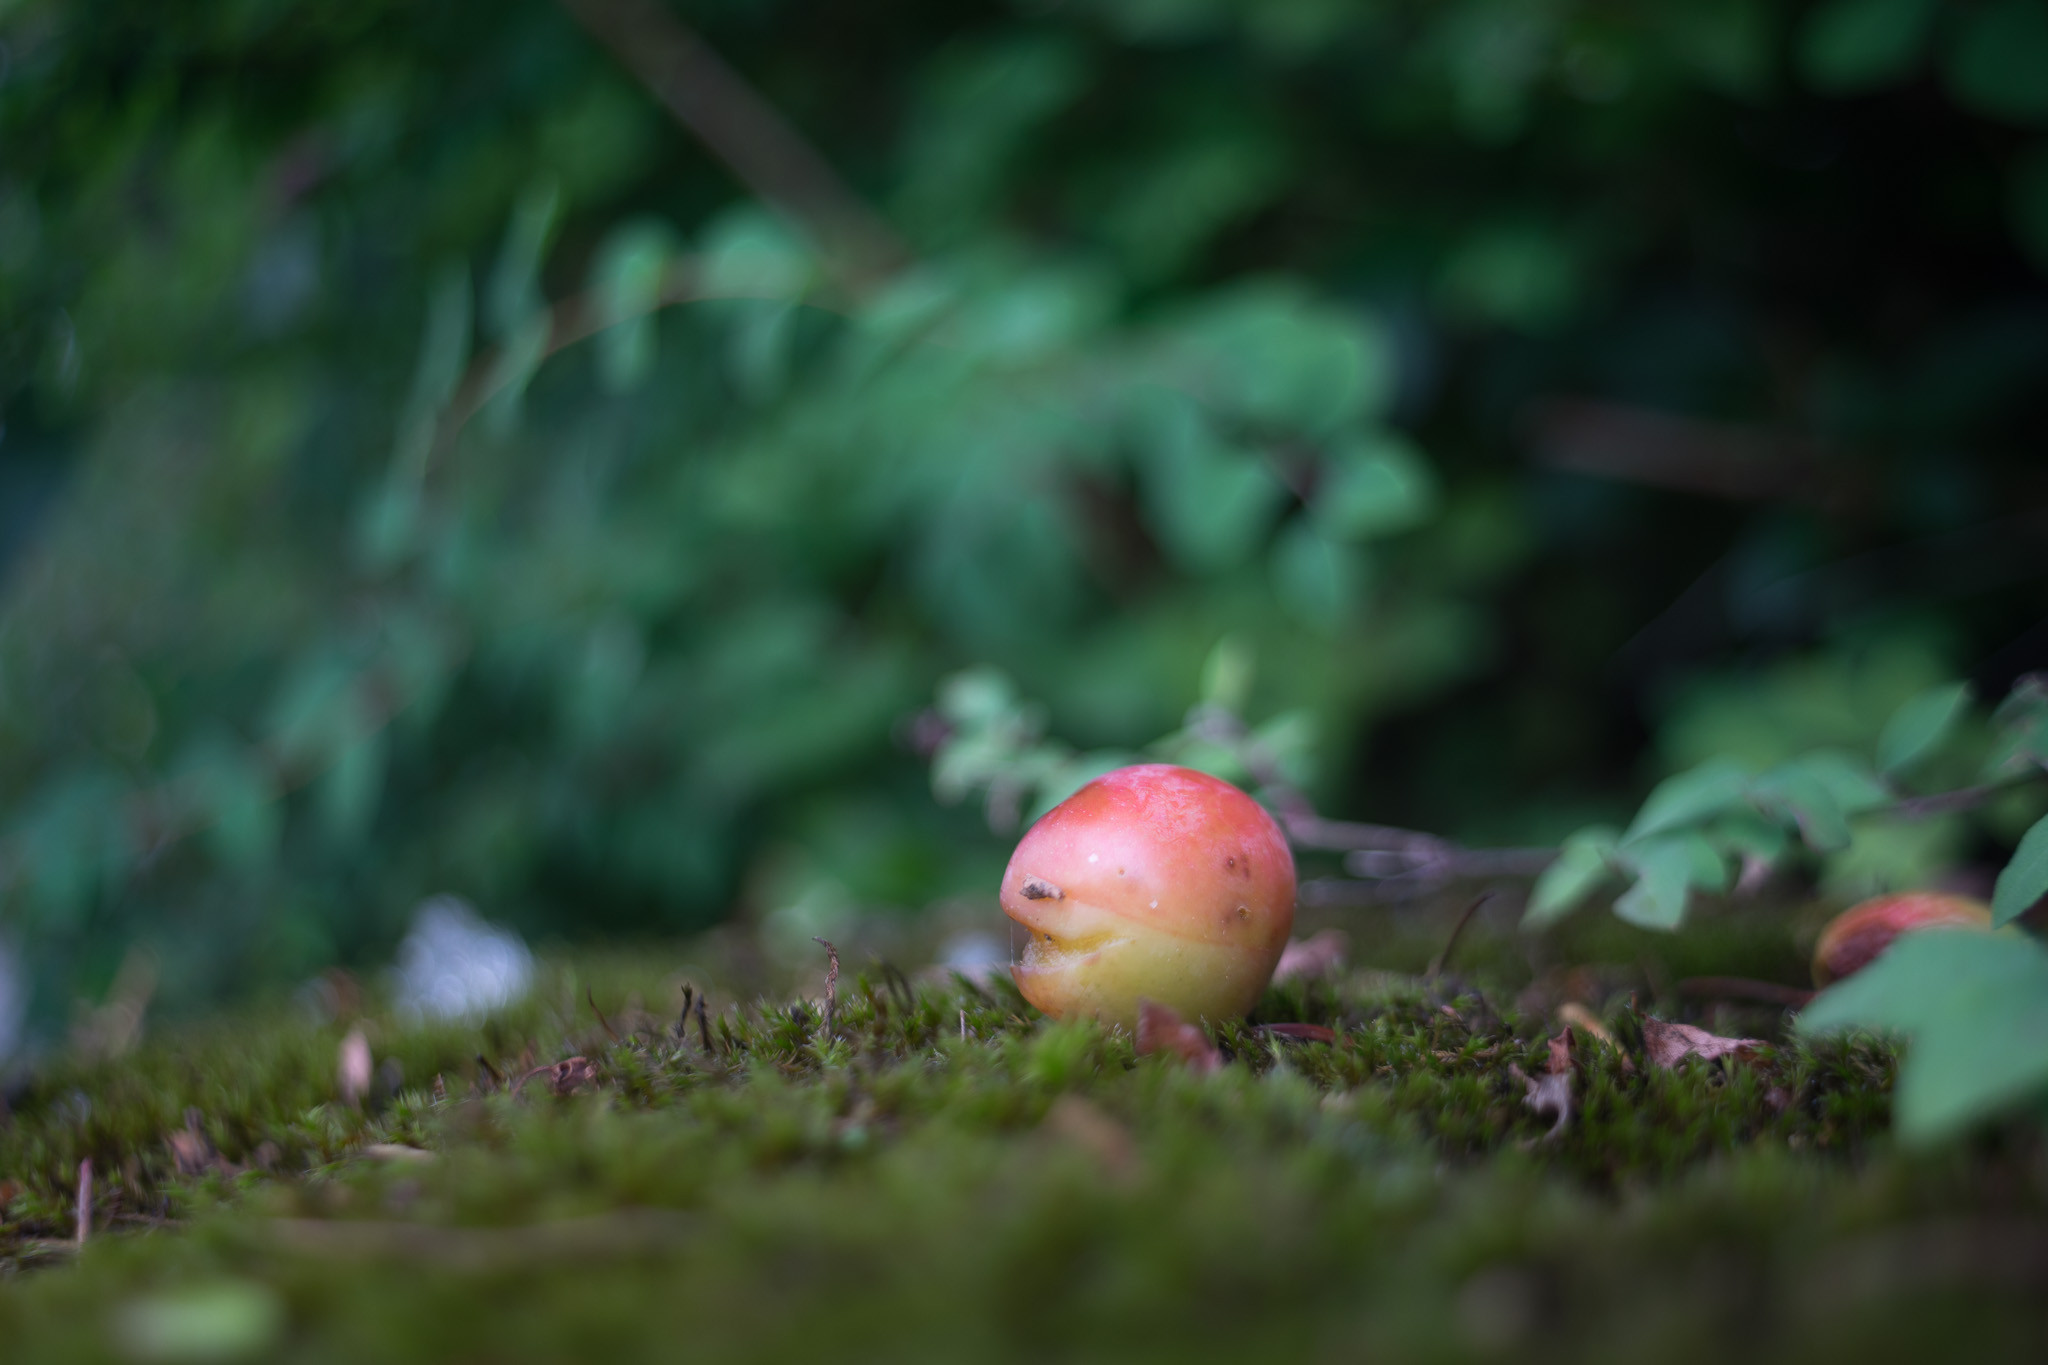
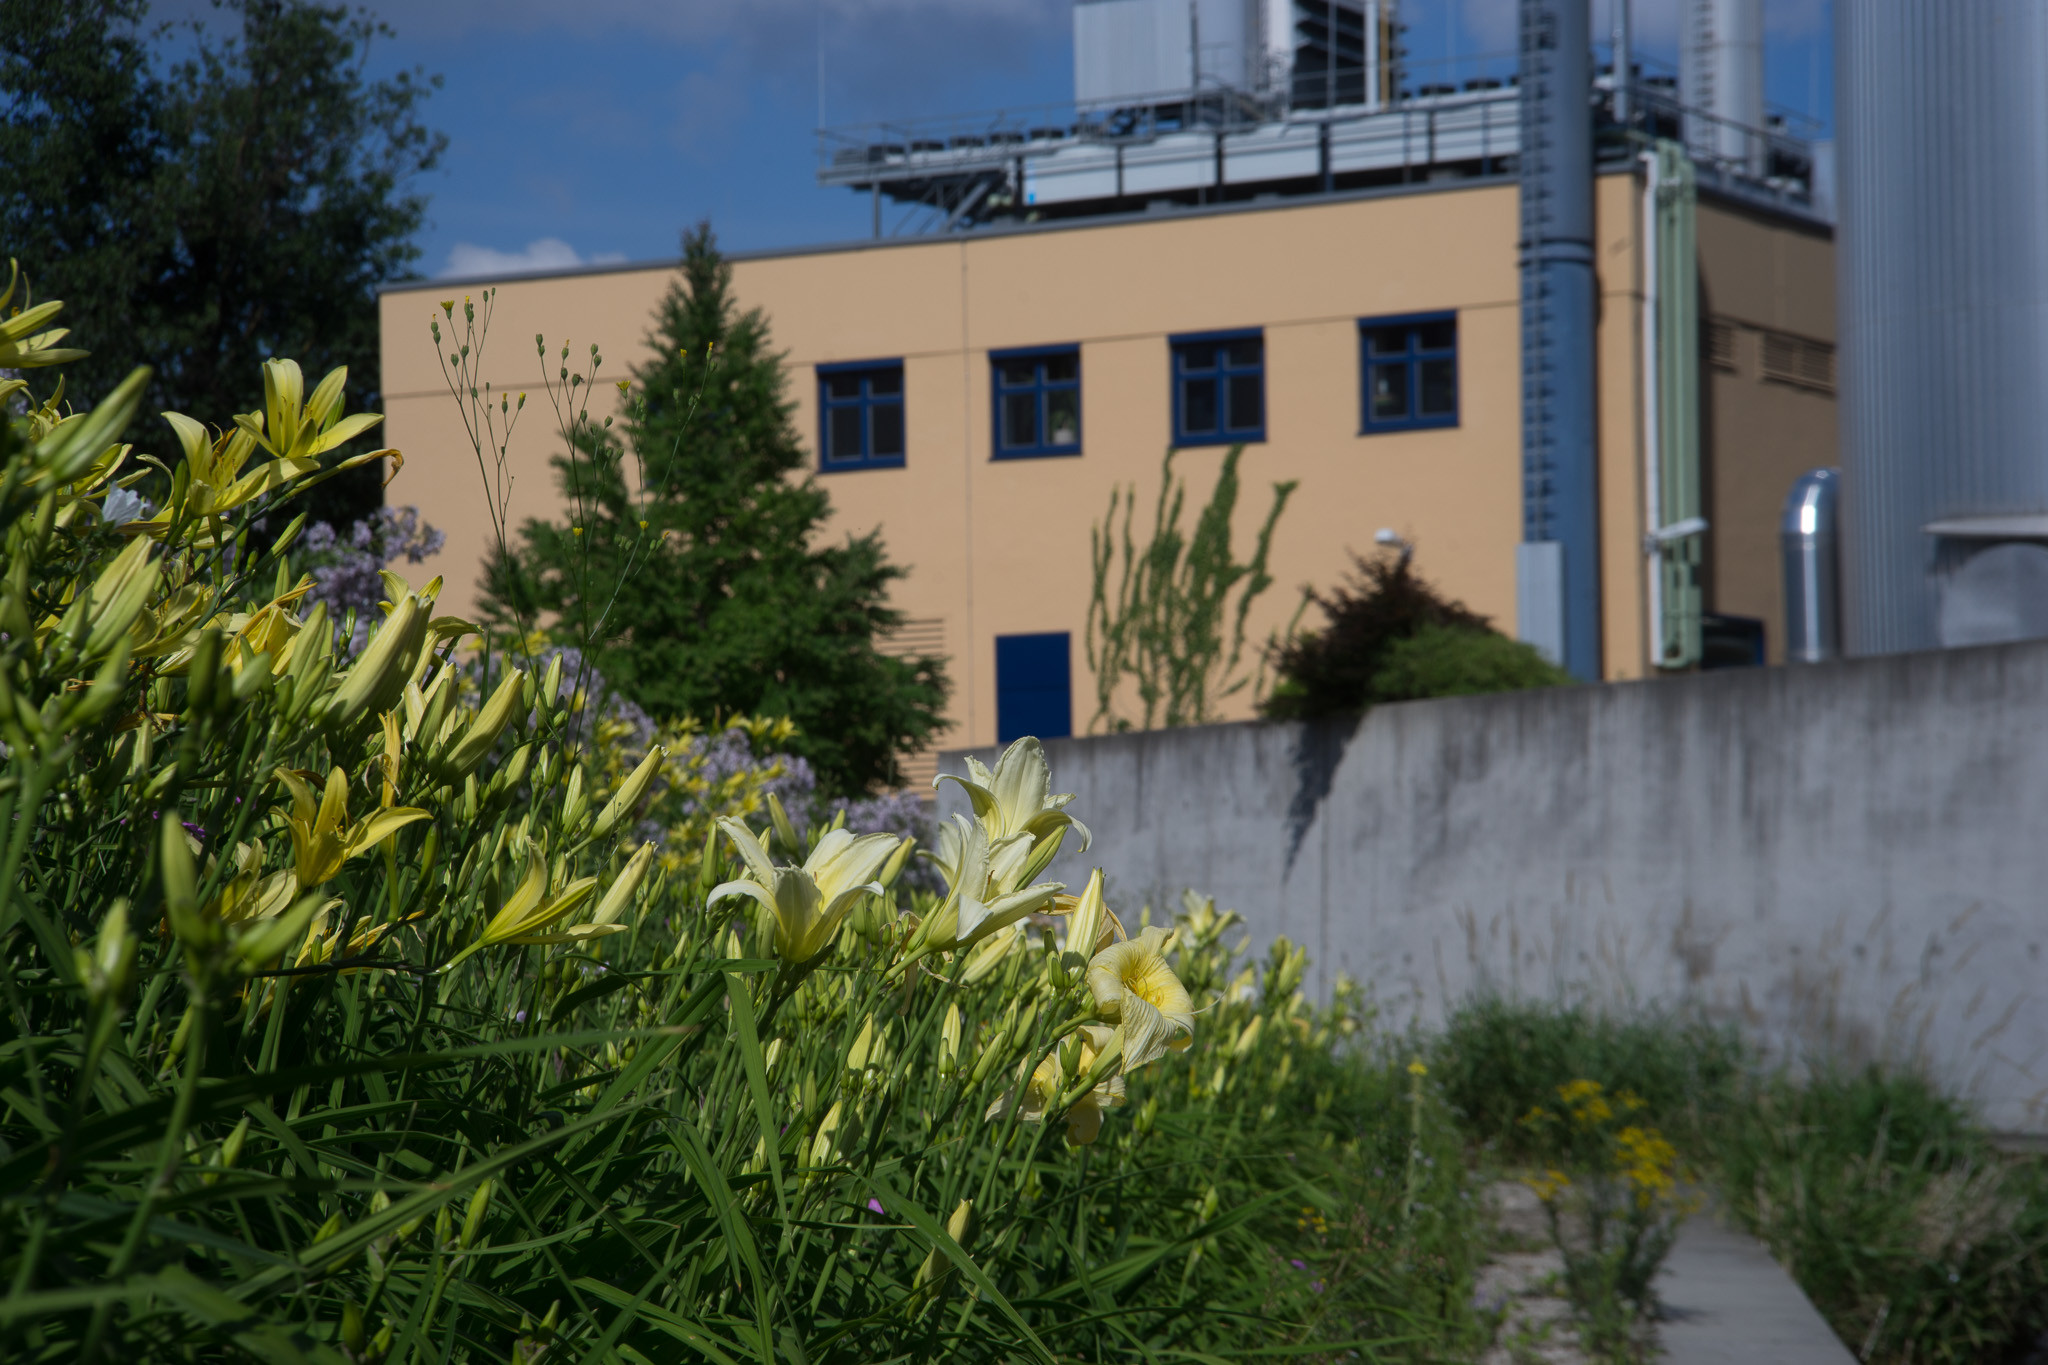
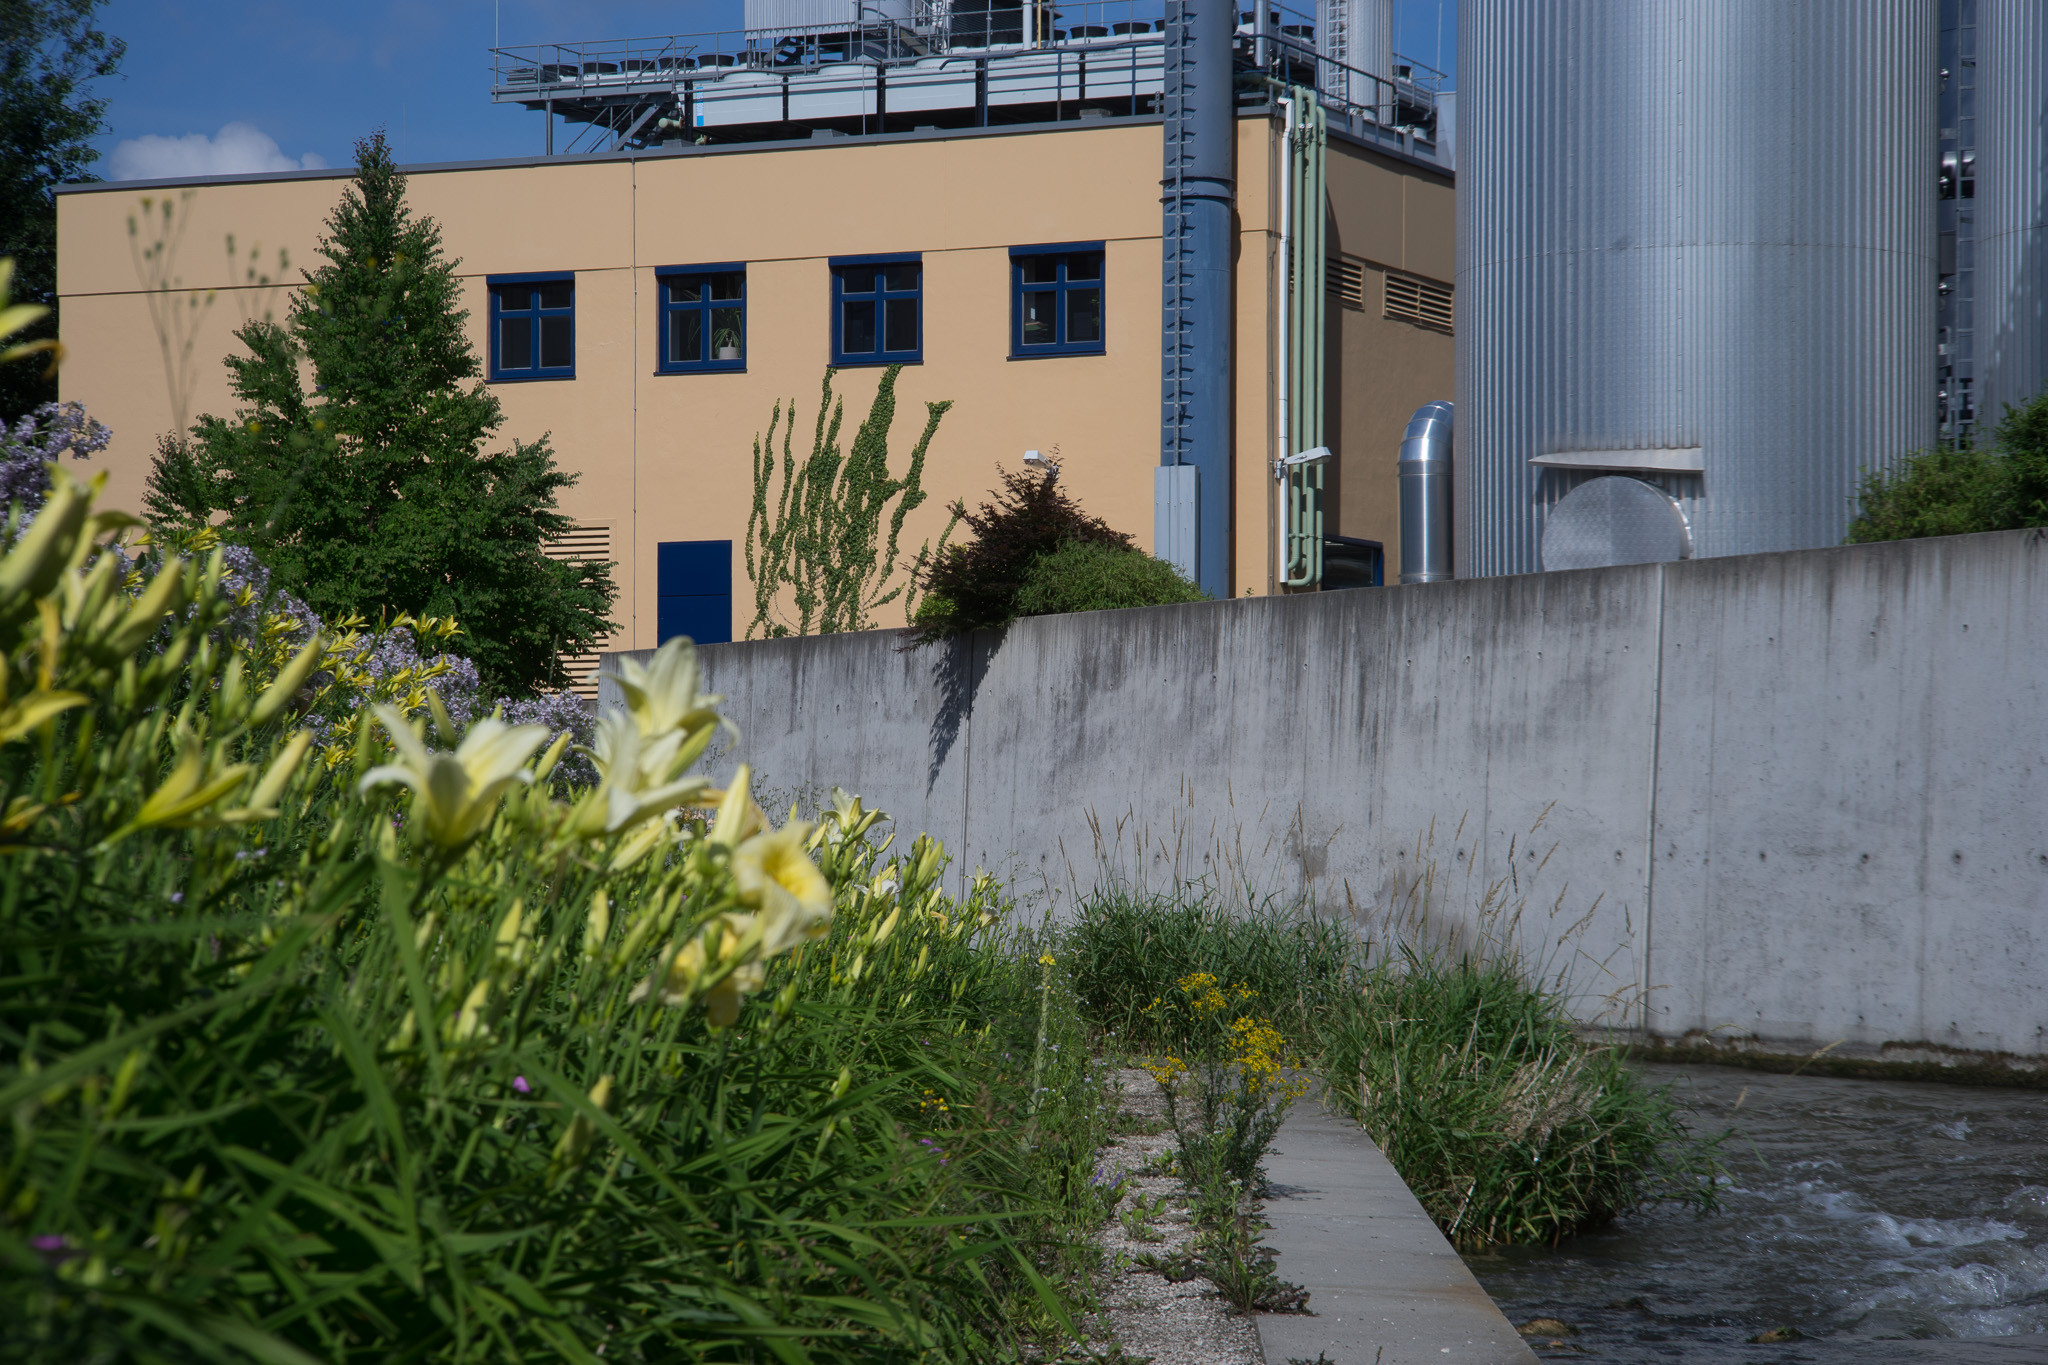
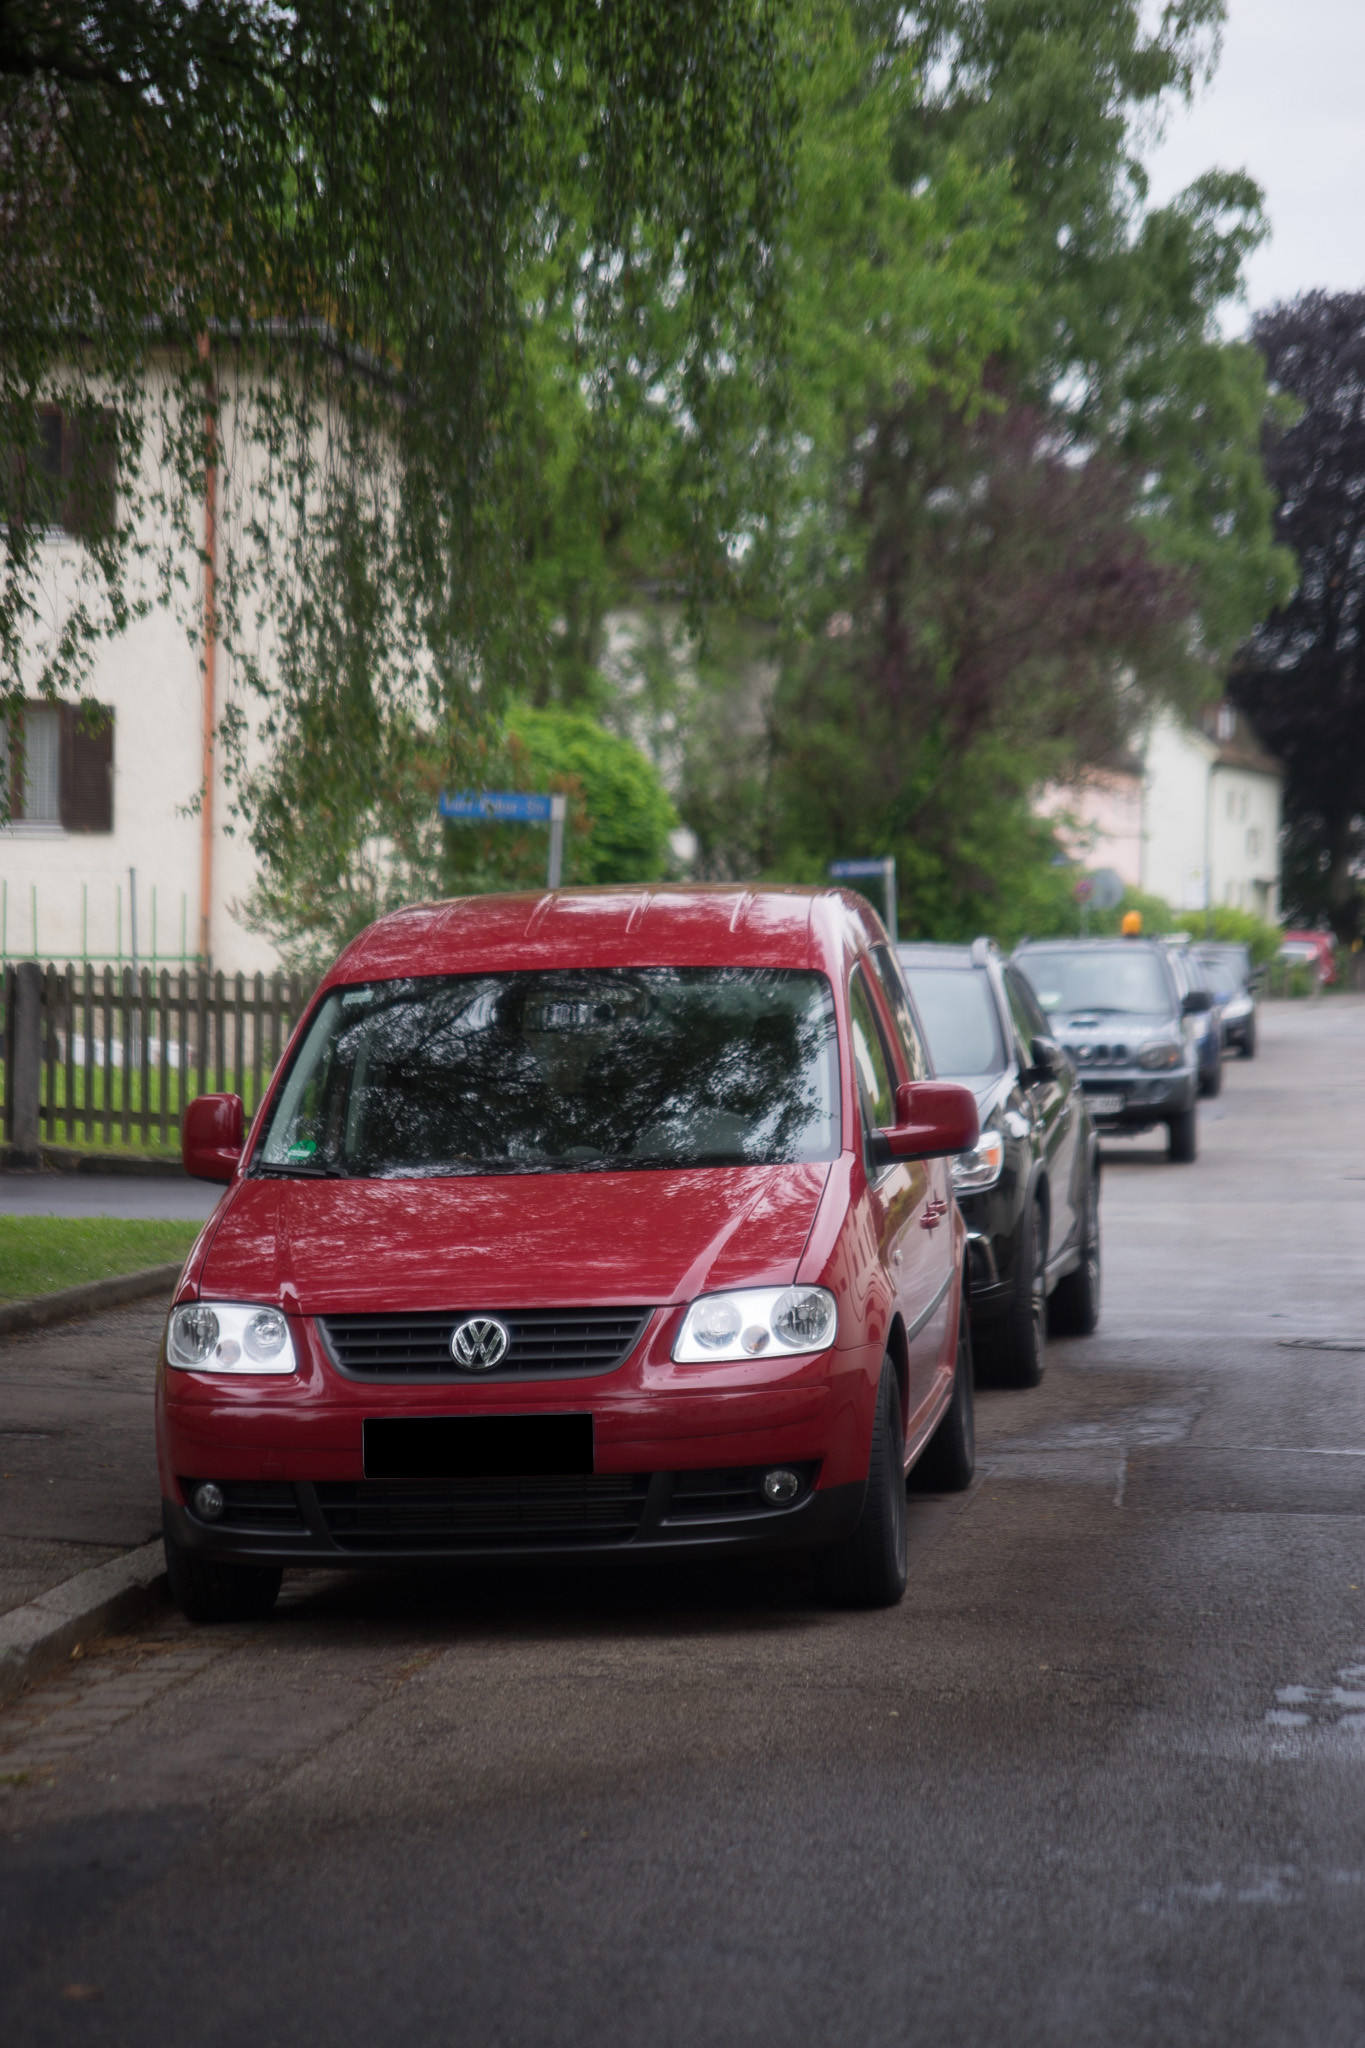
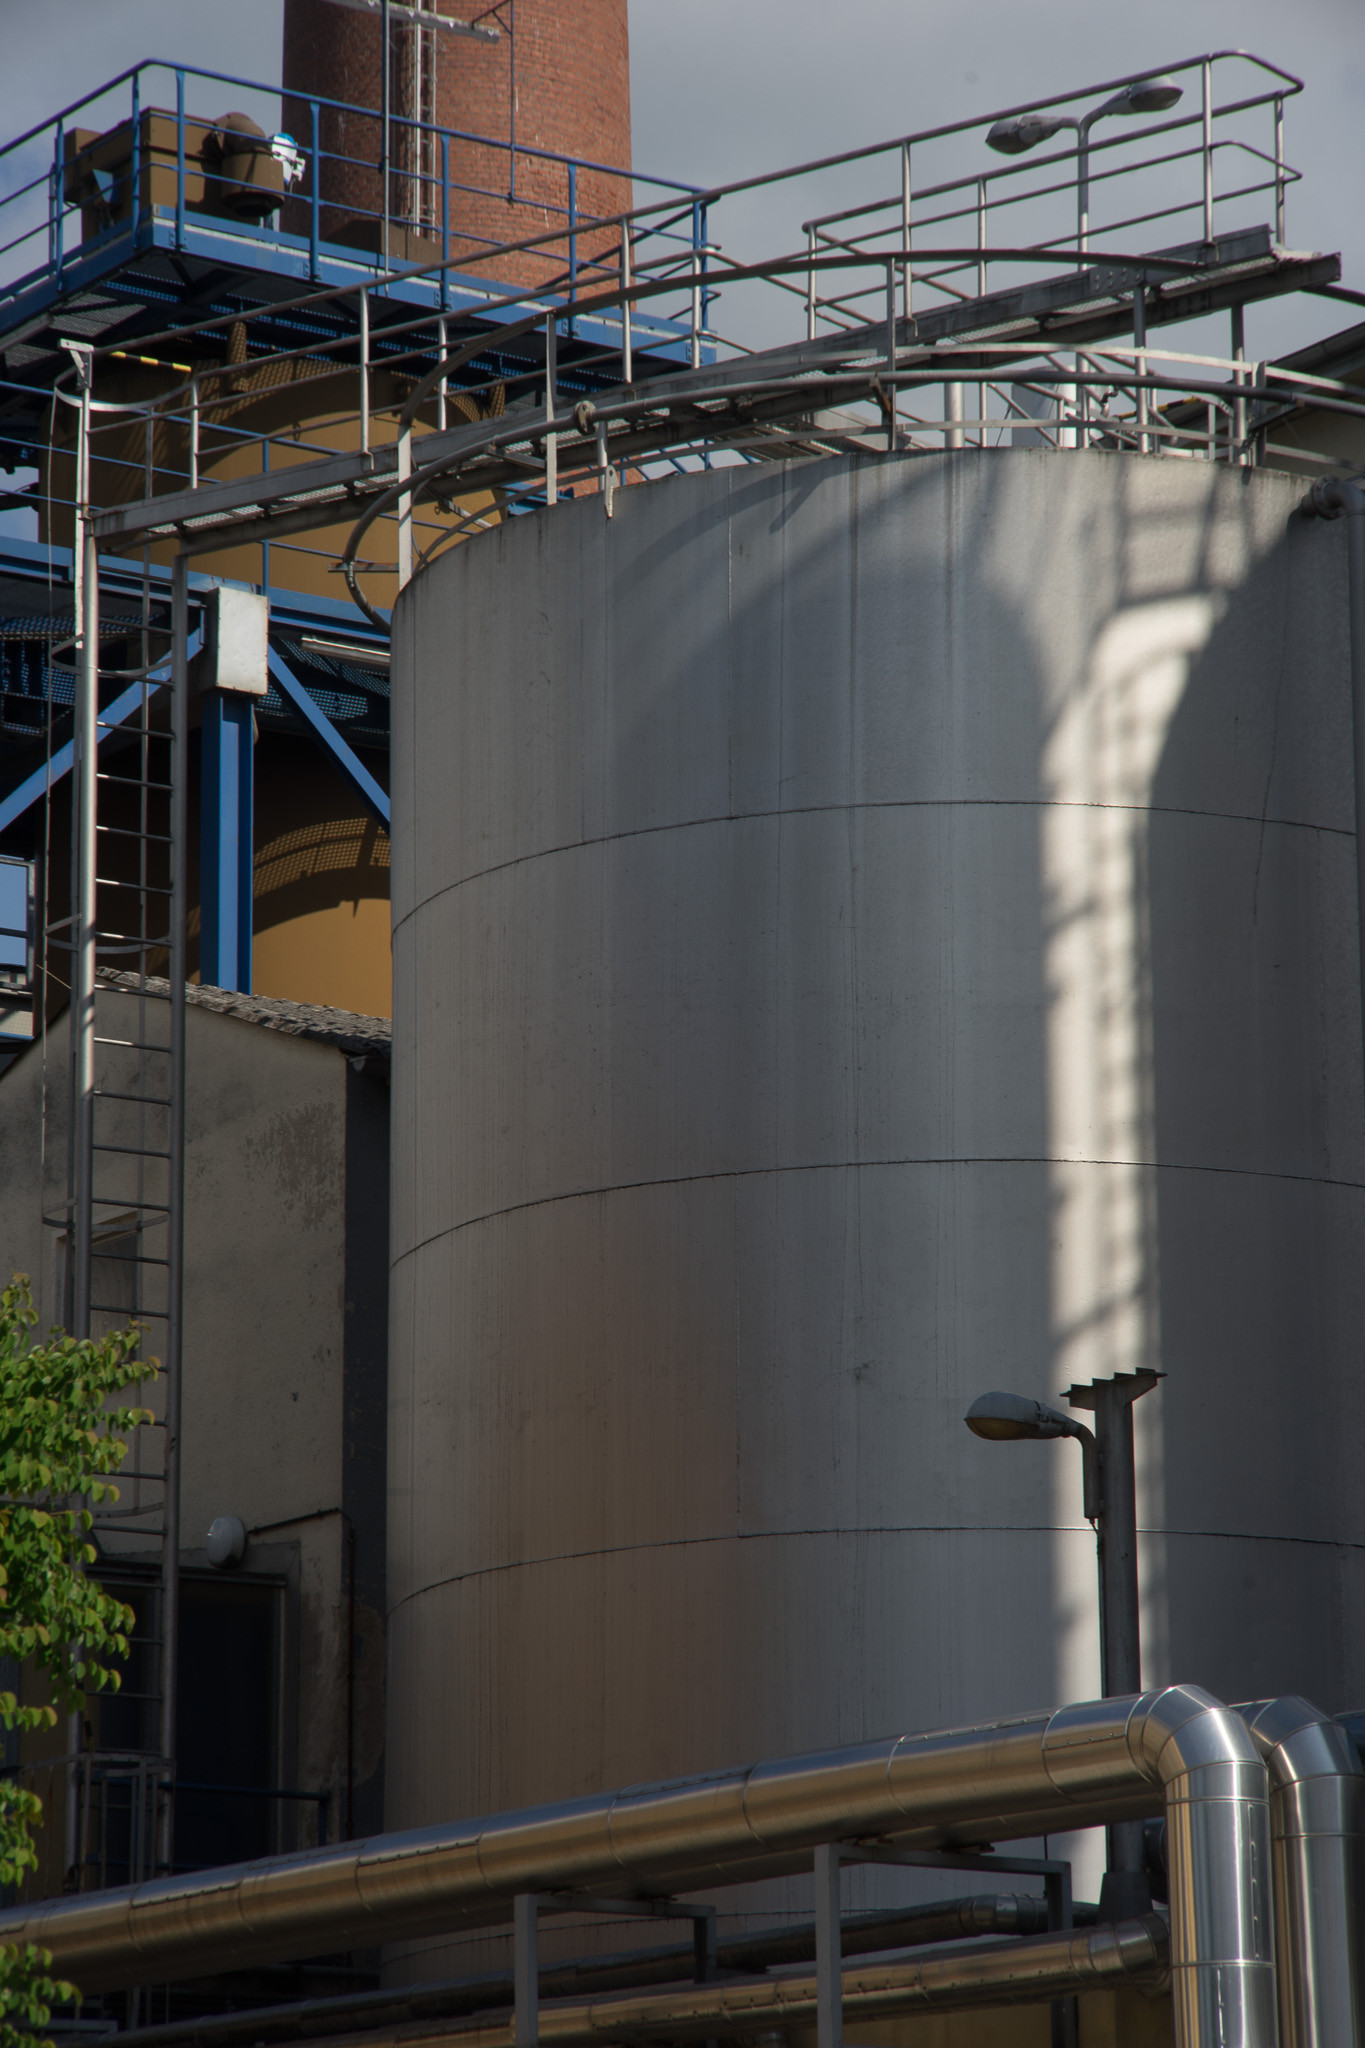
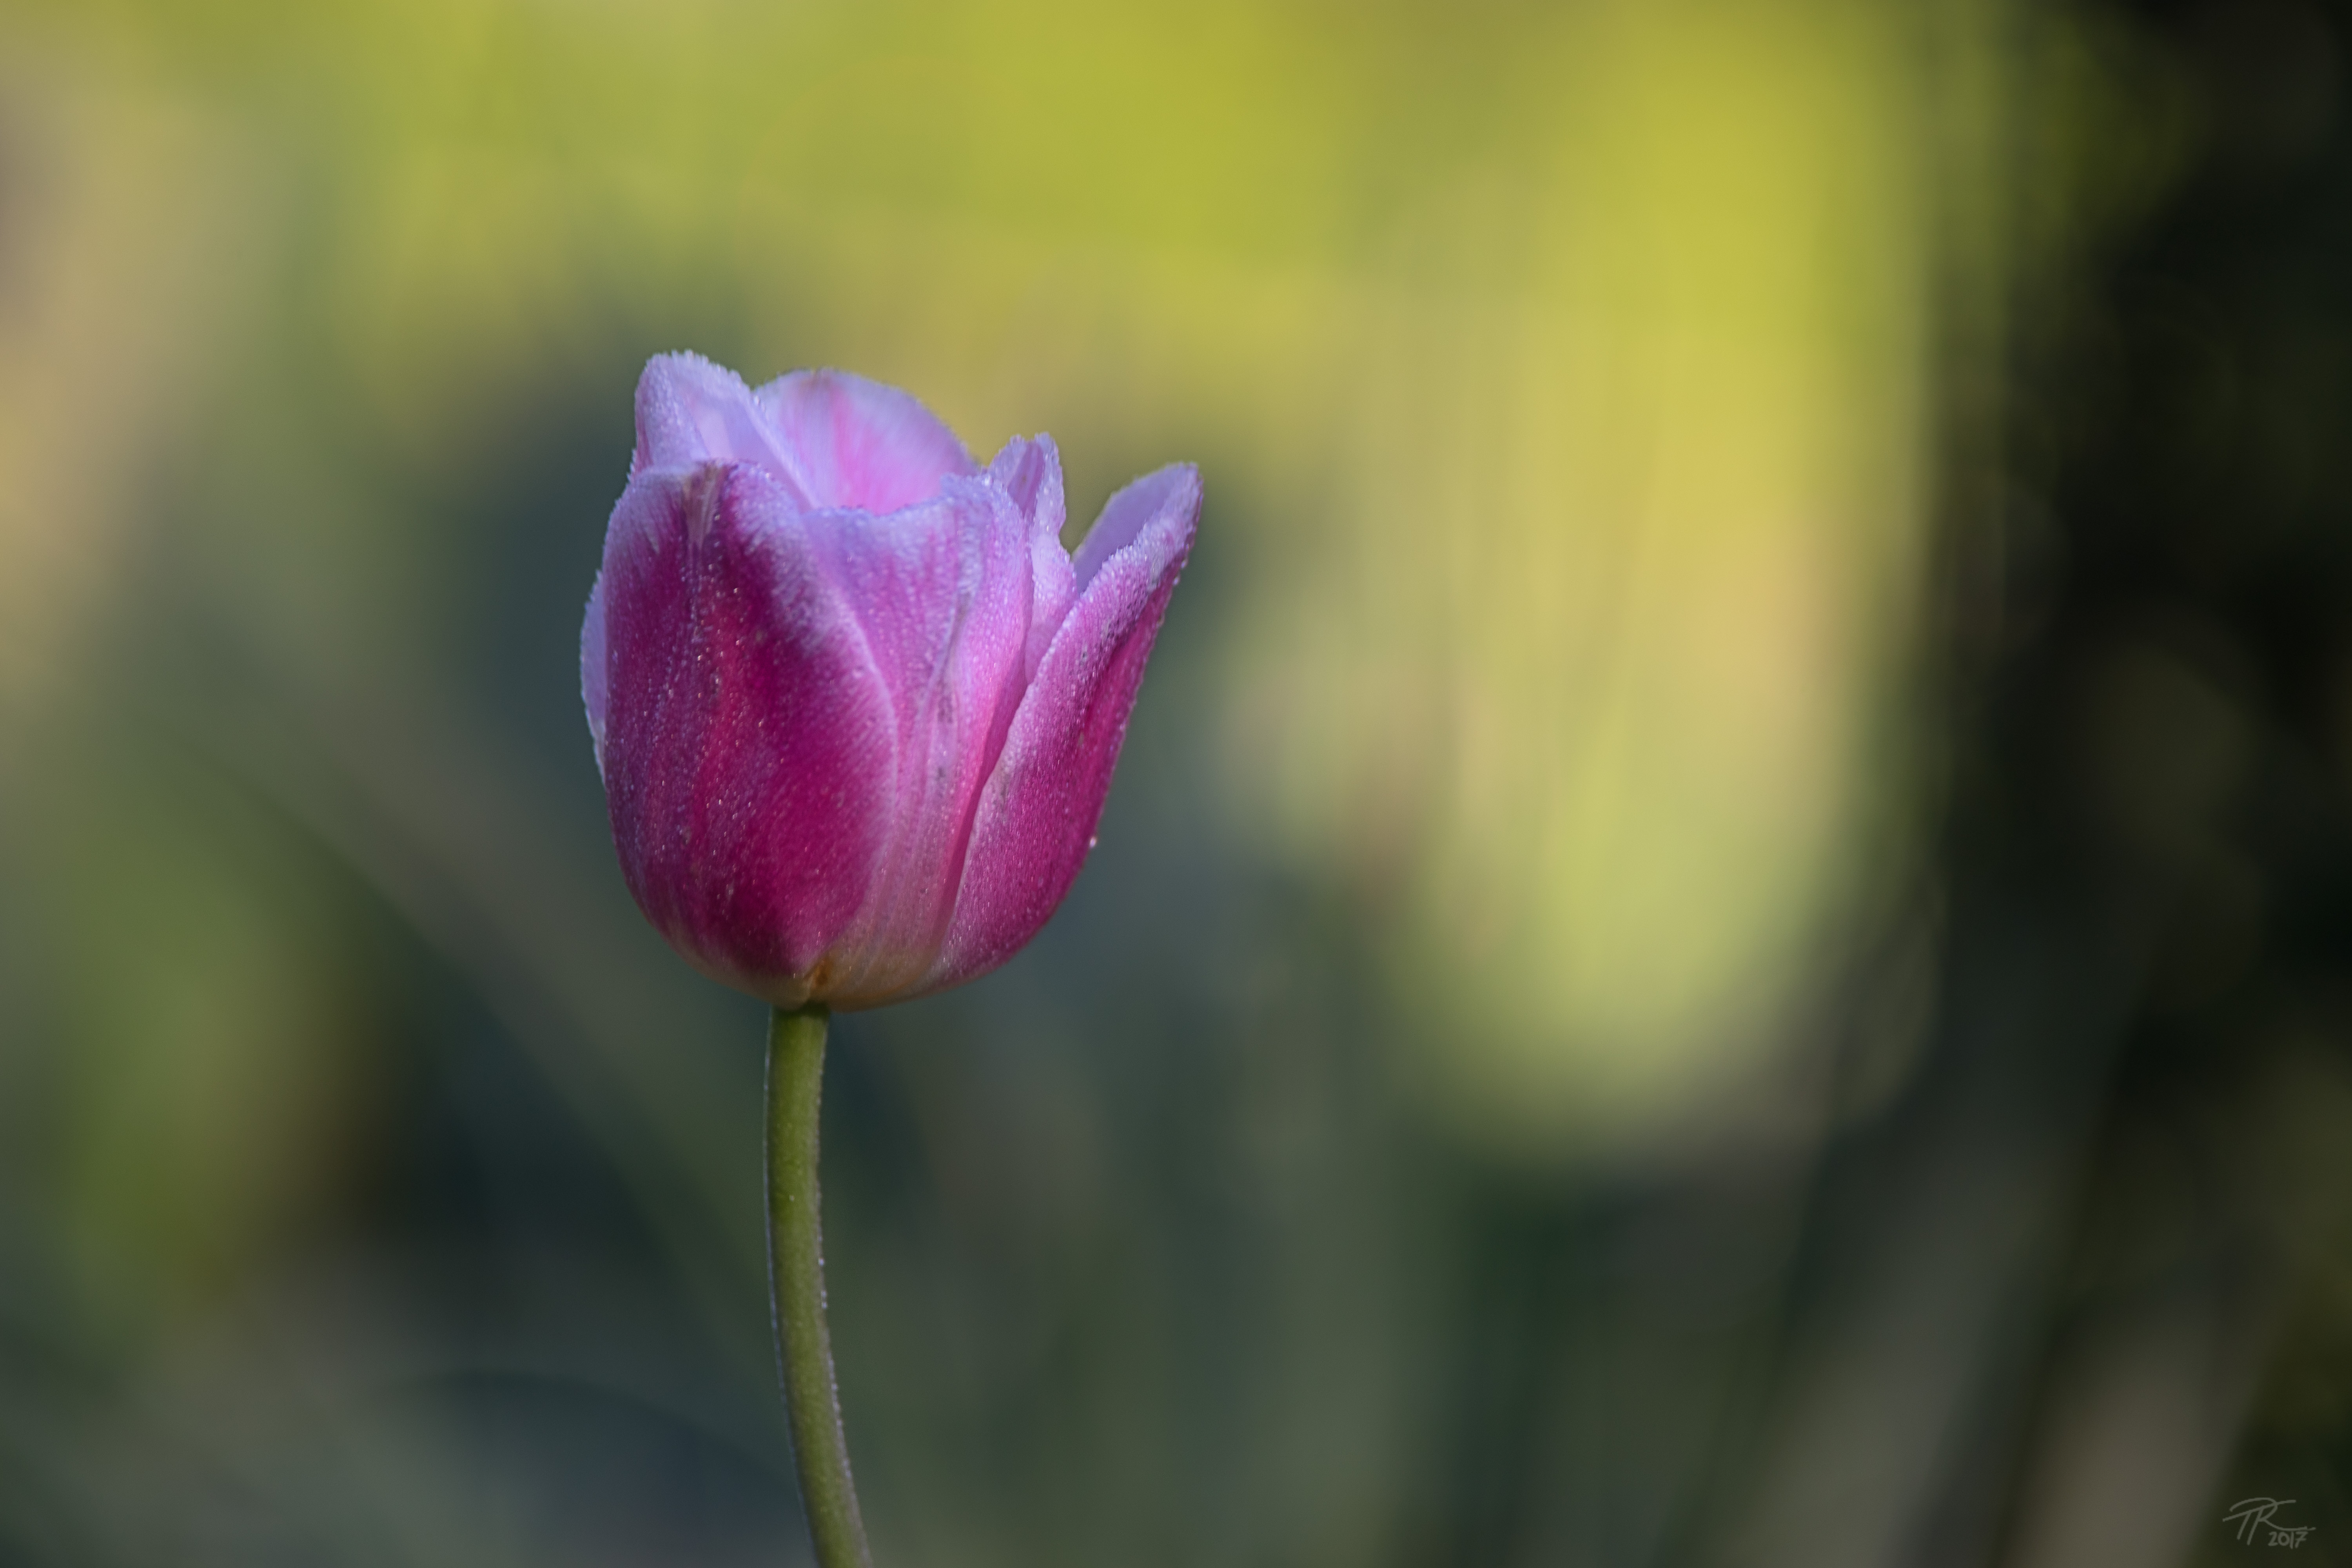
4/115:
 Zeiss 115mm lens outdoor sample image
 Zeiss 115mm lens bokeh sample image
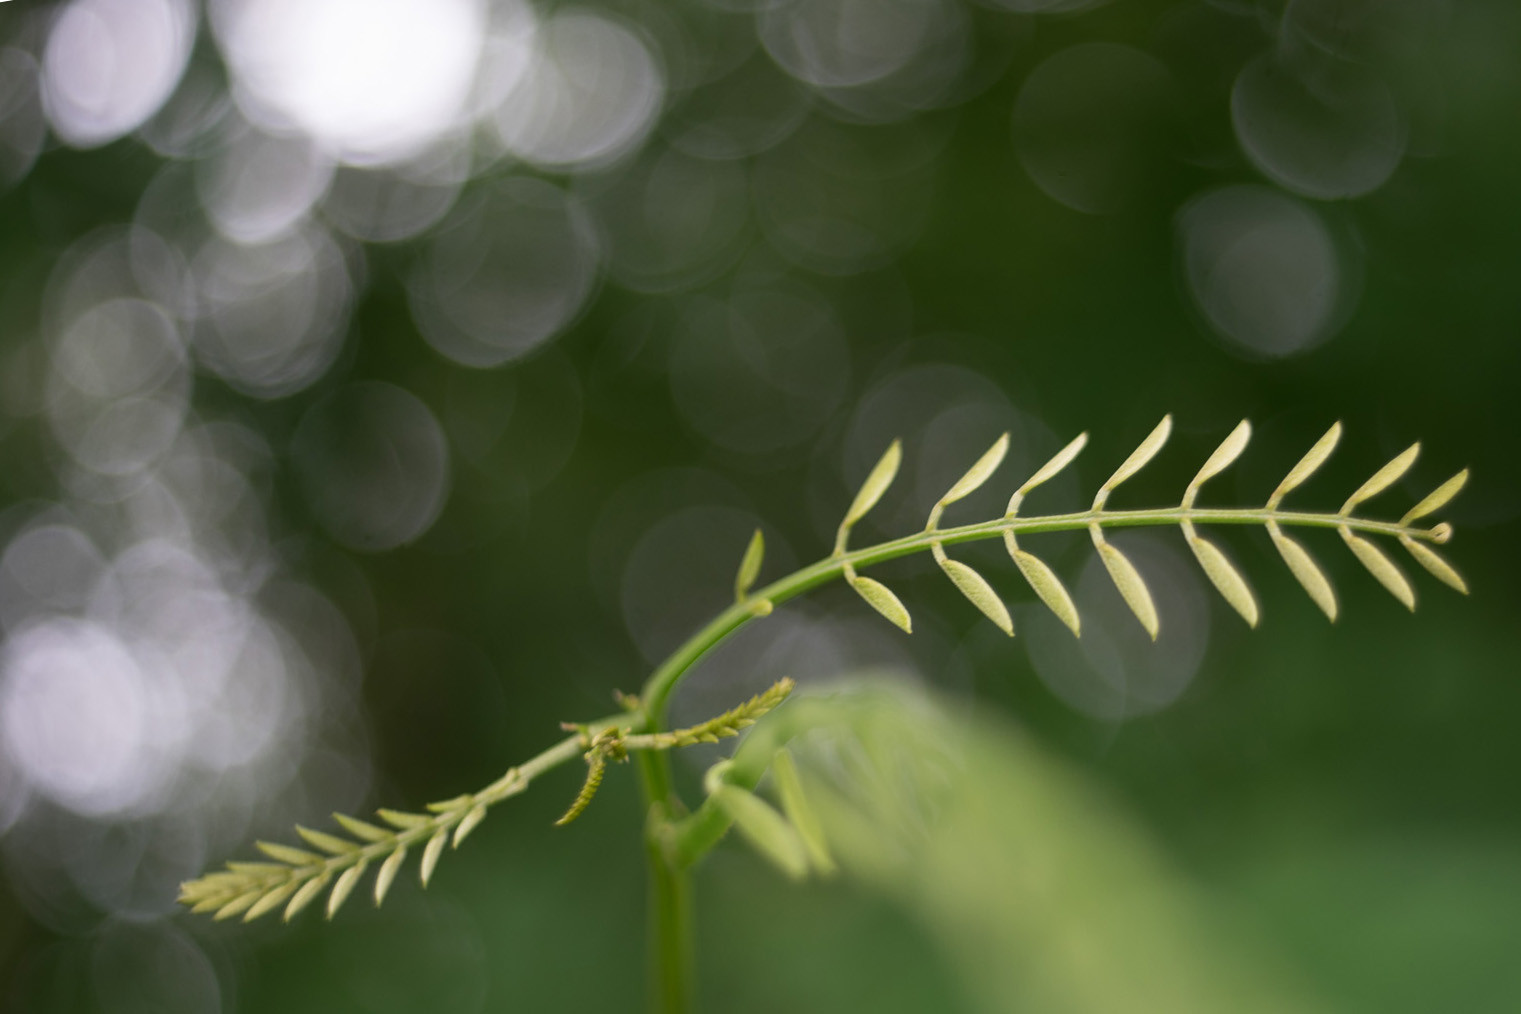
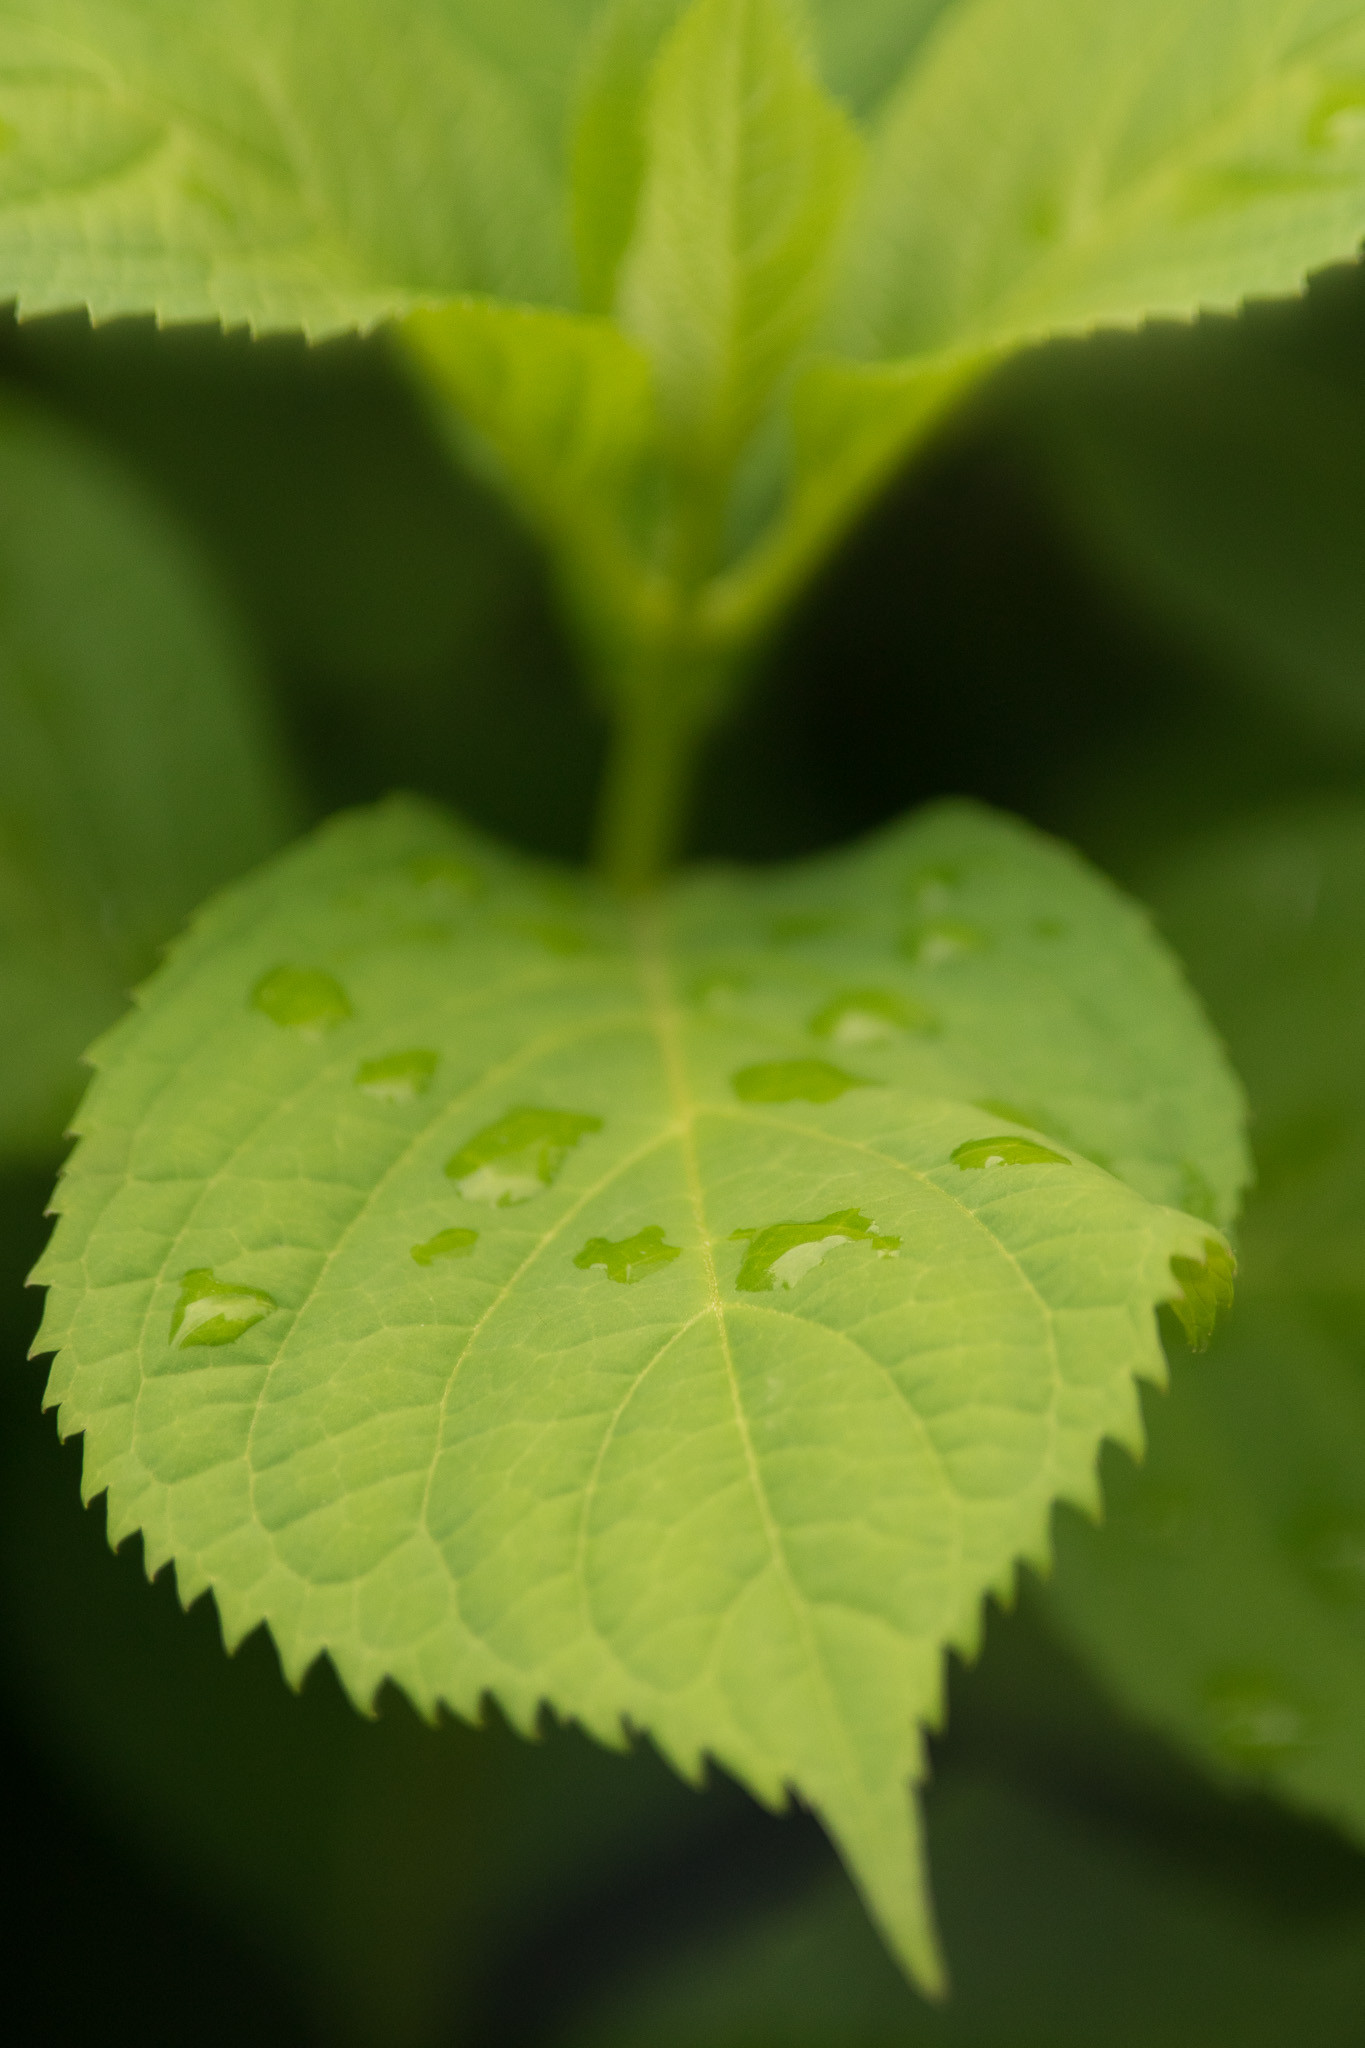
 Zeiss 115mm lens nature close up sample
 Zeiss 115mm lens soft focus sample image
Processed Samples (4/115):
 Zeiss lens funky bokeh processed sample
 Zeiss lens funky bokeh processed image
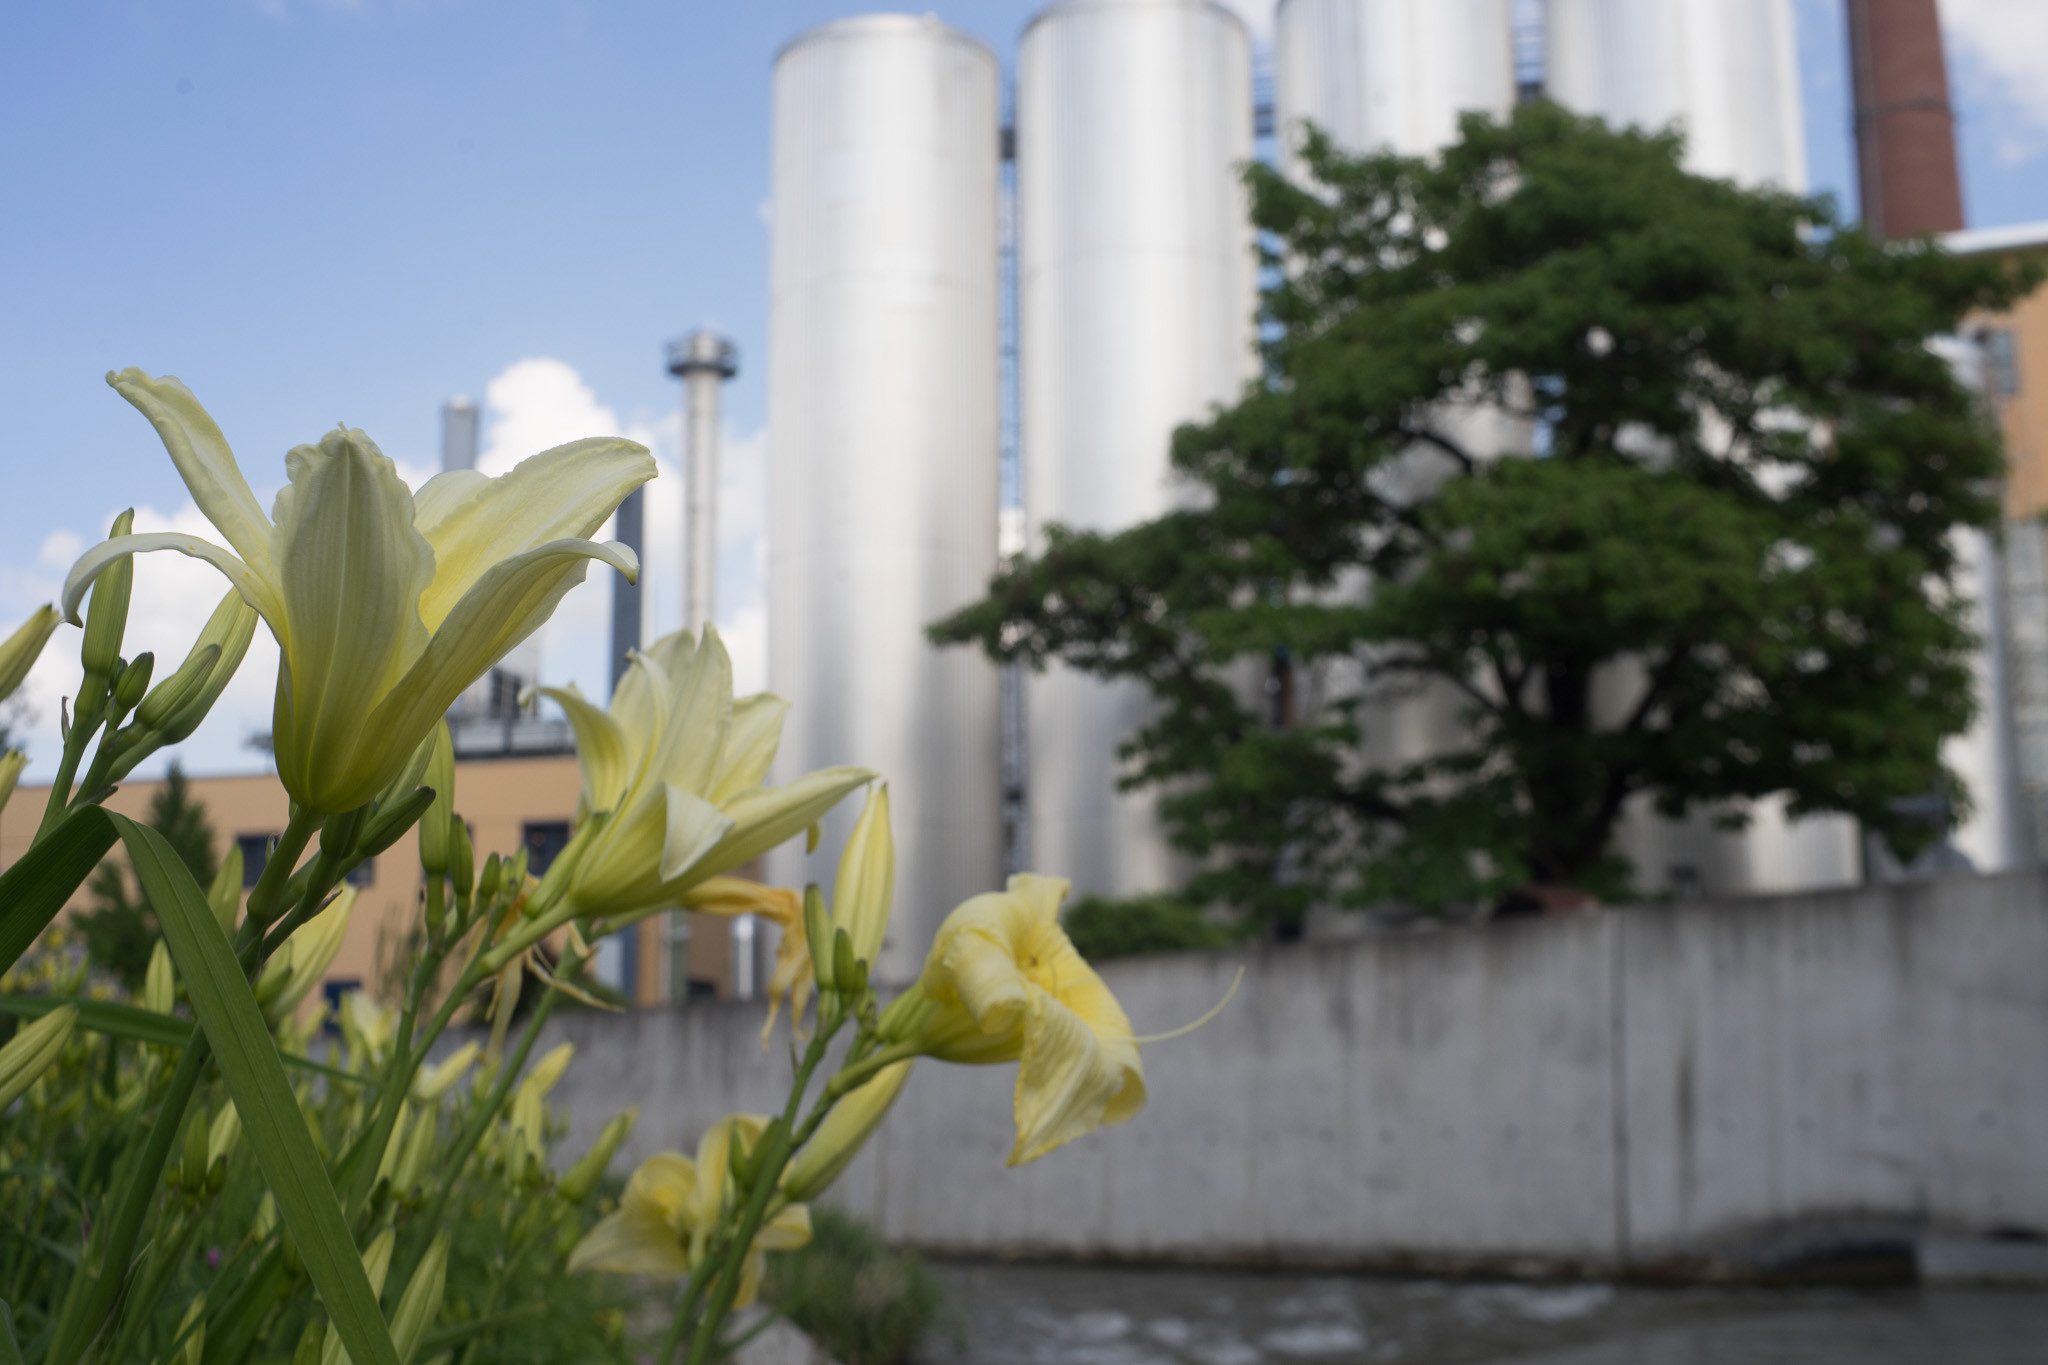
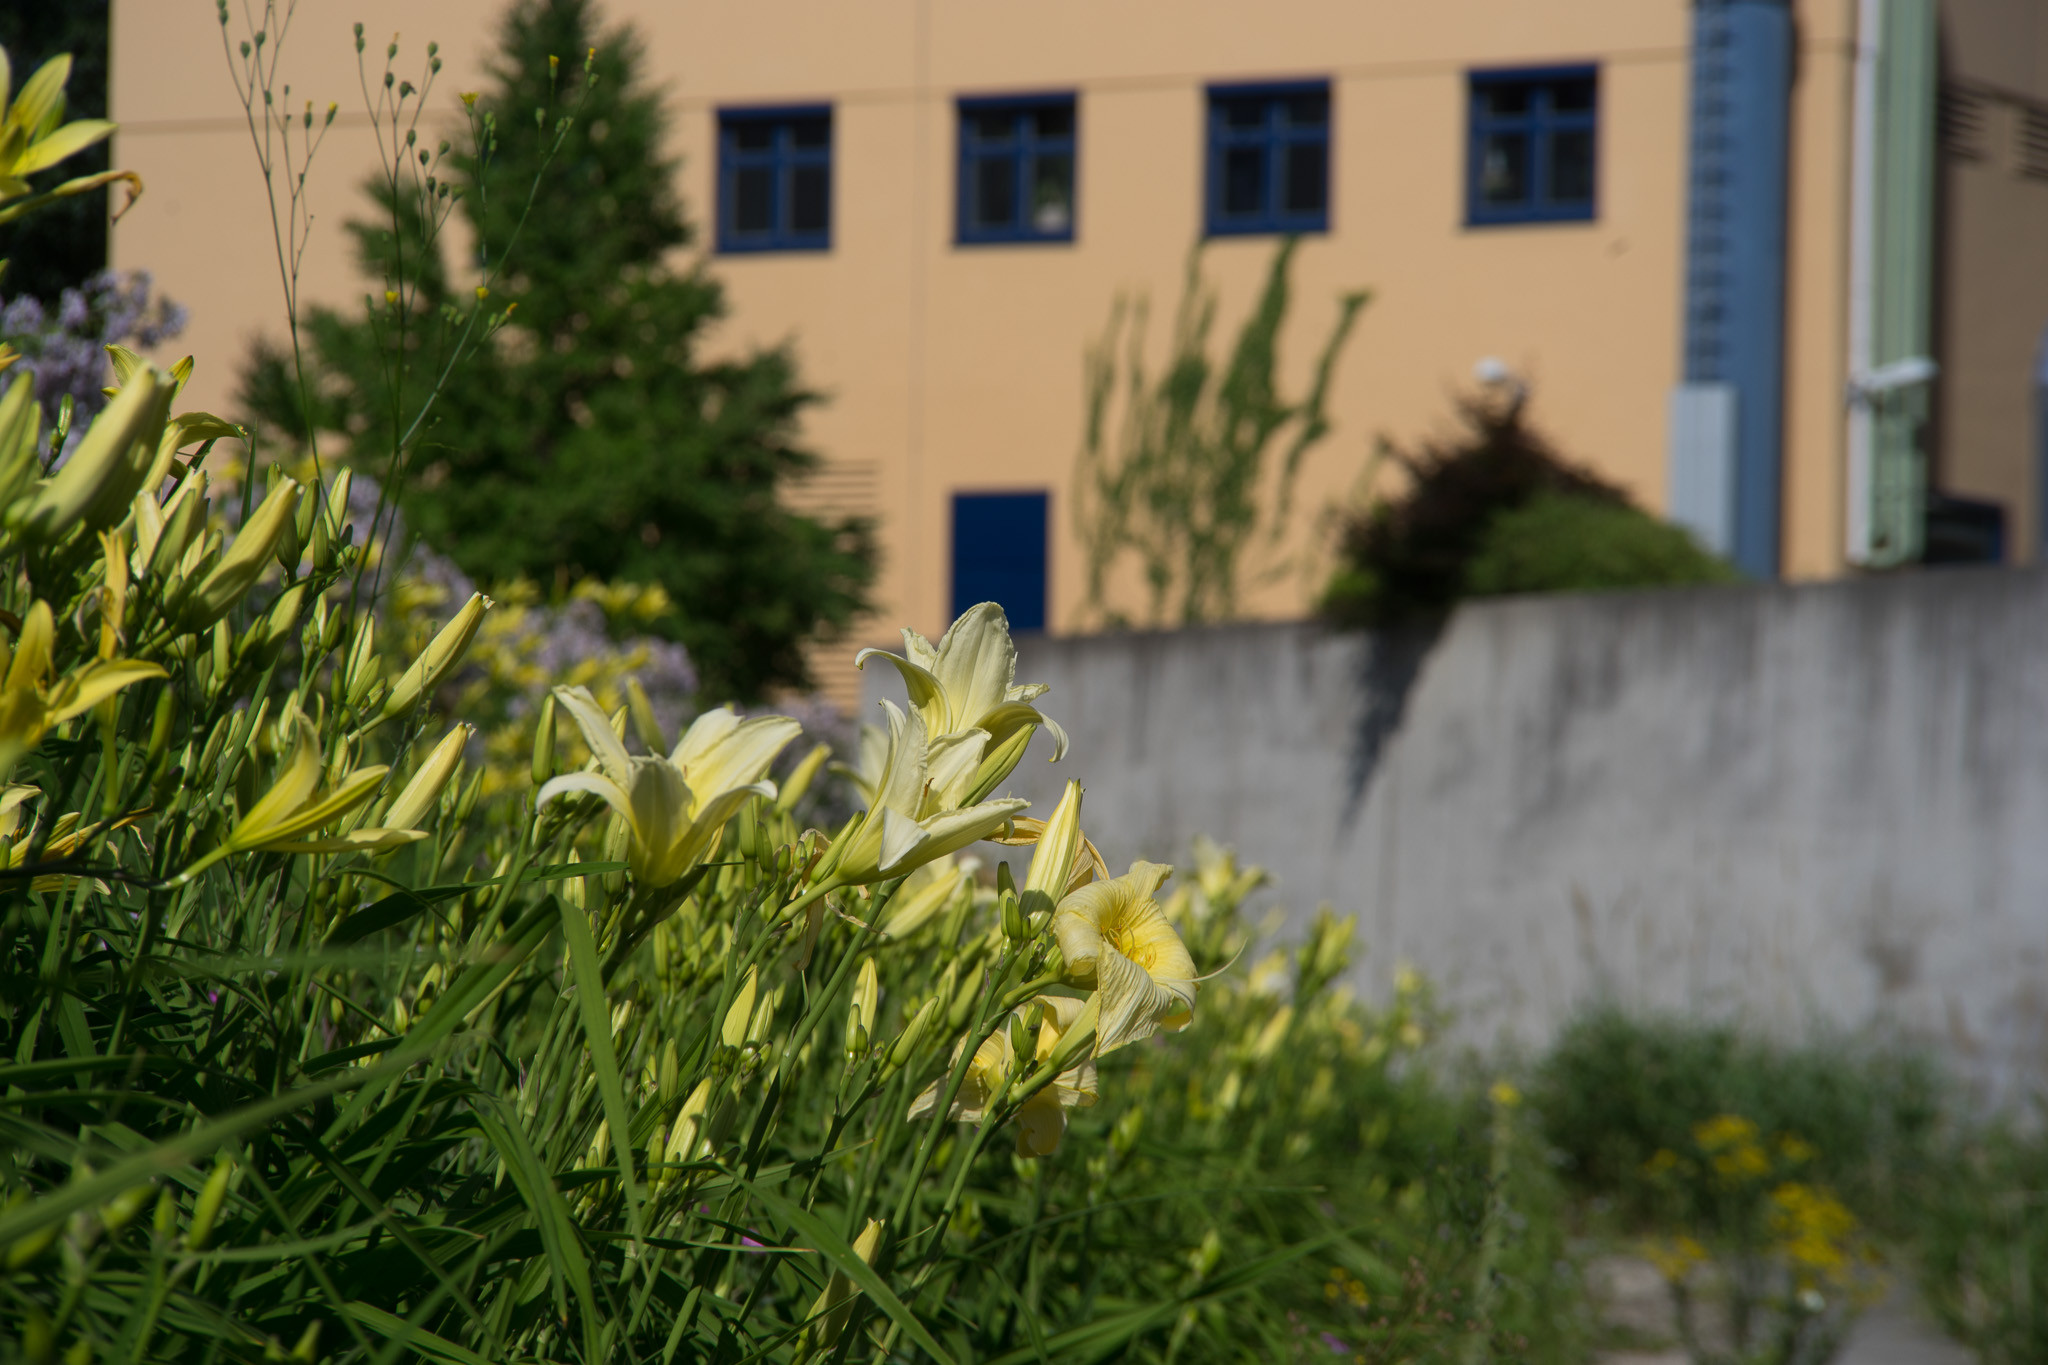
 Zeiss lens processed outdoor sample
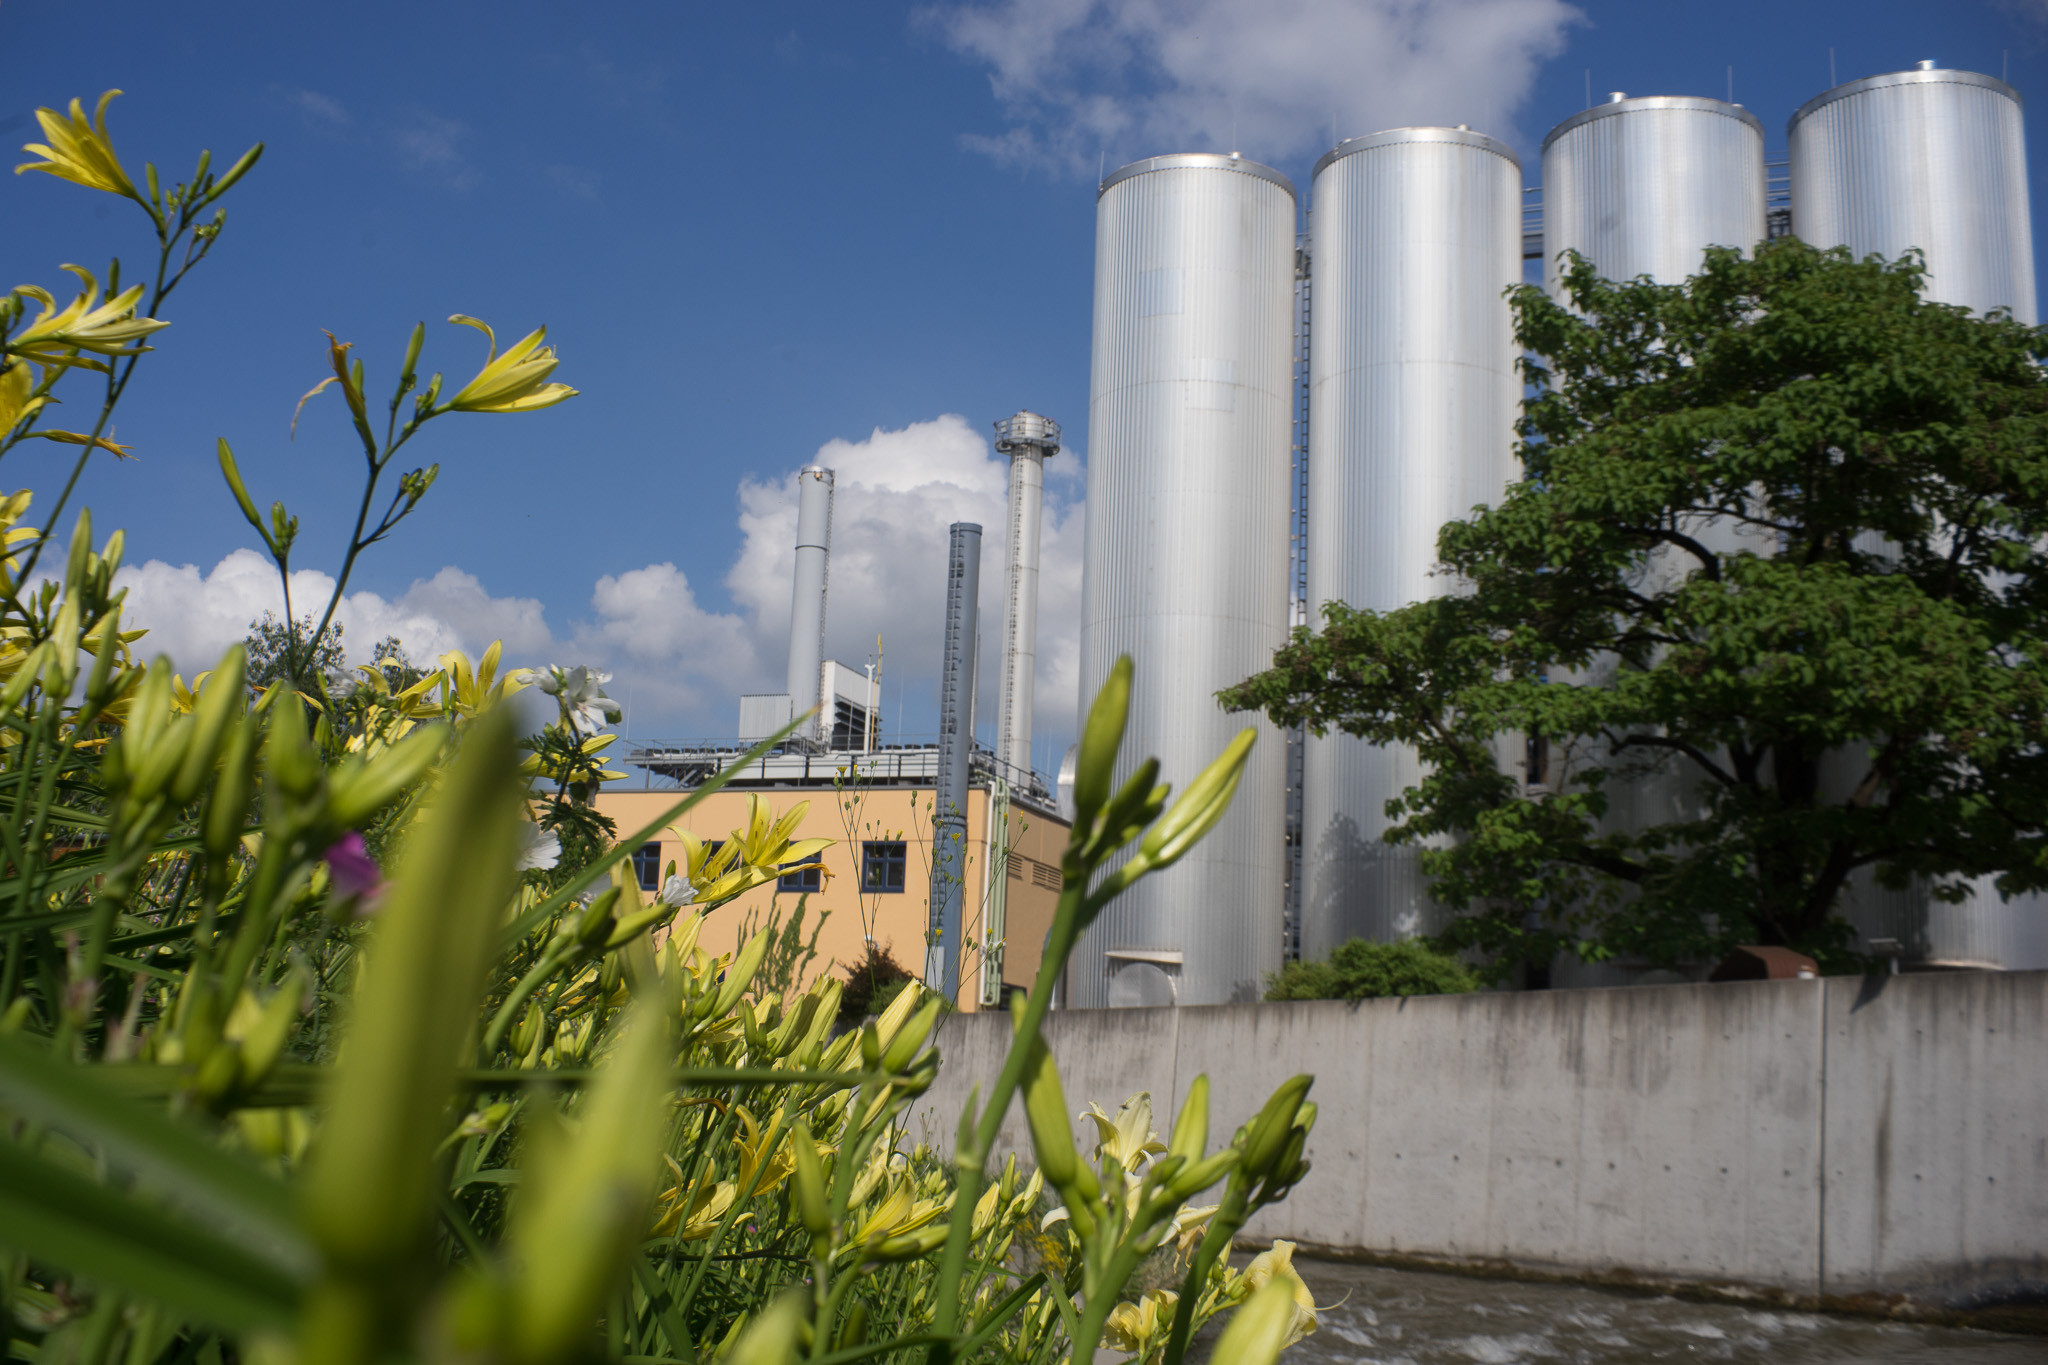
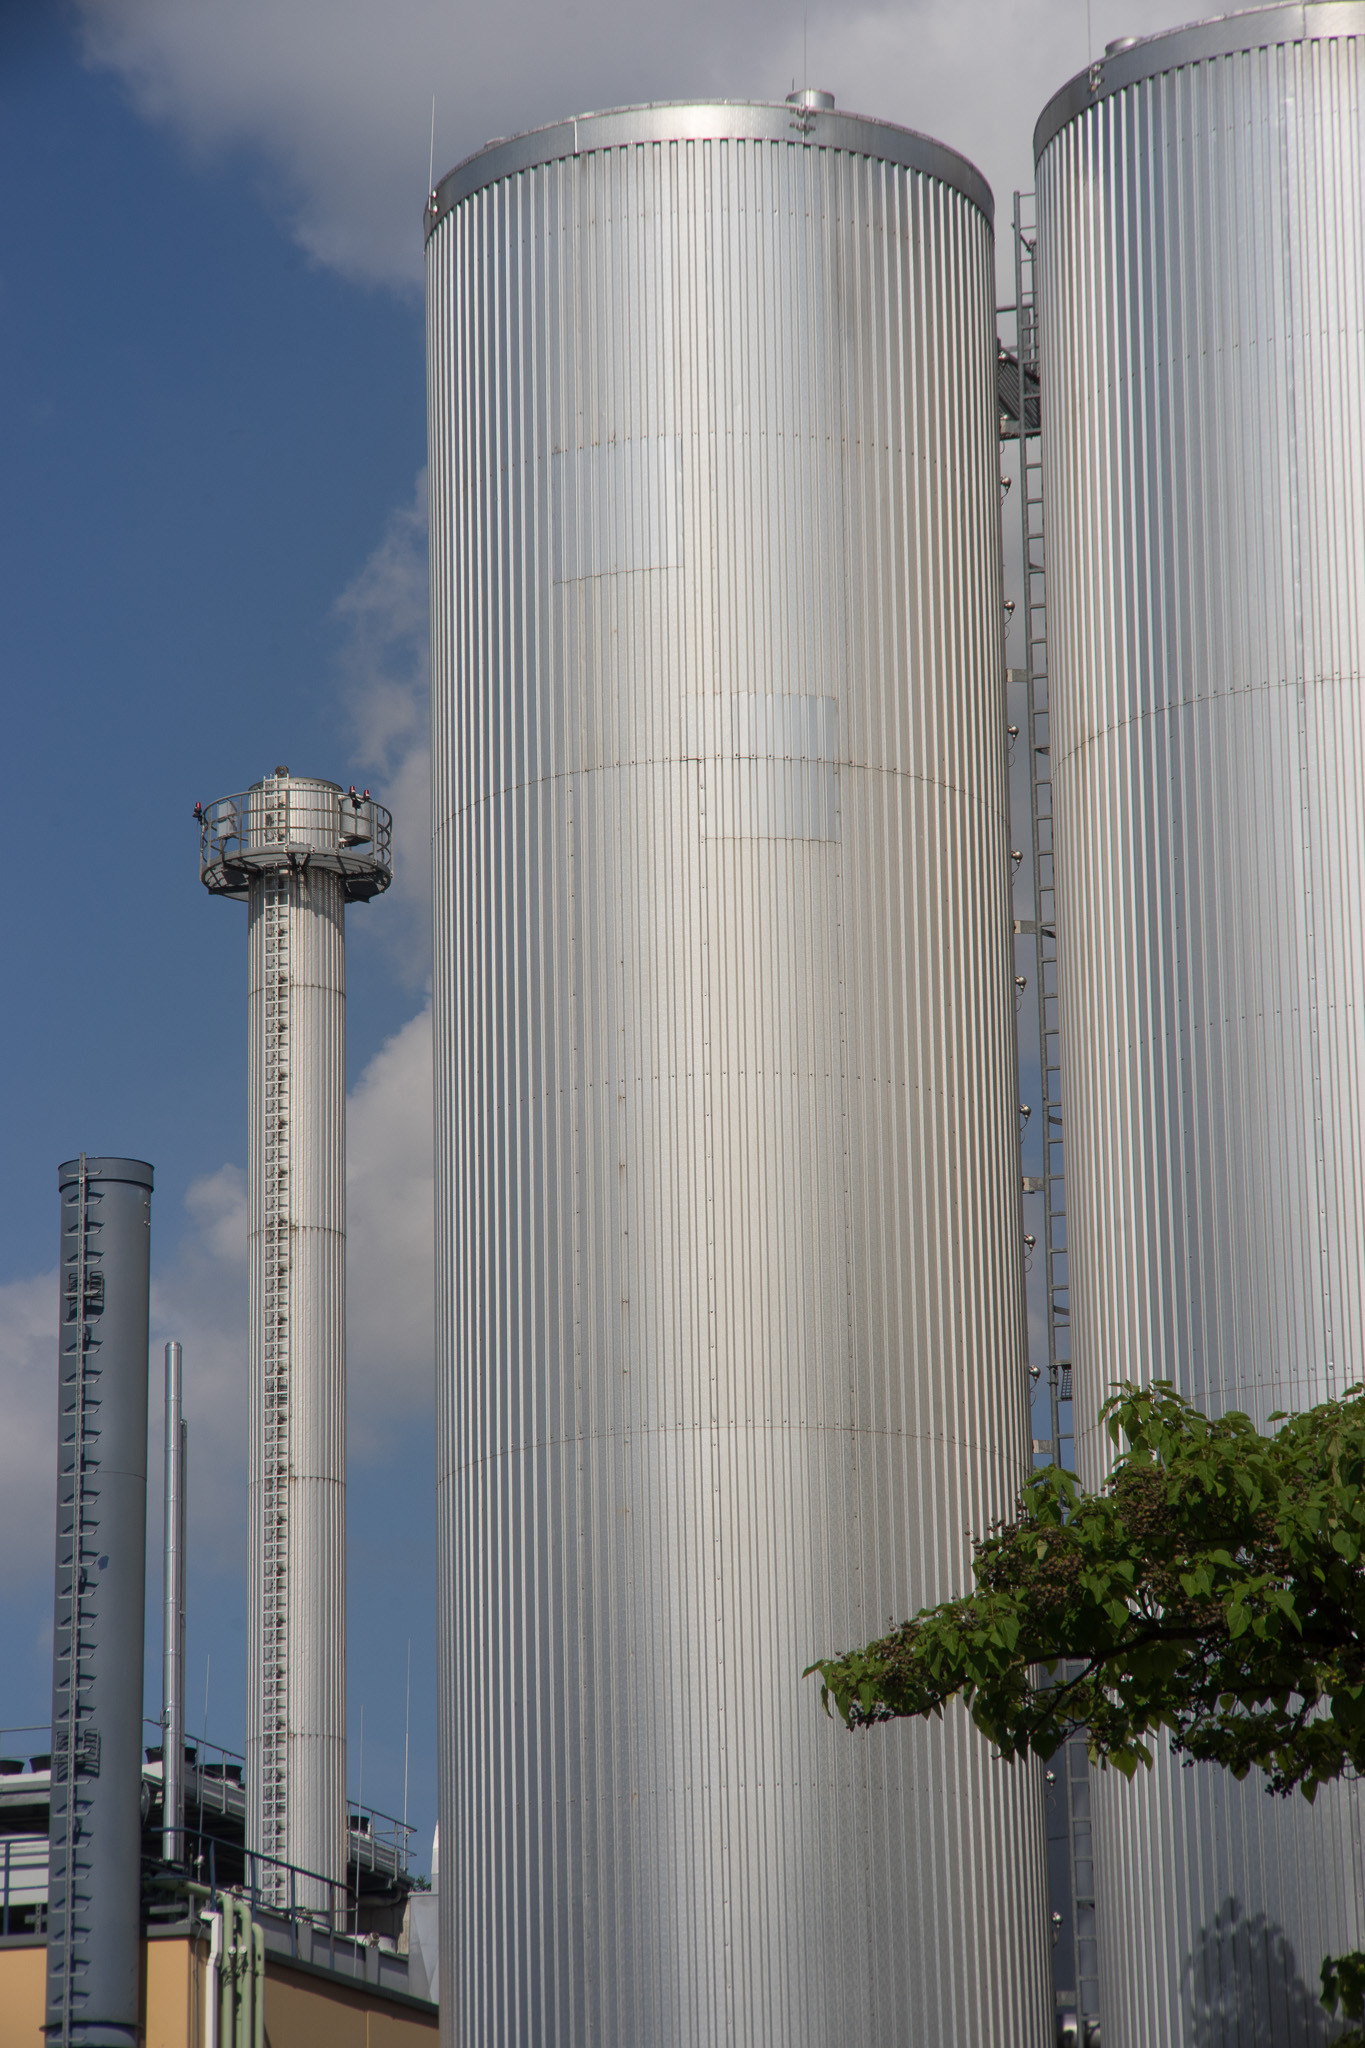
 Zeiss lens processed architectural sample
 Zeiss lens beautiful bokeh processed sample
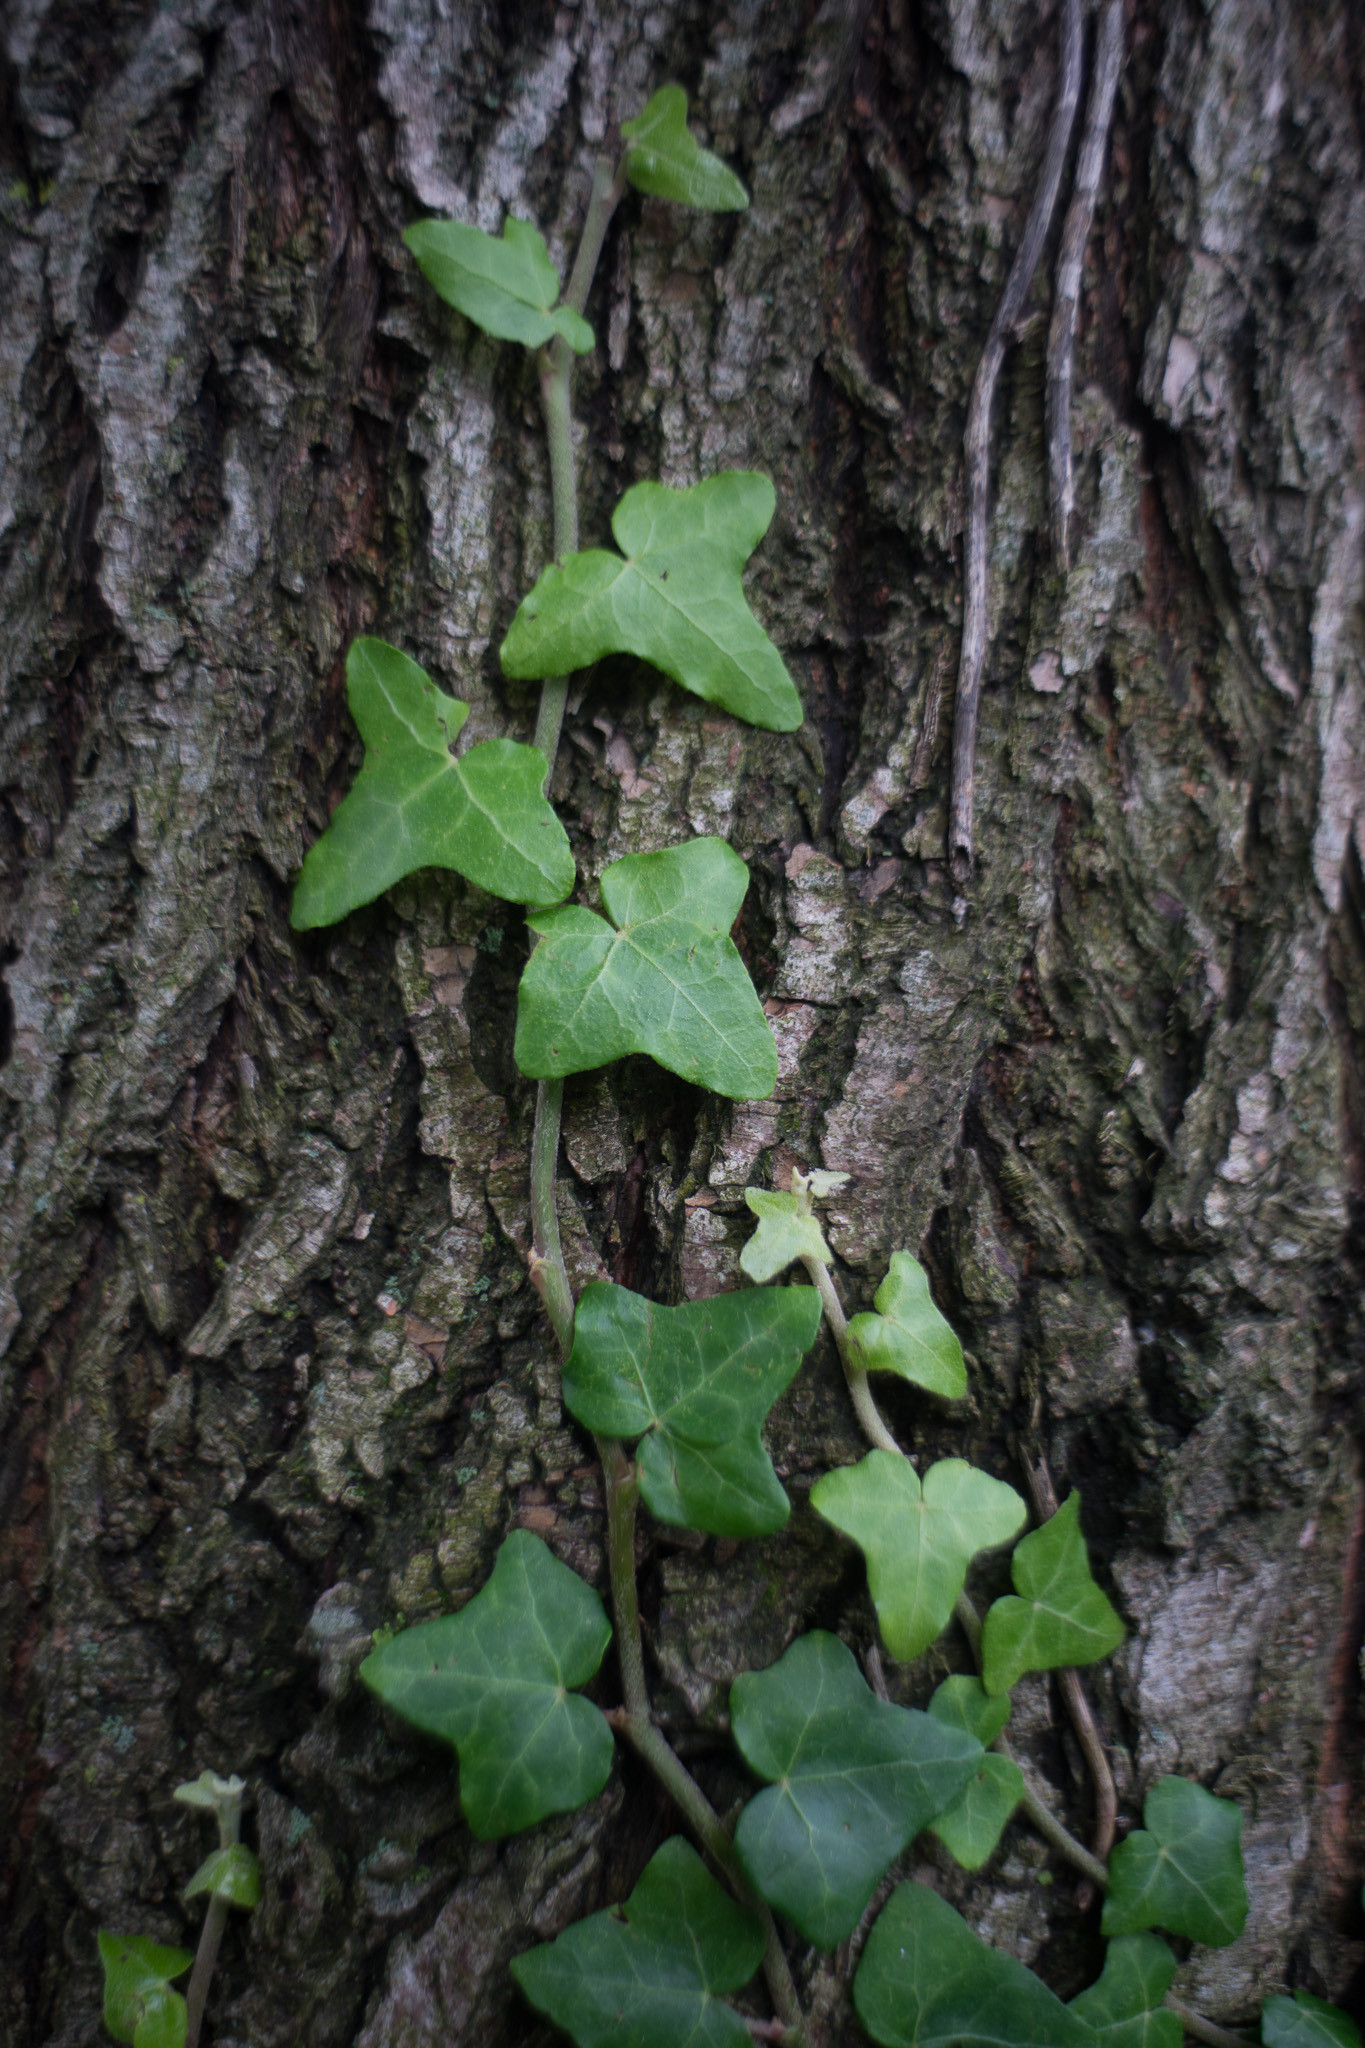
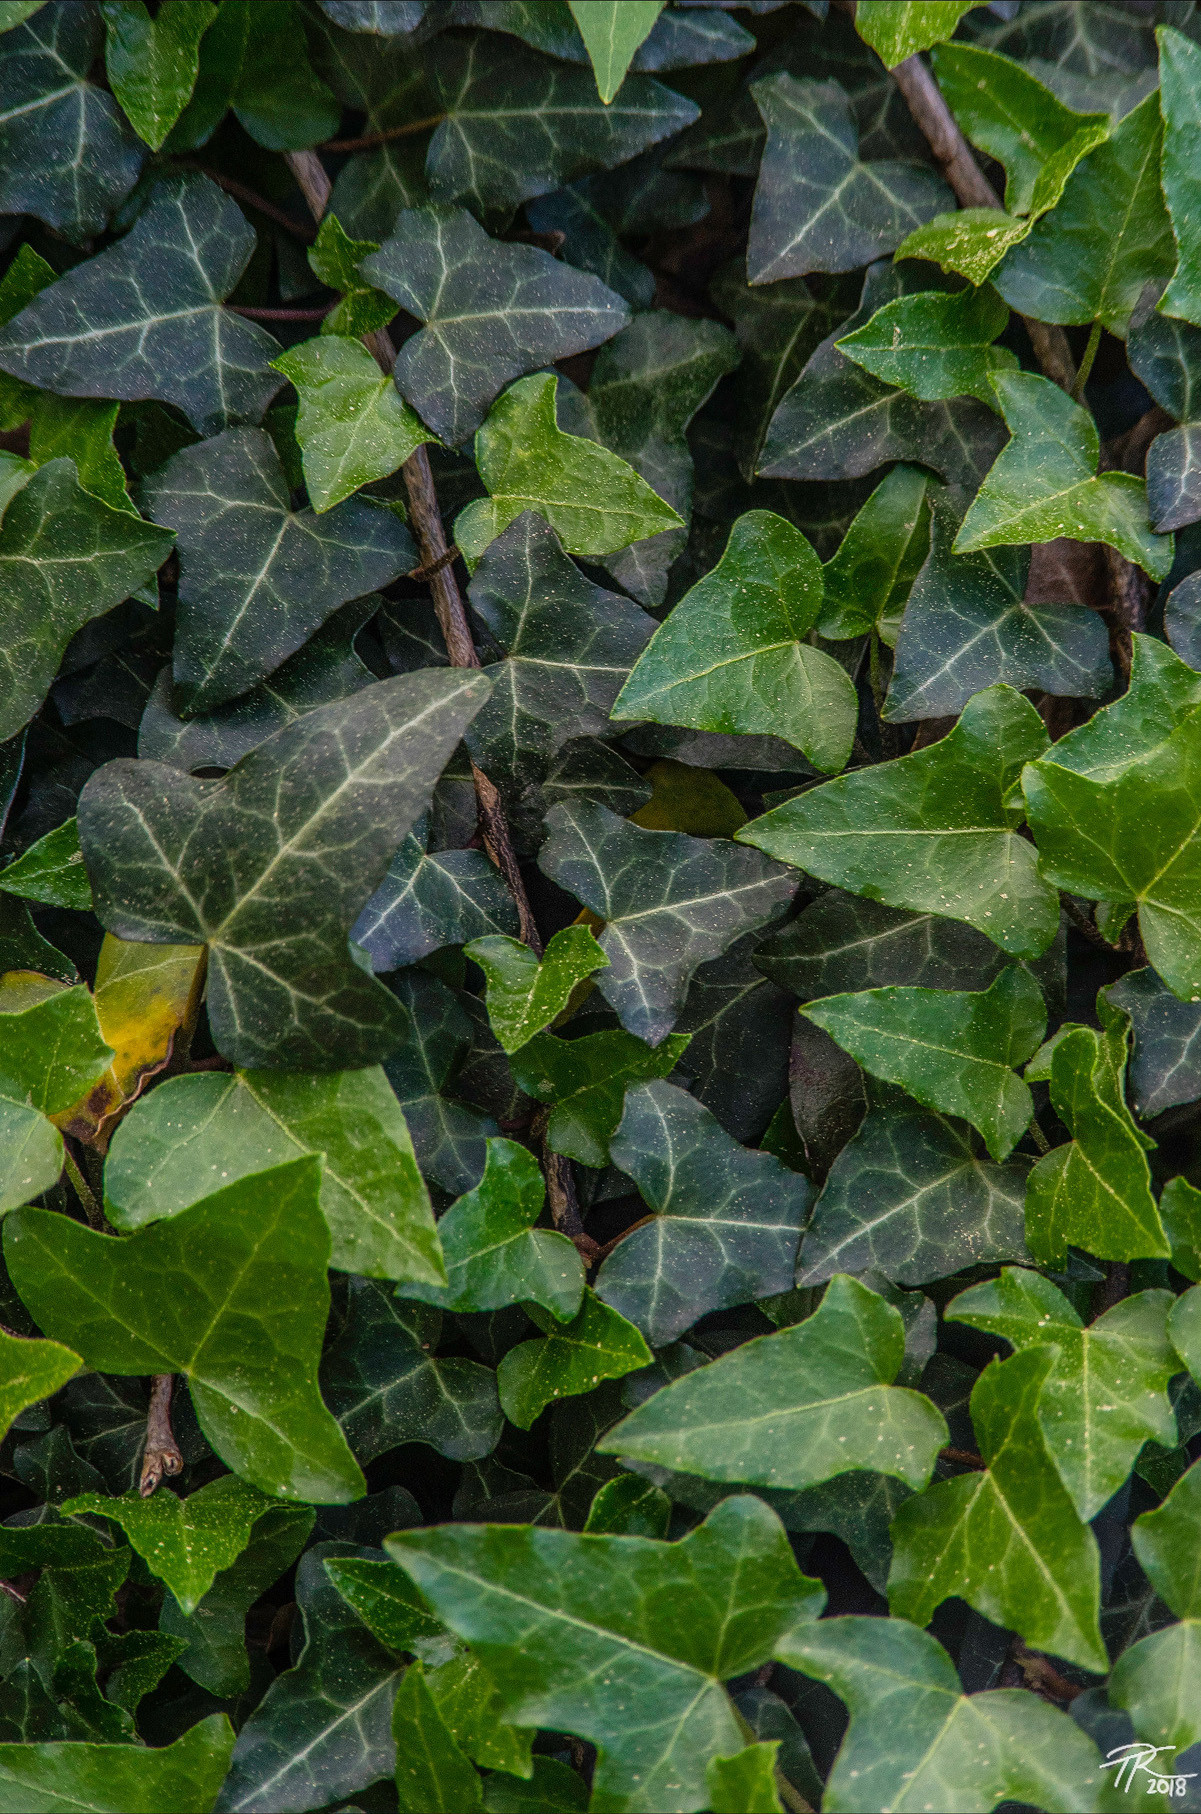 Zeiss lens processed ivy sample
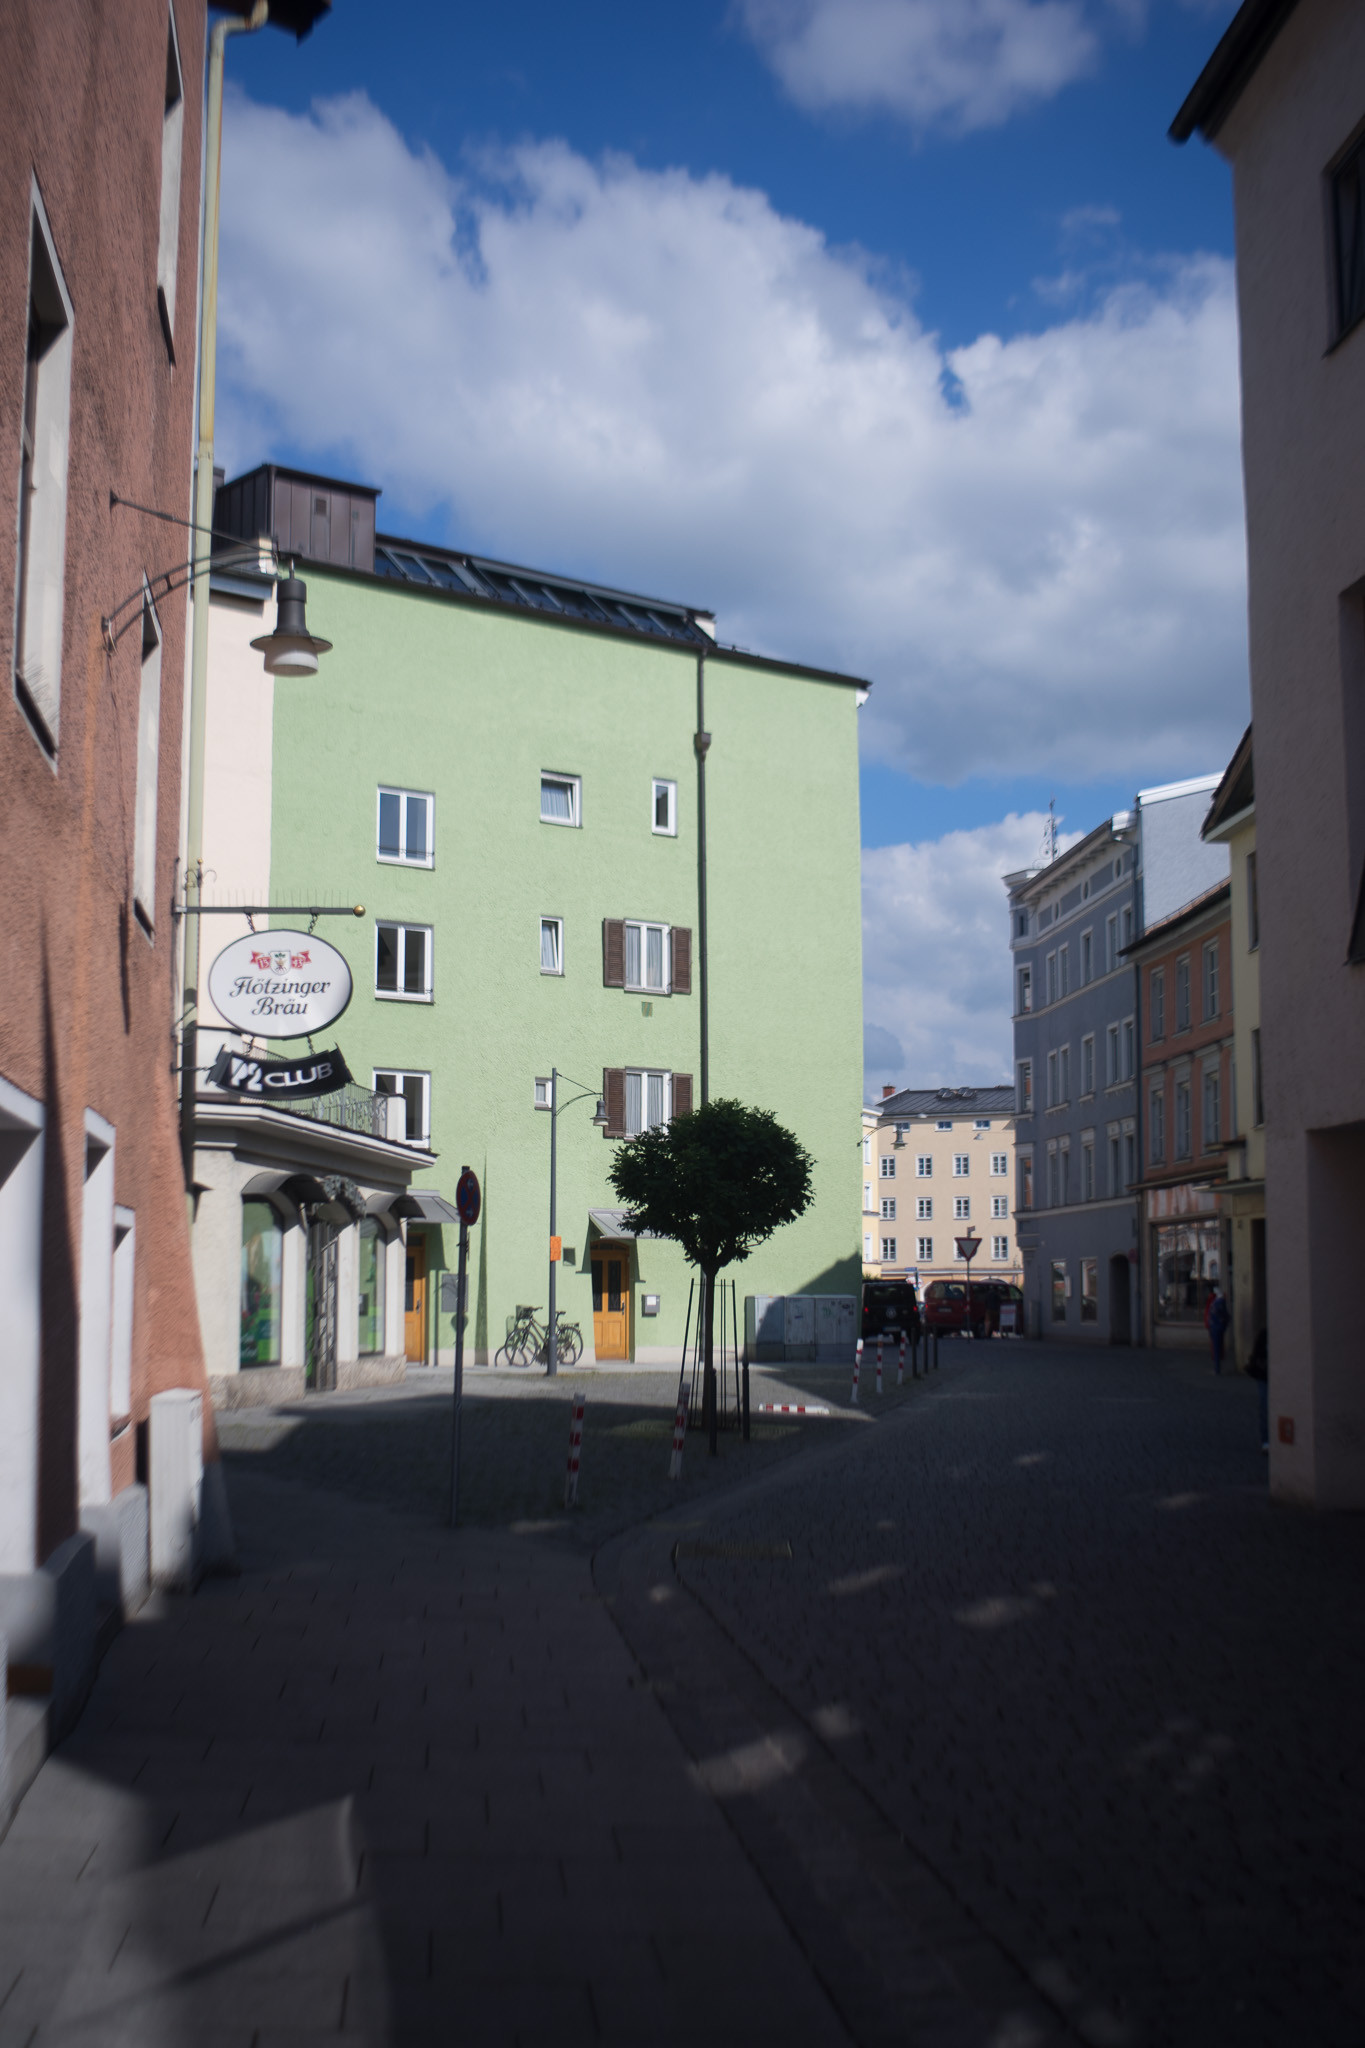
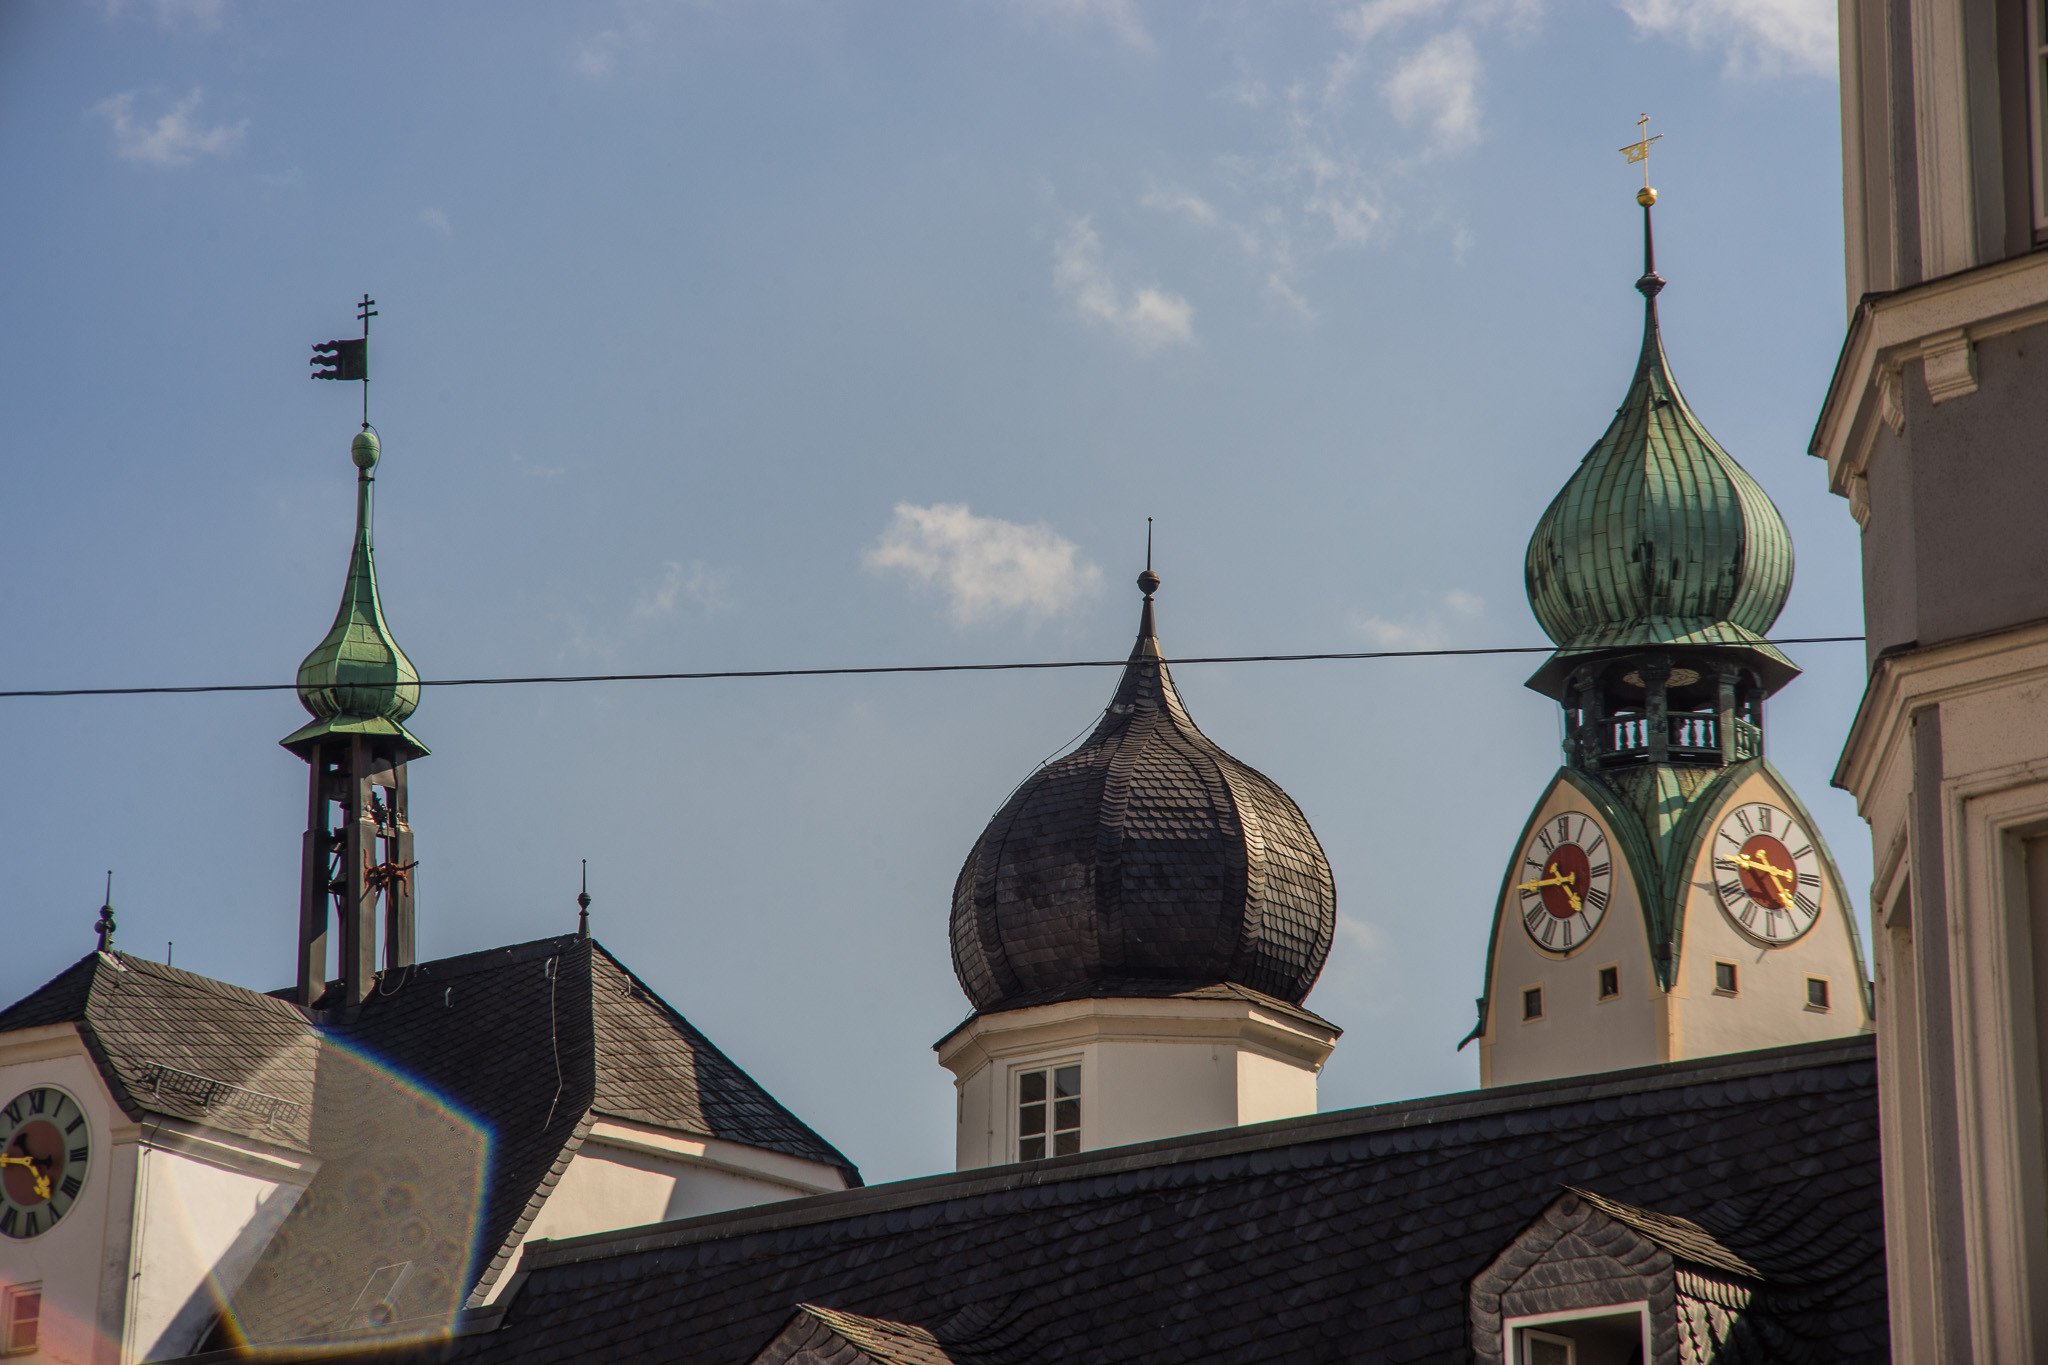 Zeiss lens slight lens flare sample
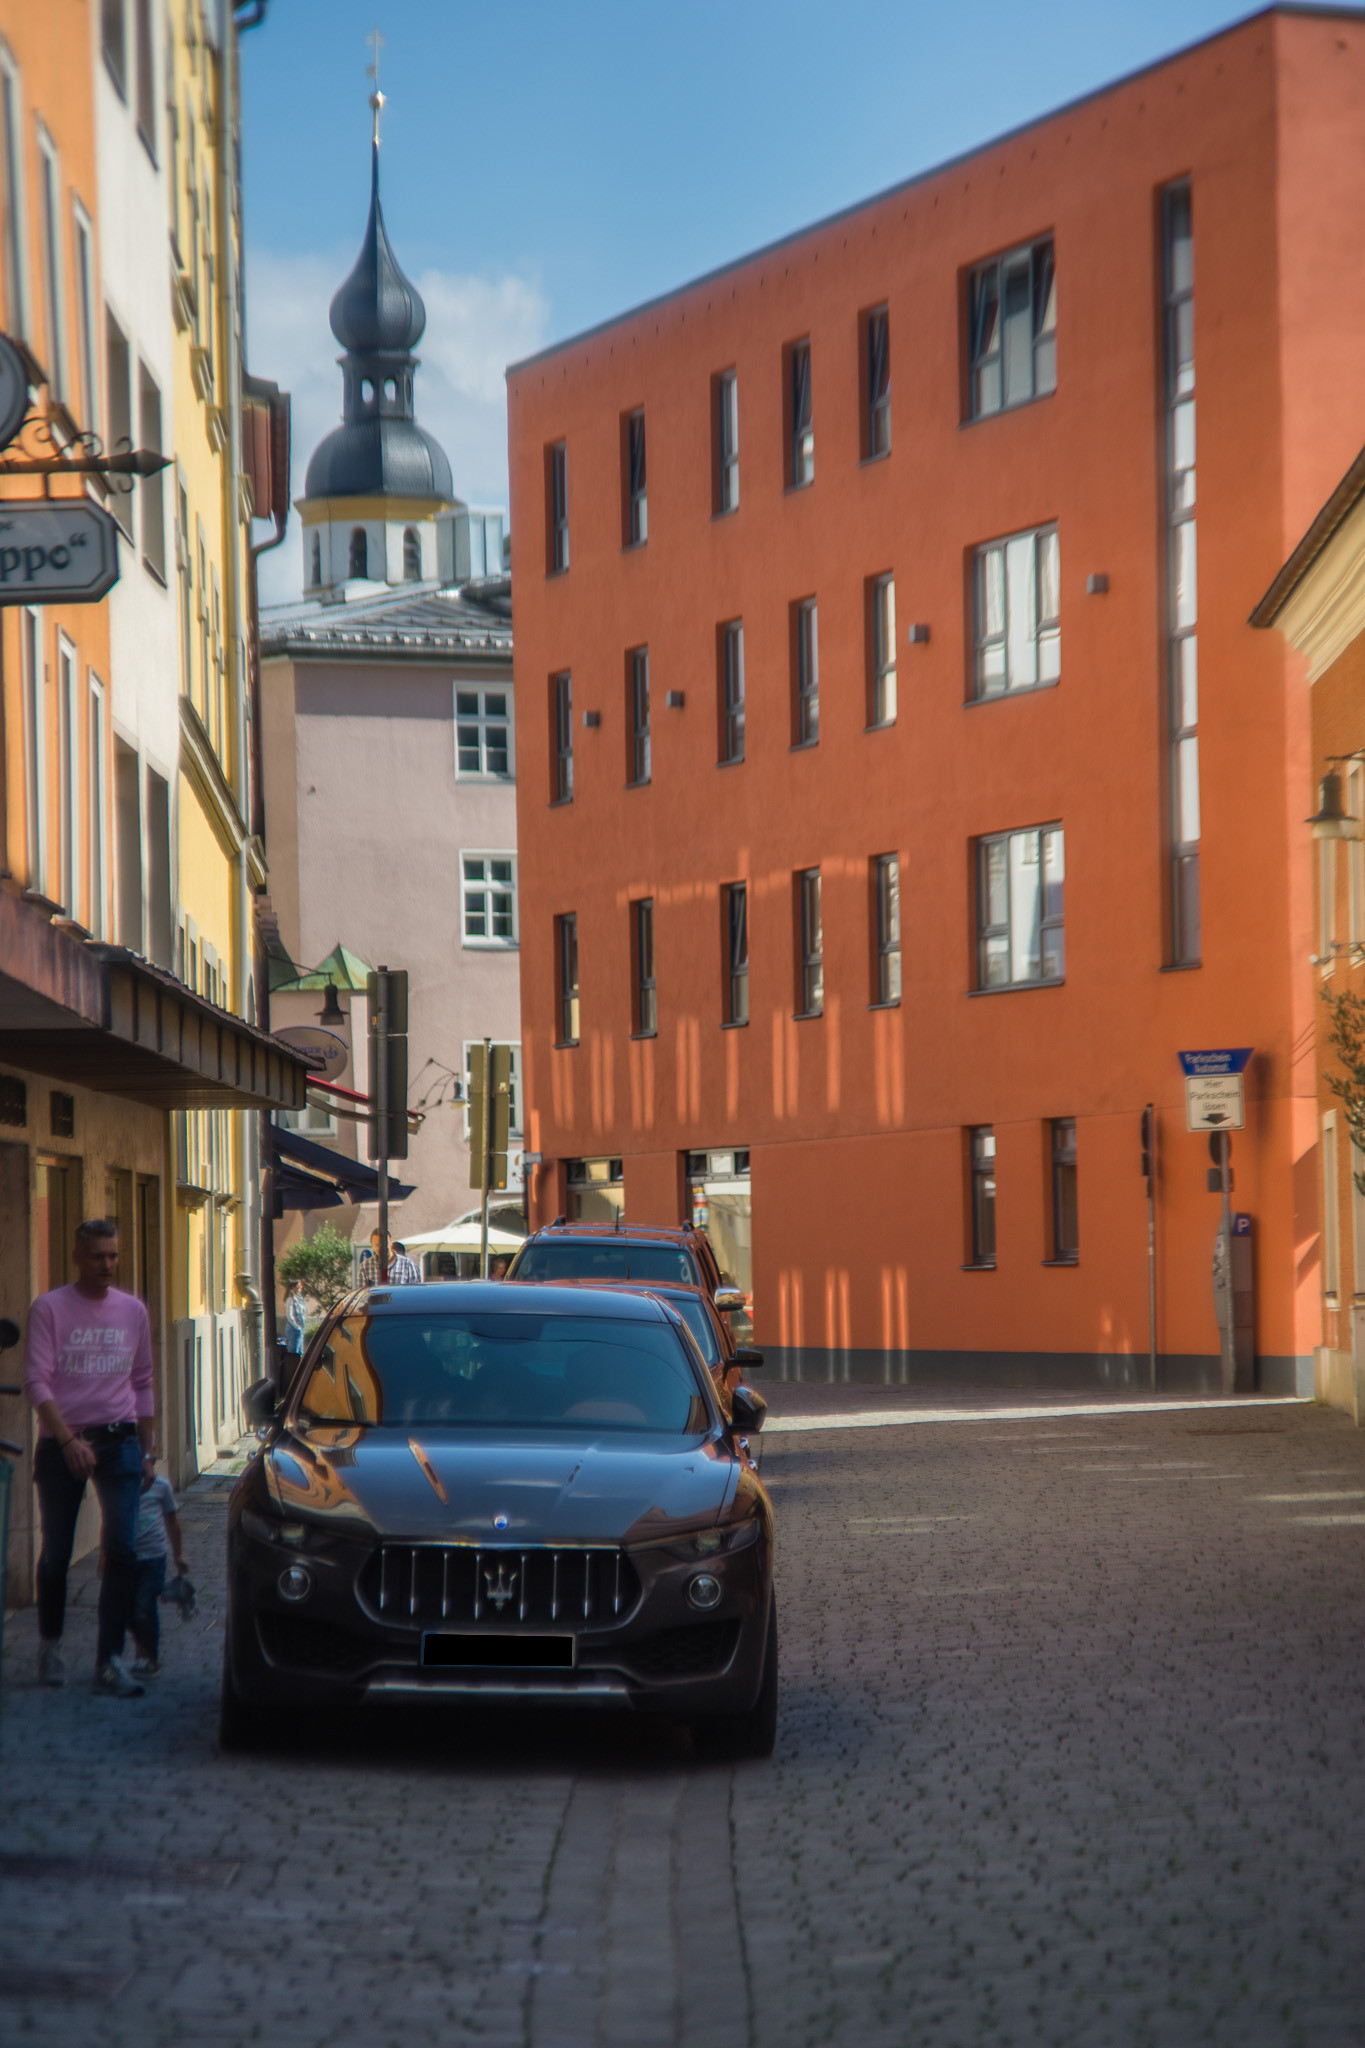 Zeiss lens processed outdoor portrait sample
One limitation of the Pro Tessars is corner-to-corner sharpness on full-frame cameras; the extreme corners remain soft regardless of aperture. This is their primary optical compromise. Also, while generally flare-resistant, shooting directly against strong light sources may induce some flare, as demonstrated in the church tower image.
Final Words
I hope this exploration has demonstrated that these vintage Contaflex Pro Tessar lenses are truly deserving of the Zeiss name, even by today’s standards. They offer beautiful, vibrant colors, excellent center sharpness, pleasing contrast and micro-contrast, near-apochromatic performance, and can be acquired for very little money – especially considering they are Zeiss lenses. For around 60 dollars, mirroring my initial investment of roughly 60 euros, you can unlock a set of lenses that deliver character and quality often absent in modern optics. If you’re looking to experiment with vintage glass without a hefty price tag, these Zeiss lenses are an exceptional place to start.