
A year ago, the allure of a modified Zeiss Contaflex Pro Tessar 4/115 lens captured my attention instantly. Beyond mere aesthetics, my fascination stemmed from a desire to actually use it on a camera. The question then arose: are this lens, and its siblings like the 3.2/35 and 3.2/85 that I also acquired, truly any good? The short answer is a resounding yes, in my opinion.
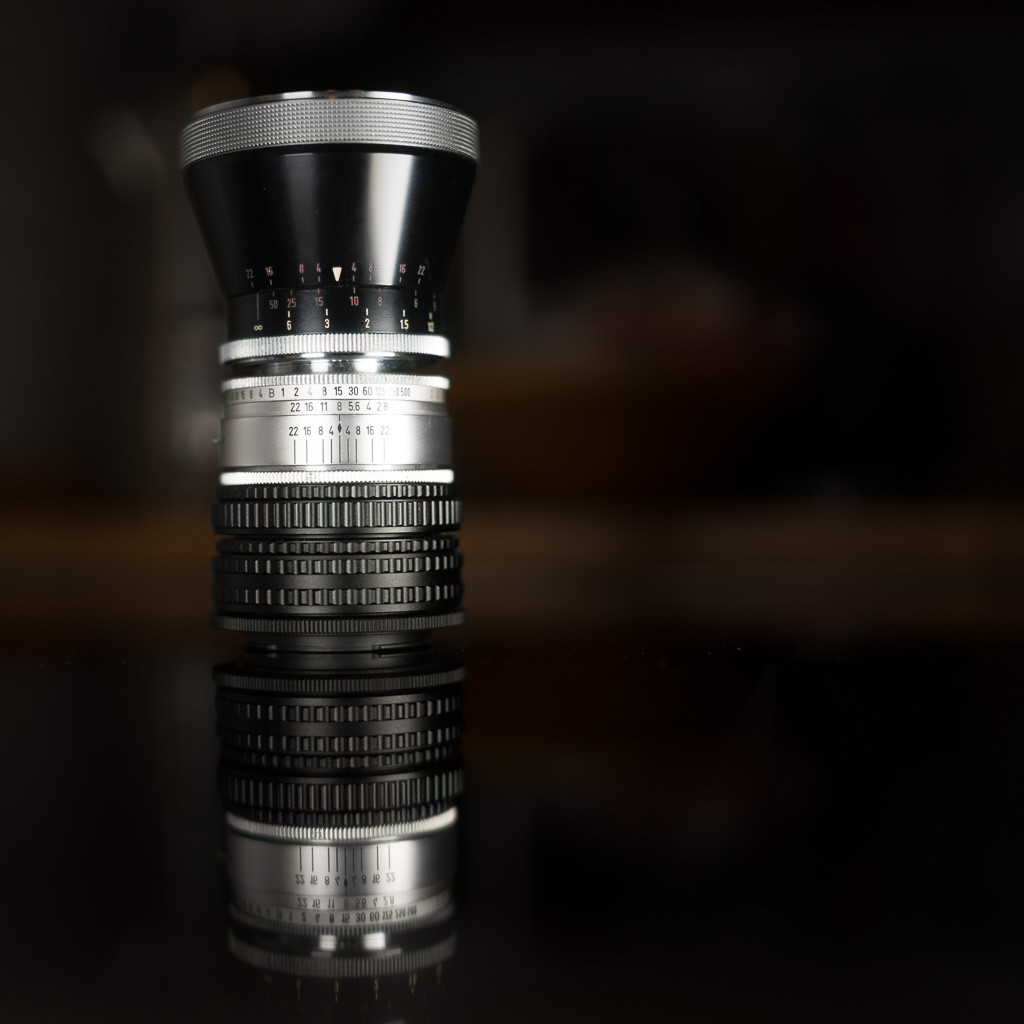 Adapted Contaflex Pro Tessar lens on M42 helicoid
An adapted Contaflex Pro Tessar lens, showcasing the lens mount with the rear element and Pro Tessar 4/115 front element, mounted on a simple M42 focusing helicoid.
Like any avid lens enthusiast, my initial discovery led me straight to Google and eBay in search of my own Contaflex lens. Within minutes, I secured a bargain, acquiring one along with a 3.2/35 lens for a mere 30 EUR. The seller disclosed that the focusing mechanism was faulty, hence the low price. Initially, I wasn’t deterred, confident that a focusing helicoid could solve the issue. However, I soon realized that my purchase, the Pro Tessar 4/115, wasn’t even designed to focus independently. It was only the front element of a lens, essentially “half” a lens. This realization marked the beginning of a slightly more complex lens adaptation journey. My partial lens was unusable without the crucial rear component typically attached to the camera body.
The ingenious Contaflex design, dating back to 1956 with the Contaflex III, employed a unique two-part lens and shutter system. The rear lens element, complete with the helicoid, diaphragm, and shutter, was integrated into the camera body itself. Only the front elements were interchangeable. Fortunately, at the time of my venture, numerous Contaflex camera bodies were available, often sold cheaply “as is” due to shutter malfunctions, a common issue for cameras of that age. I managed to acquire a Contaflex III (or possibly IV) body for an additional 15 EUR. This particular model is crucial for simpler adaptation; the Contaflex I and II lack interchangeable front elements, and later models may present more complex adaptation challenges, based on my experience and online resources, including Leo Roos’ detailed guide available here. In total, my initial lens investment was around 45 euros, which at the time was approximately equivalent to $50 USD – illustrating how vintage lens bargains can be found for a fraction of what you might expect, and certainly under the $115 mark in today’s conversion rates.
To adapt the lens for modern use, the rear lens component needs to be extracted from the camera body. In my case, this process was relatively straightforward, primarily involving the use of a screwdriver to detach the lens mount assembly from the rear of the camera. Regrettably, I didn’t document the procedure with photos at the time, so a comprehensive step-by-step guide from memory isn’t feasible. However, I can outline the key stages.
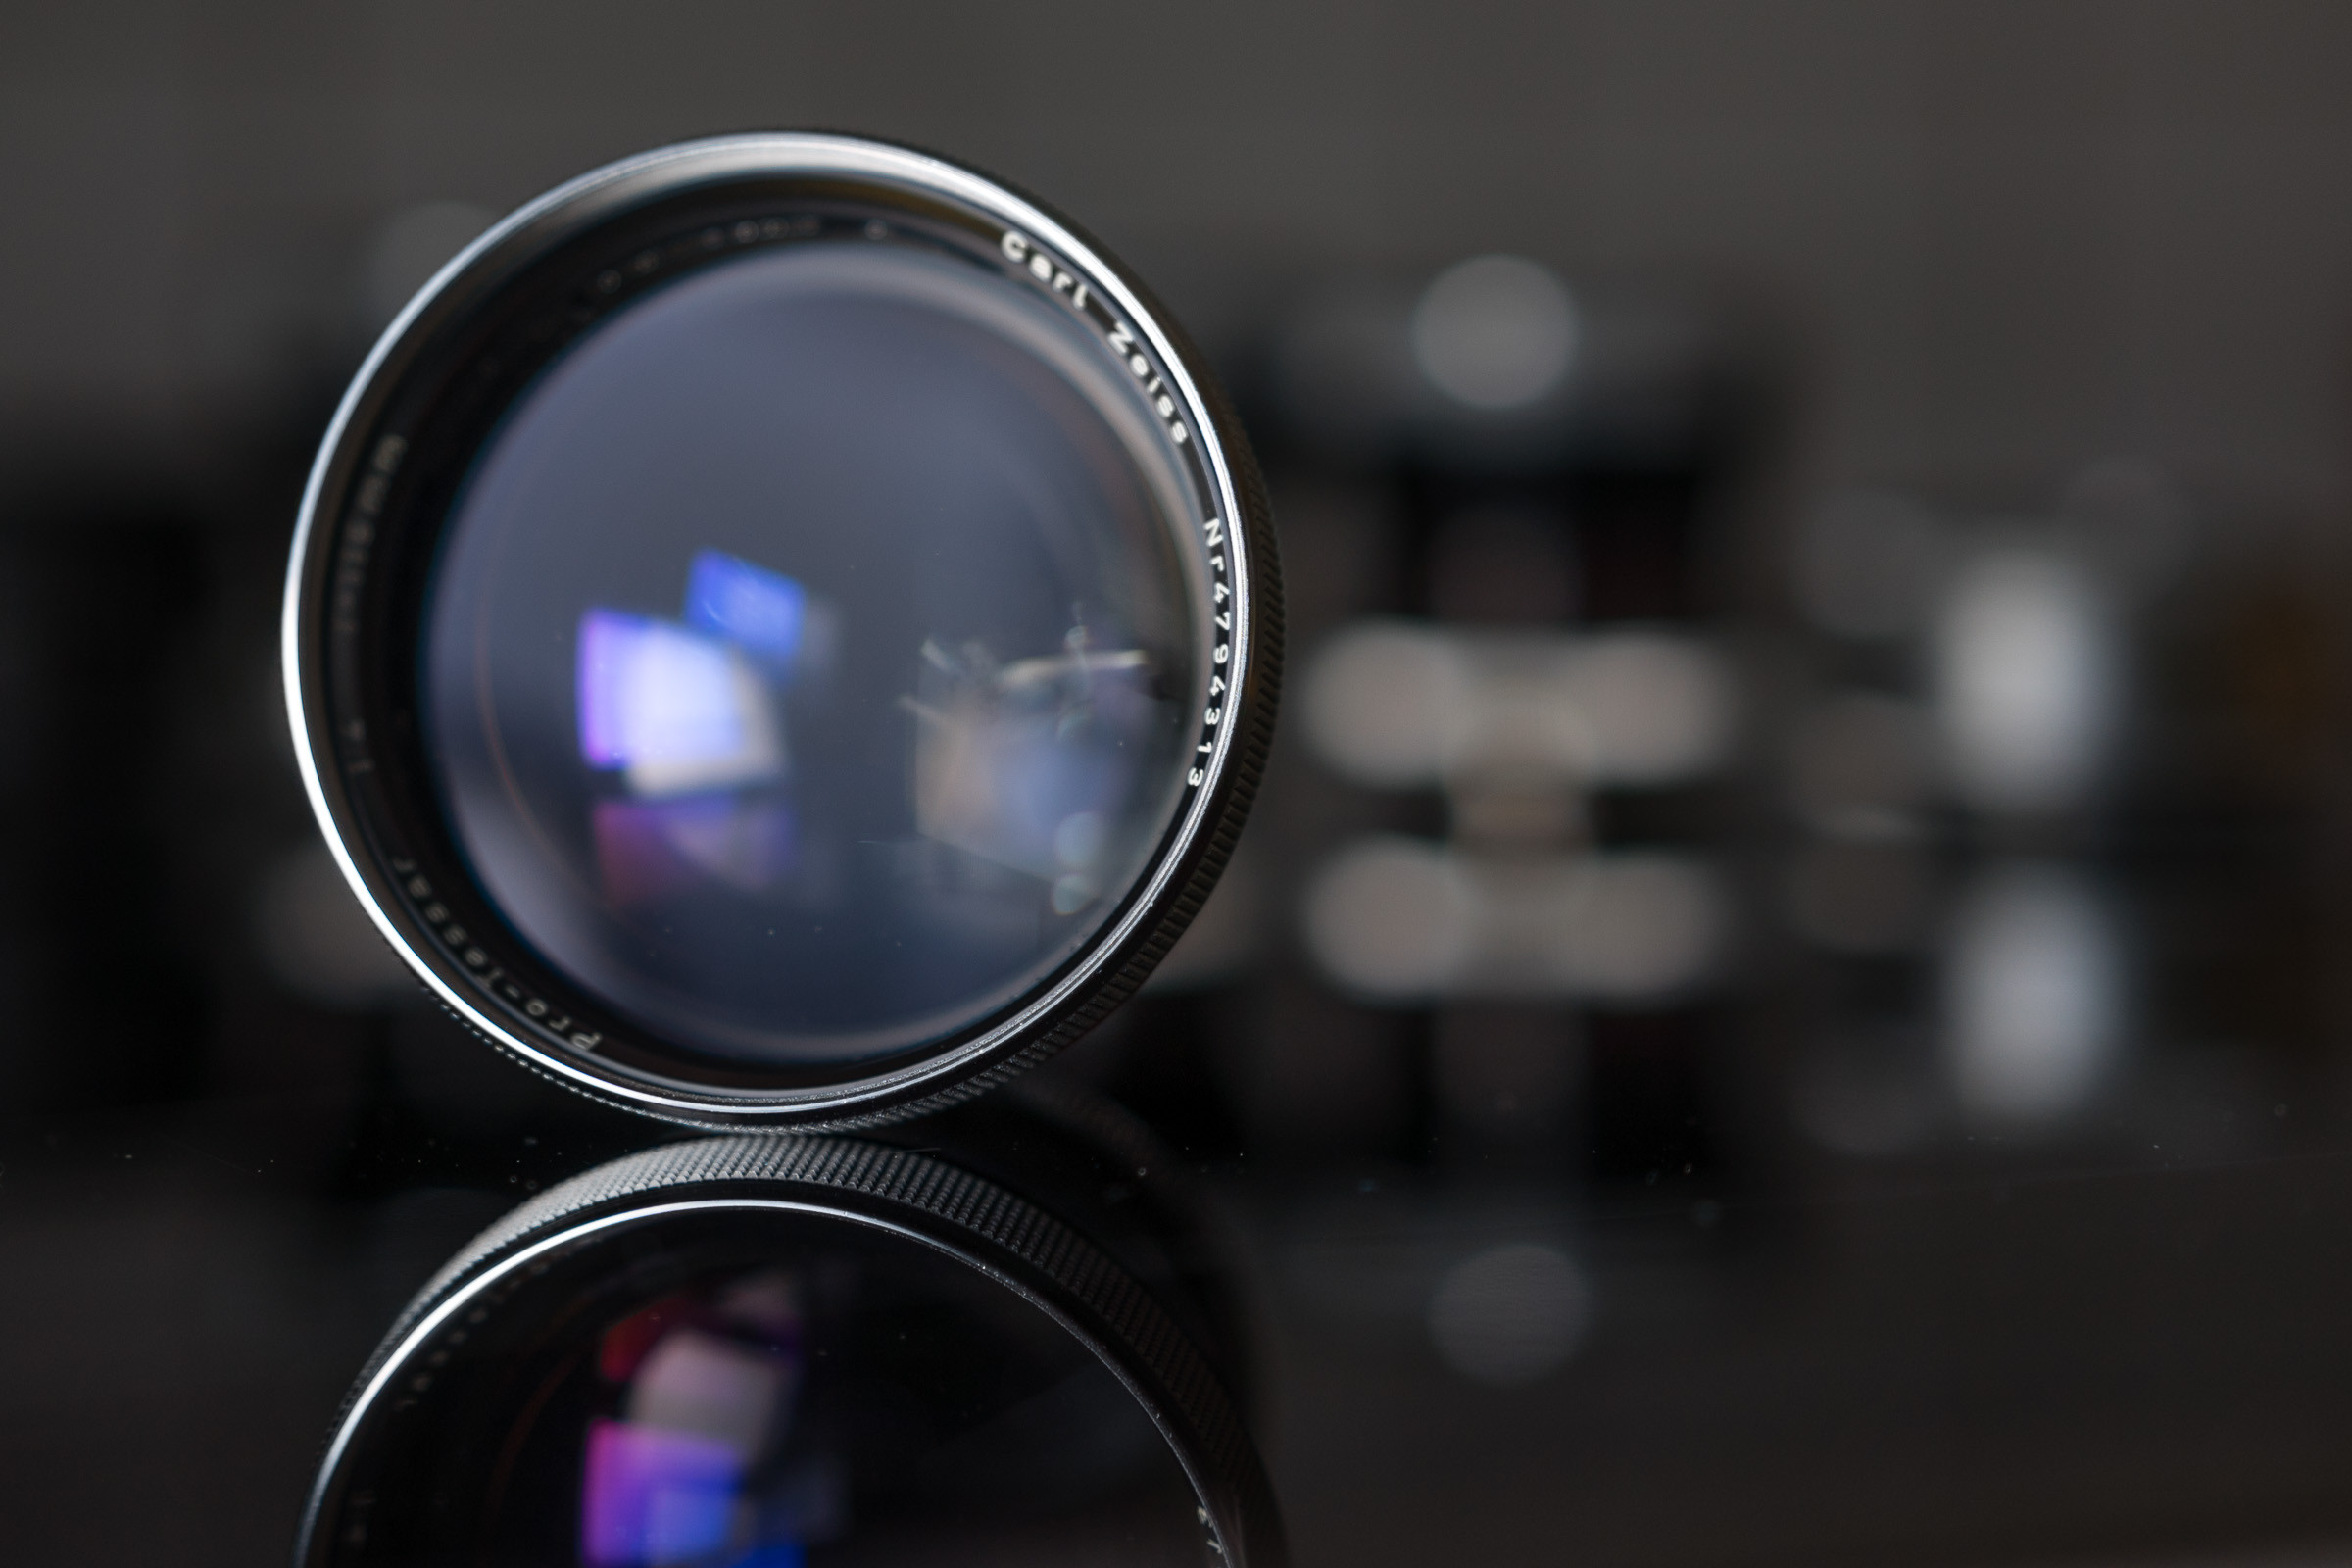 Contaflex Pro Tessar 4/115 front element detail
A closer view of the Contaflex Pro Tessar 4/115 front element, highlighting its vintage design and construction.
Once the mount section, housing the shutter and rear lens element (hereafter referred to as the “mount”), is detached, the next hurdle is shutter removal. Fortunately, in my case, this was also quite simple. The rear lens element was accessible without needing to disassemble the mount further. Using a spanner wrench, it could be easily unscrewed.
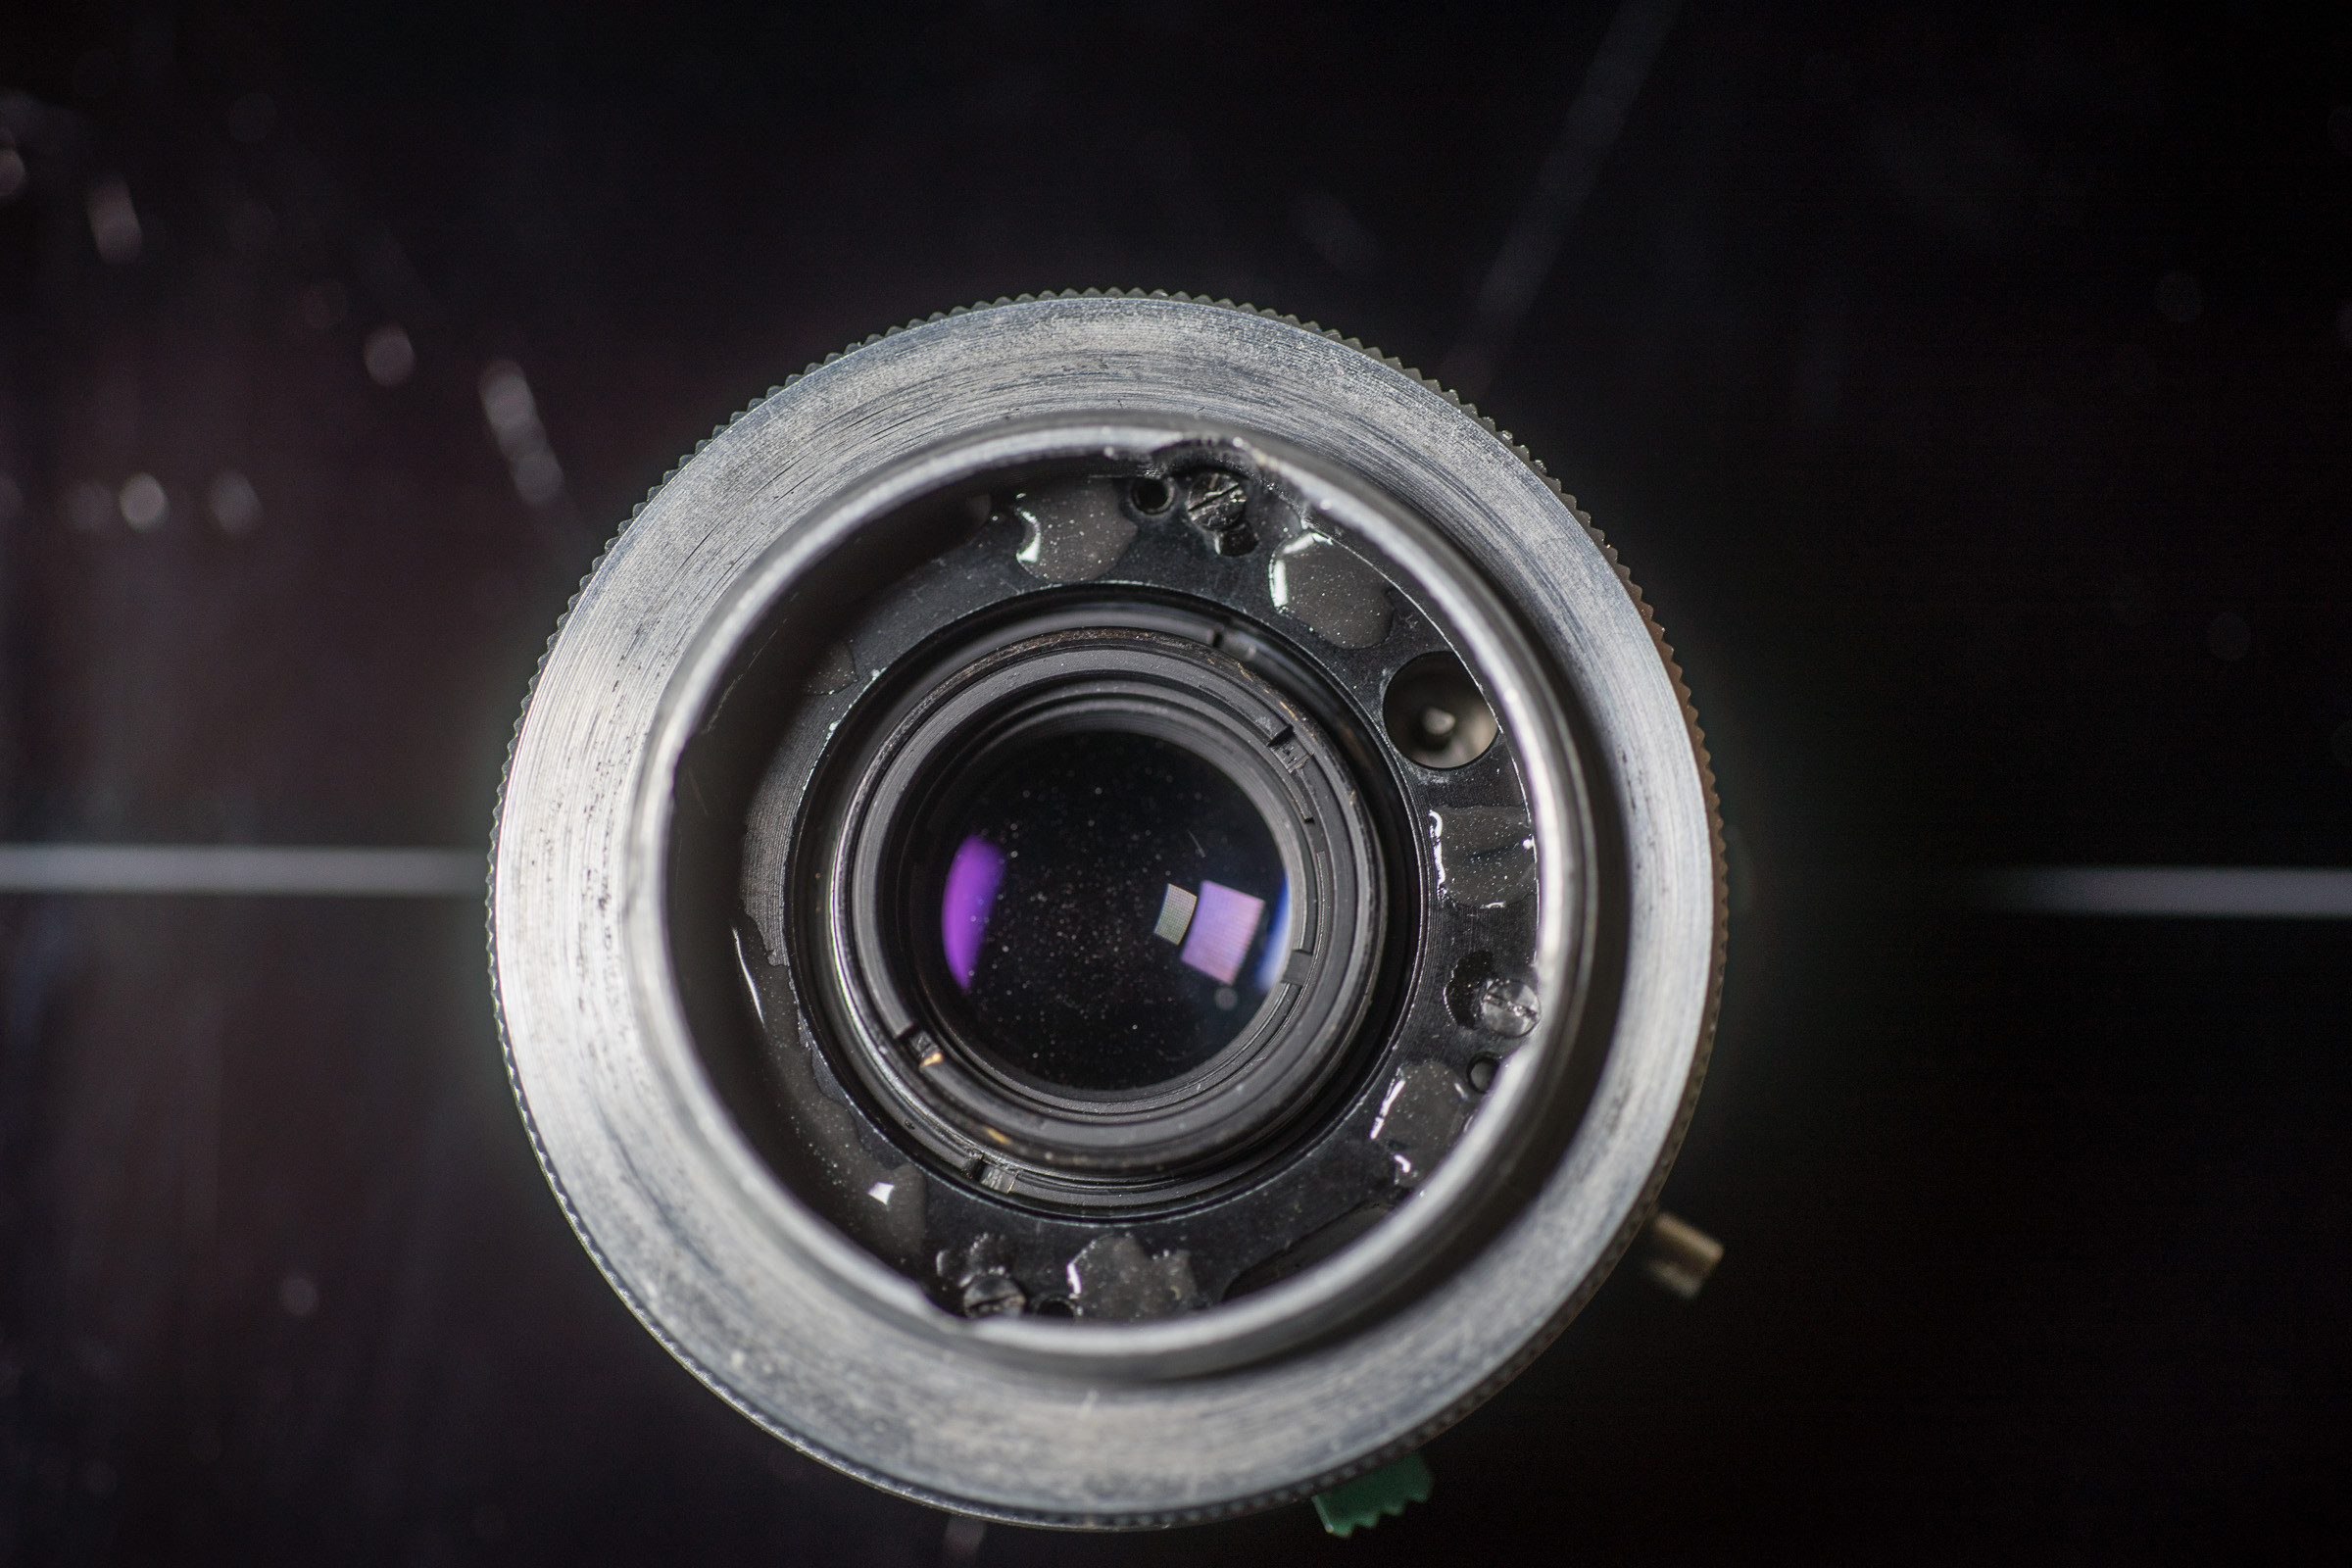 Adapter Rear with Visible Lens Element
The rear of the adapted lens mount, showing the accessible rear lens element even after the macro inversion ring was attached.
After fully opening the aperture via the mount settings, the shutter leaves become accessible and can be carefully removed using pliers. While perhaps not the most refined method, it’s quick, easy, and avoids dismantling the intricate lens/shutter assembly. Caution must be exercised to avoid damaging the aperture blades during this step.
The subsequent challenge is attaching the mount to a focusing helicoid. Again, I opted for simplicity: glue. I selected an M42 to M46 macro reverse ring, which fit into my M42 helicoid and also mated reasonably well with the mount. (An M42 to M52 ring might be even better, potentially fitting over the mount exterior). A snug fit for the chosen ring is crucial to ensure proper centering of the mount on the macro ring and a flush, screw-free contact. In my instance, some filing was necessary to achieve a perfect fit, as depicted in the image above.
Next, using two-part epoxy glue, I bonded the macro ring to the mount, taking care to prevent any adhesive from seeping into the mount assembly’s openings. Once the glue cured, my adapter/lens was ready for use. I attached my M42 helicoid and an M42-NEX adapter, and the lens was ready for shooting.
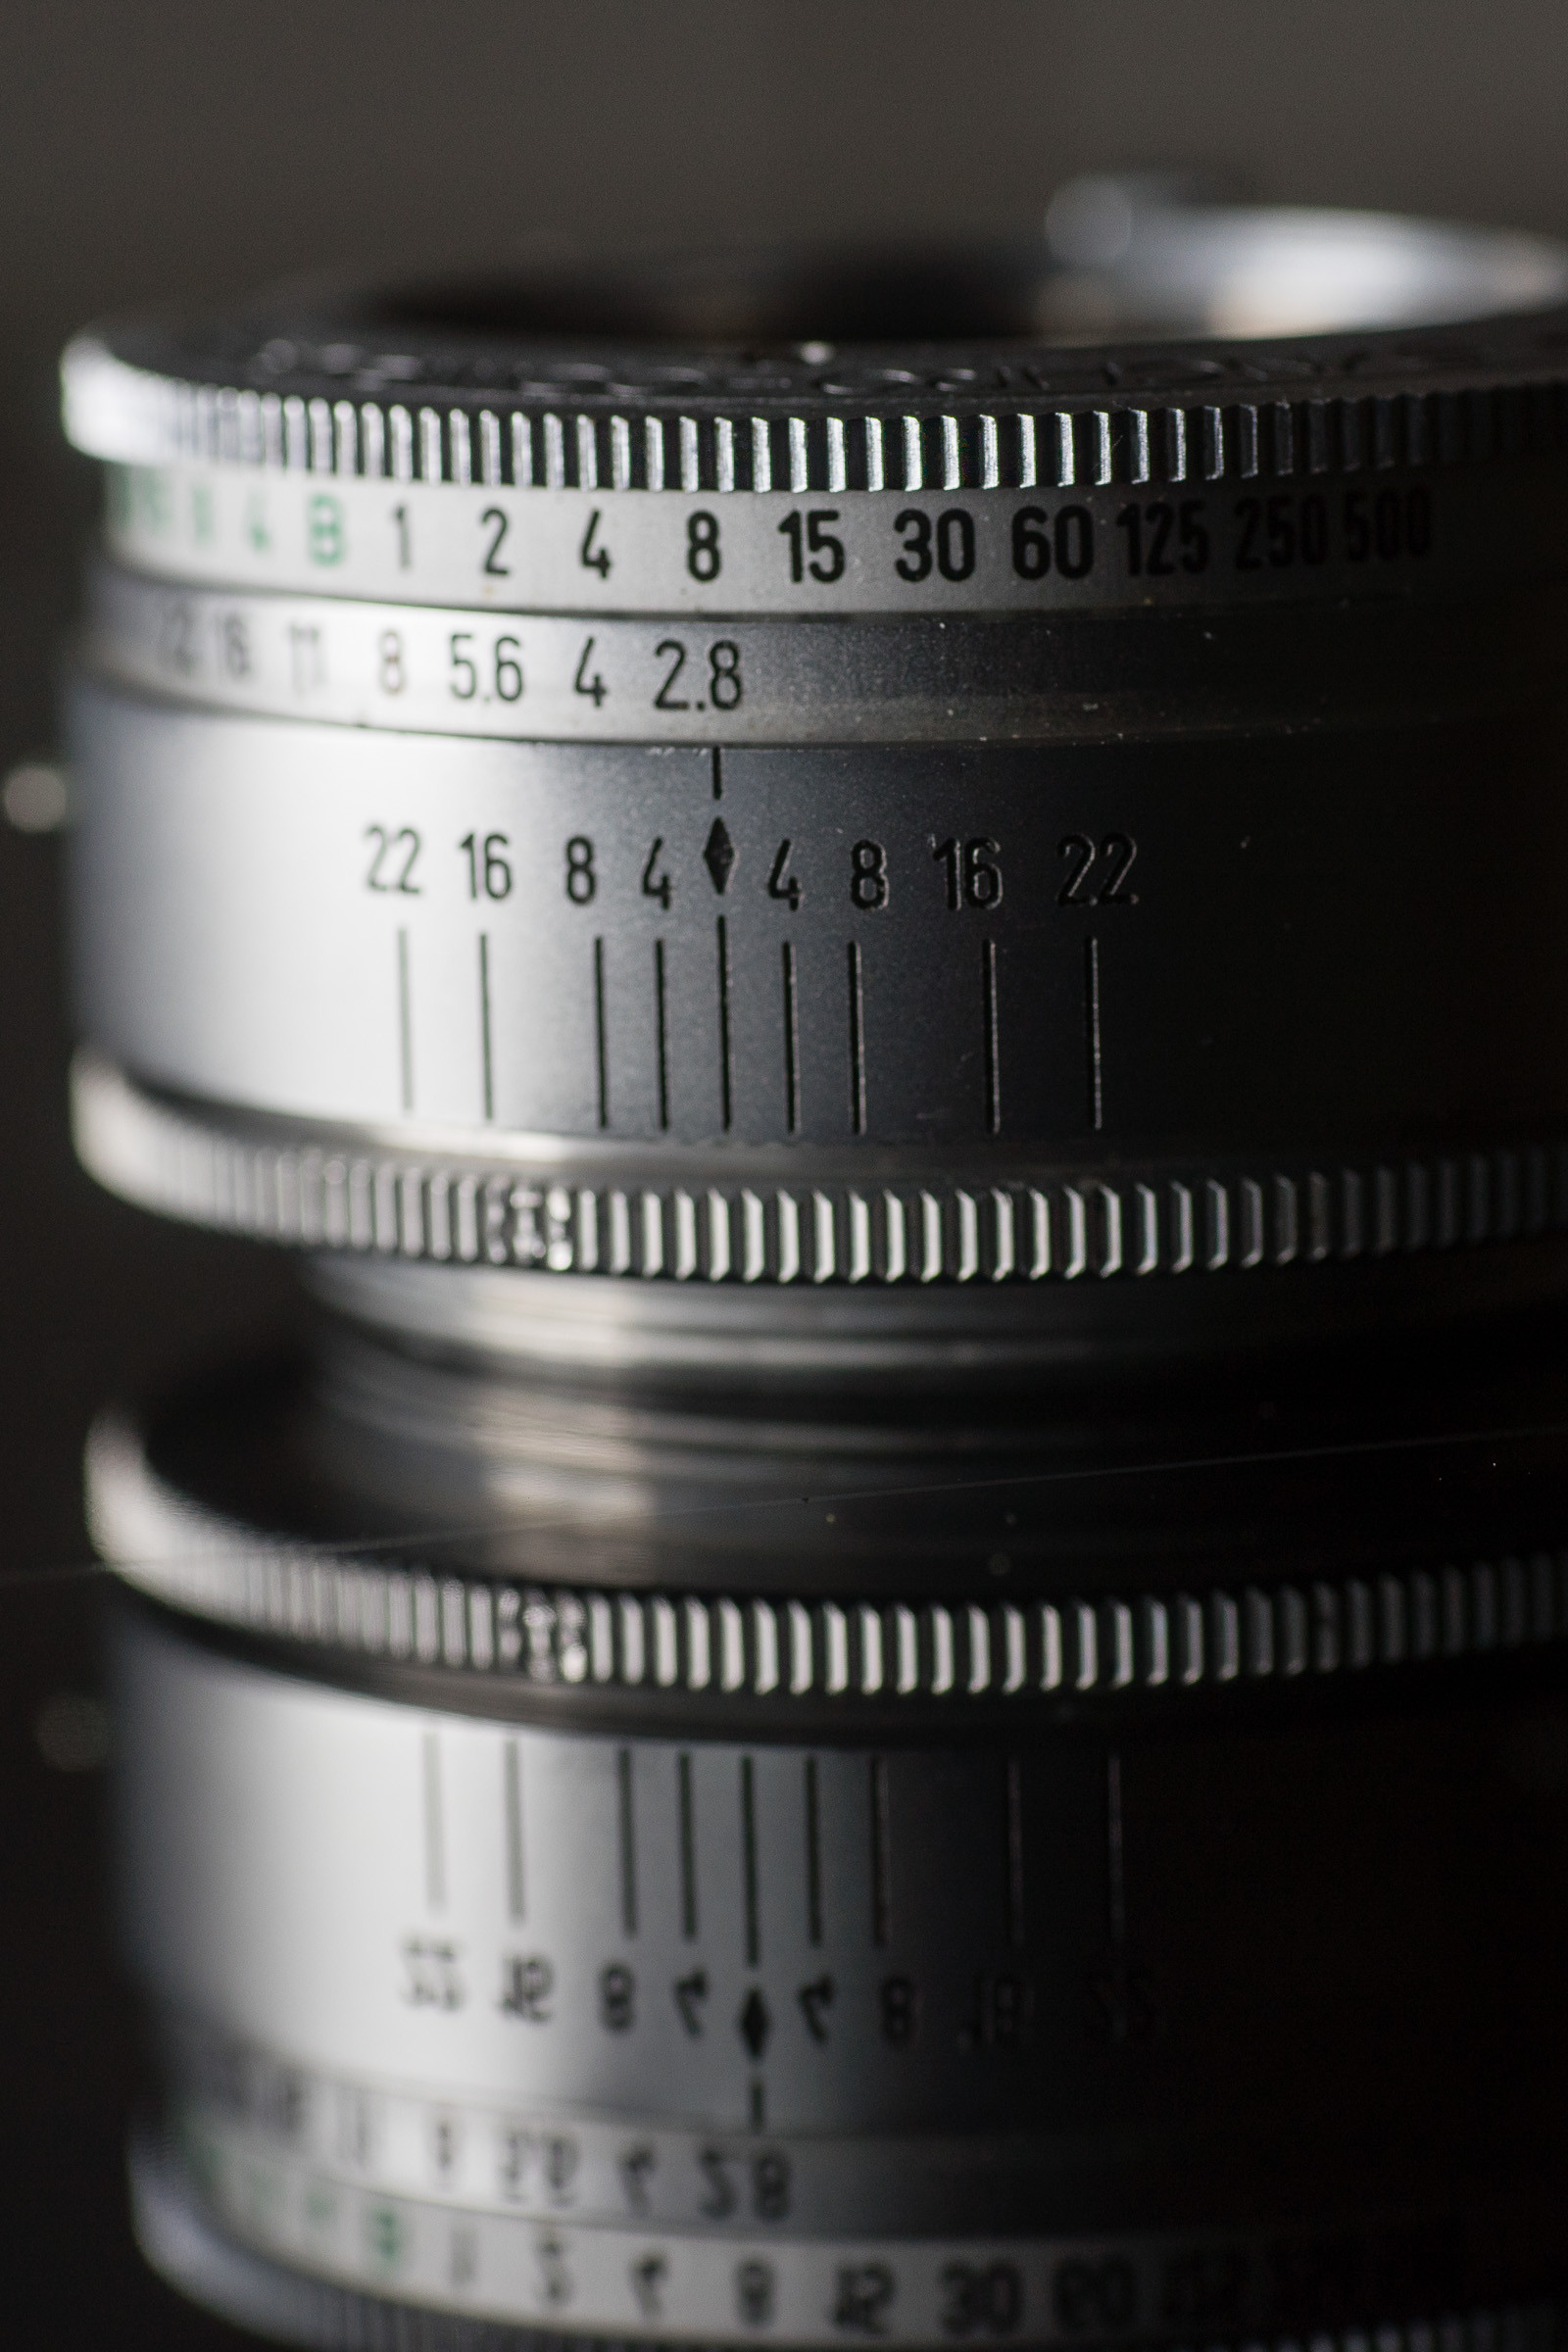 Macro inversion ring glued to lens mount
The macro inversion ring securely glued to the Contaflex lens mount, forming the basis of the lens adapter.
For those seeking a more elaborate solution, Leo Roos’ adaptation method is worth exploring. And to truly appreciate the capabilities of the 4/115 Pro Tessar, examining the images he captured with it is highly recommended. For German speakers, Dieter’s (Ulganapi’s) tutorial in the German Digicamclub provides further guidance here. Additionally, this blog offers a review and numerous sample images.
Upon completing the adapter, you unlock the potential of several fascinating lenses. The mount typically comes with a Pro Tessar 1:2.8/50 front element, interchangeable with other common front elements:
- 4/35 and 3.2/35 (I possess two distinct versions of the 3.2/35)
- 4/85 and 3.2/85
- 4/115
- 1:1 Macro 50mm (f/5.6)
For those wishing to delve deeper into the Contaflex lens system, other specialized front elements exist:
- Steritar (for stereo images; version “813” or B is needed for Contaflex III, IV mounts)
- Close-up Steritar (for stereo macro photography)
- Monocular 8x30B (a 400mm telescope adaptable as a lens front element)
Performance Insights
From my experience using these lenses on a Sony A7 camera, several general observations stand out regarding the 4/115, 3.2/85, and 3.2/35 lenses (my 2.8/50 is unfortunately unusable). These lenses, acquired for a total cost around the price of 115 Euros To Dollars when including the camera body for parts, offer surprising performance:
- Vibrant Colors: They render beautiful, saturated colors, even without post-processing. The color rendition wide open differs subtly from stopped-down settings, but remains appealing with a distinct “vintage” character.
- Impressive Contrast: For their age, they exhibit surprisingly good (micro) contrast, often negating the need for post-processing adjustments.
- Dreamy Wide-Open Look: Wide open, they produce a soft, dreamy aesthetic, particularly when shooting at close distances.
- Center Sharpness: They are sharp in the center even wide open, becoming exceptionally sharp when stopped down slightly, especially at closer ranges.
- Unique Bokeh: They deliver a distinctive vintage bokeh, which can also be remarkably smooth depending on the shooting distance.
- Minimal Chromatic Aberration: I’ve observed virtually no chromatic aberration in my photos at normal viewing sizes. Minor lateral CA might be visible near image borders at 100% magnification, such as on tree branches against the sky. This near-apochromatic performance is a particularly pleasing characteristic.
- Border Softness: They require significant stopping down for acceptable border performance, making them less ideal for landscape or architectural photography unless stopped down to f/11 or used with an APS-C sensor (or smaller). This characteristic can be advantageous for portraits or bokeh-centric cityscapes, where corner fall-off is desired.
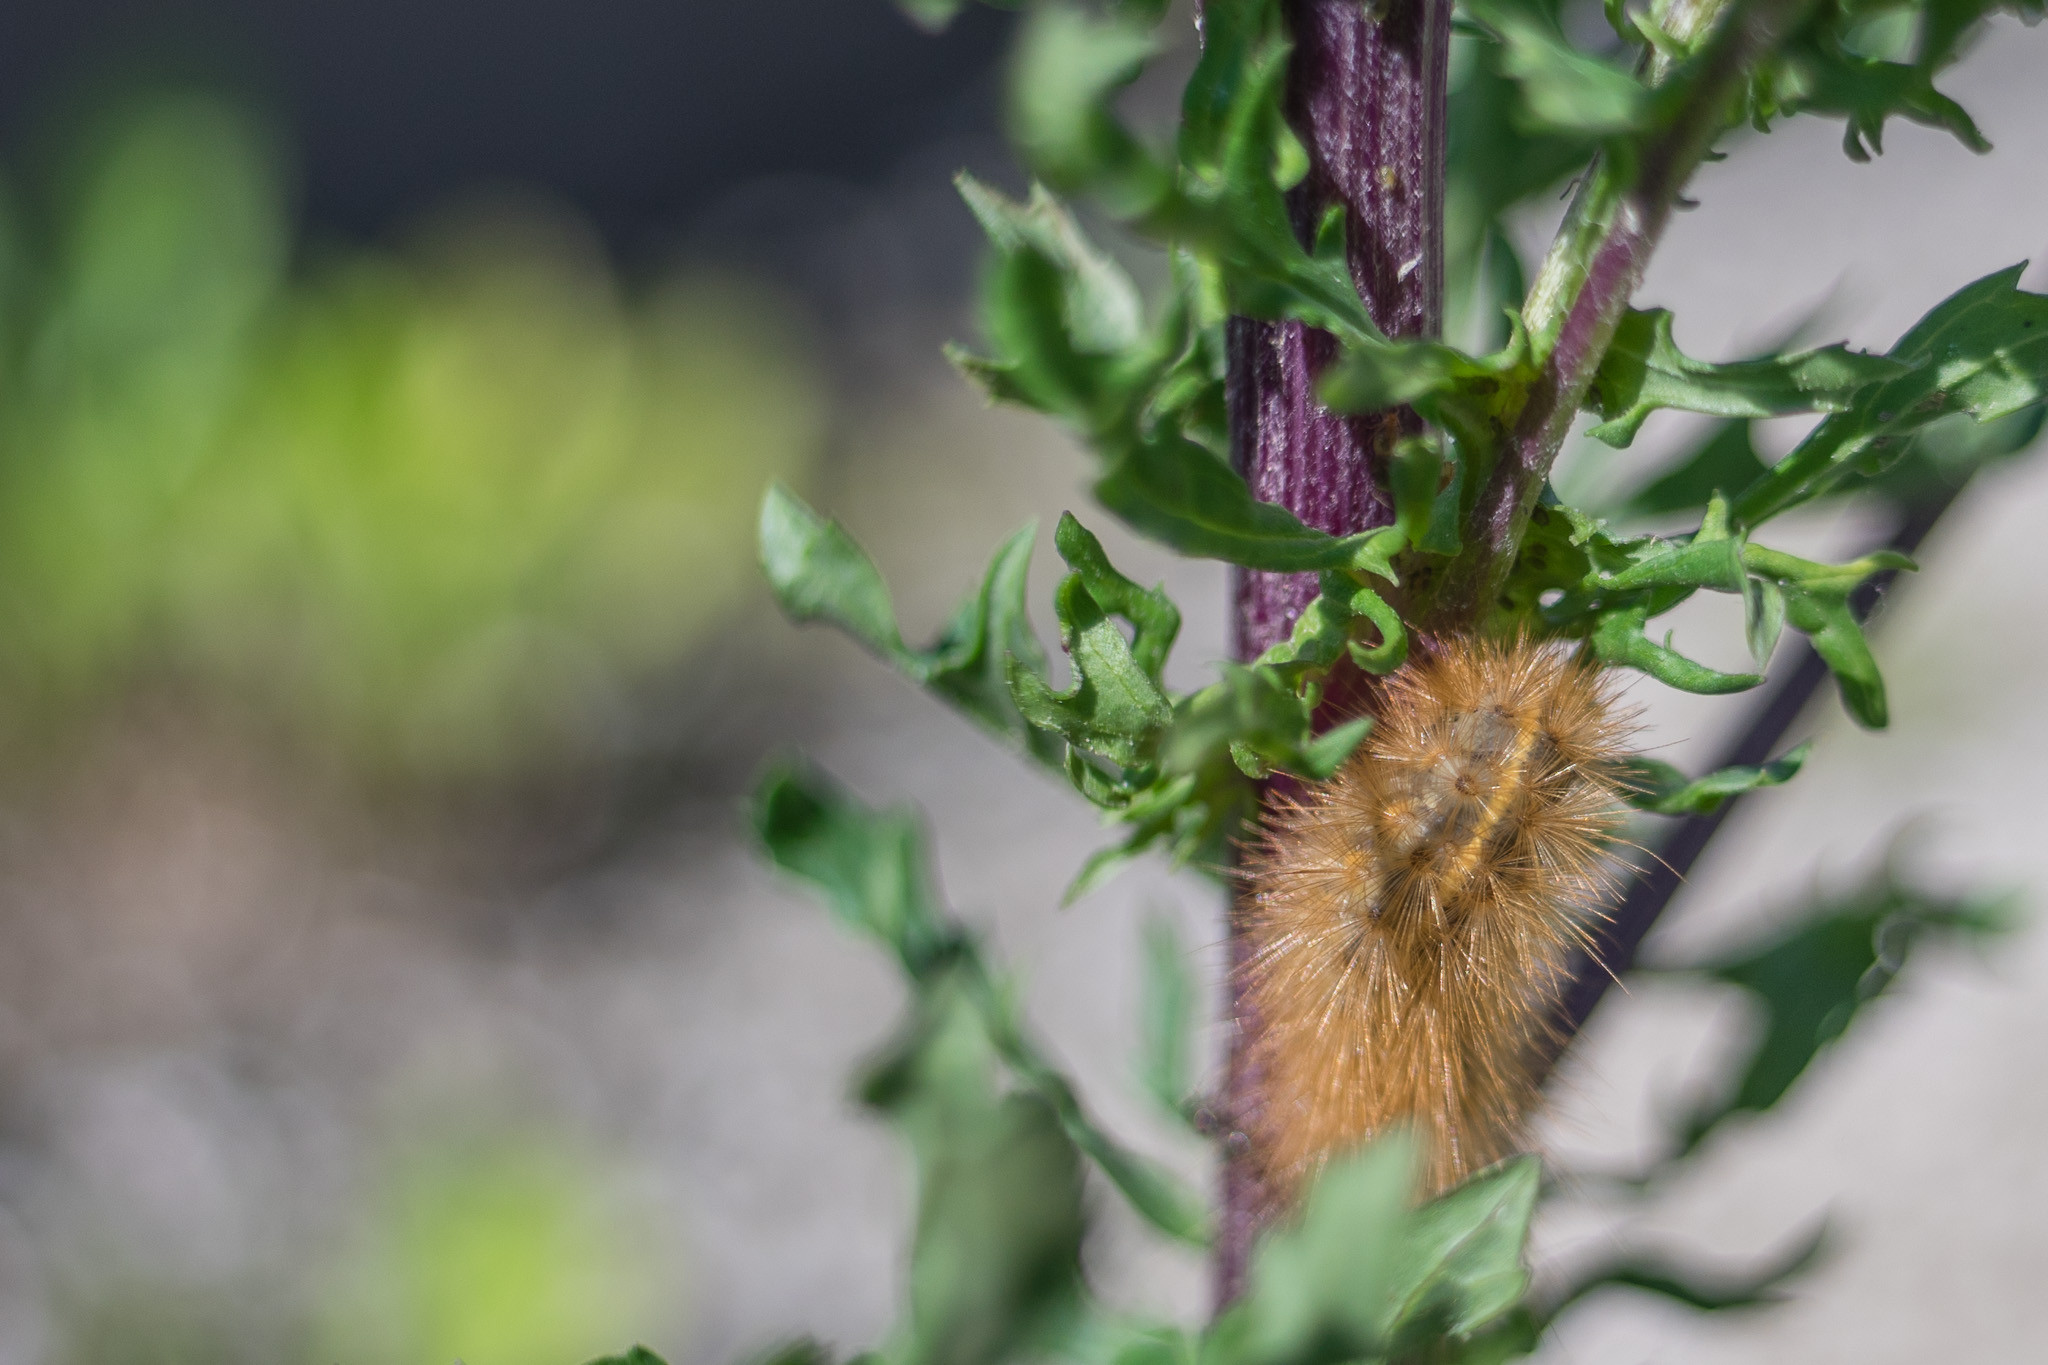
- Portrait and Bokeh Potential: These qualities make them excellent candidates for portraits (people, flowers, insects) and city bokeh shots. They also exhibit notable 3D rendering capabilities.
Sample Images
The following are unprocessed sample shots taken around my hometown, unless otherwise specified. All images were shot in RAW, imported into Lightroom, and exported without modifications other than:
- Minor exposure adjustments (basic exposure slider only).
- No sharpening or other manipulations.
- No changes to clarity, contrast, or color.
- Slight cropping for tilt correction or composition.
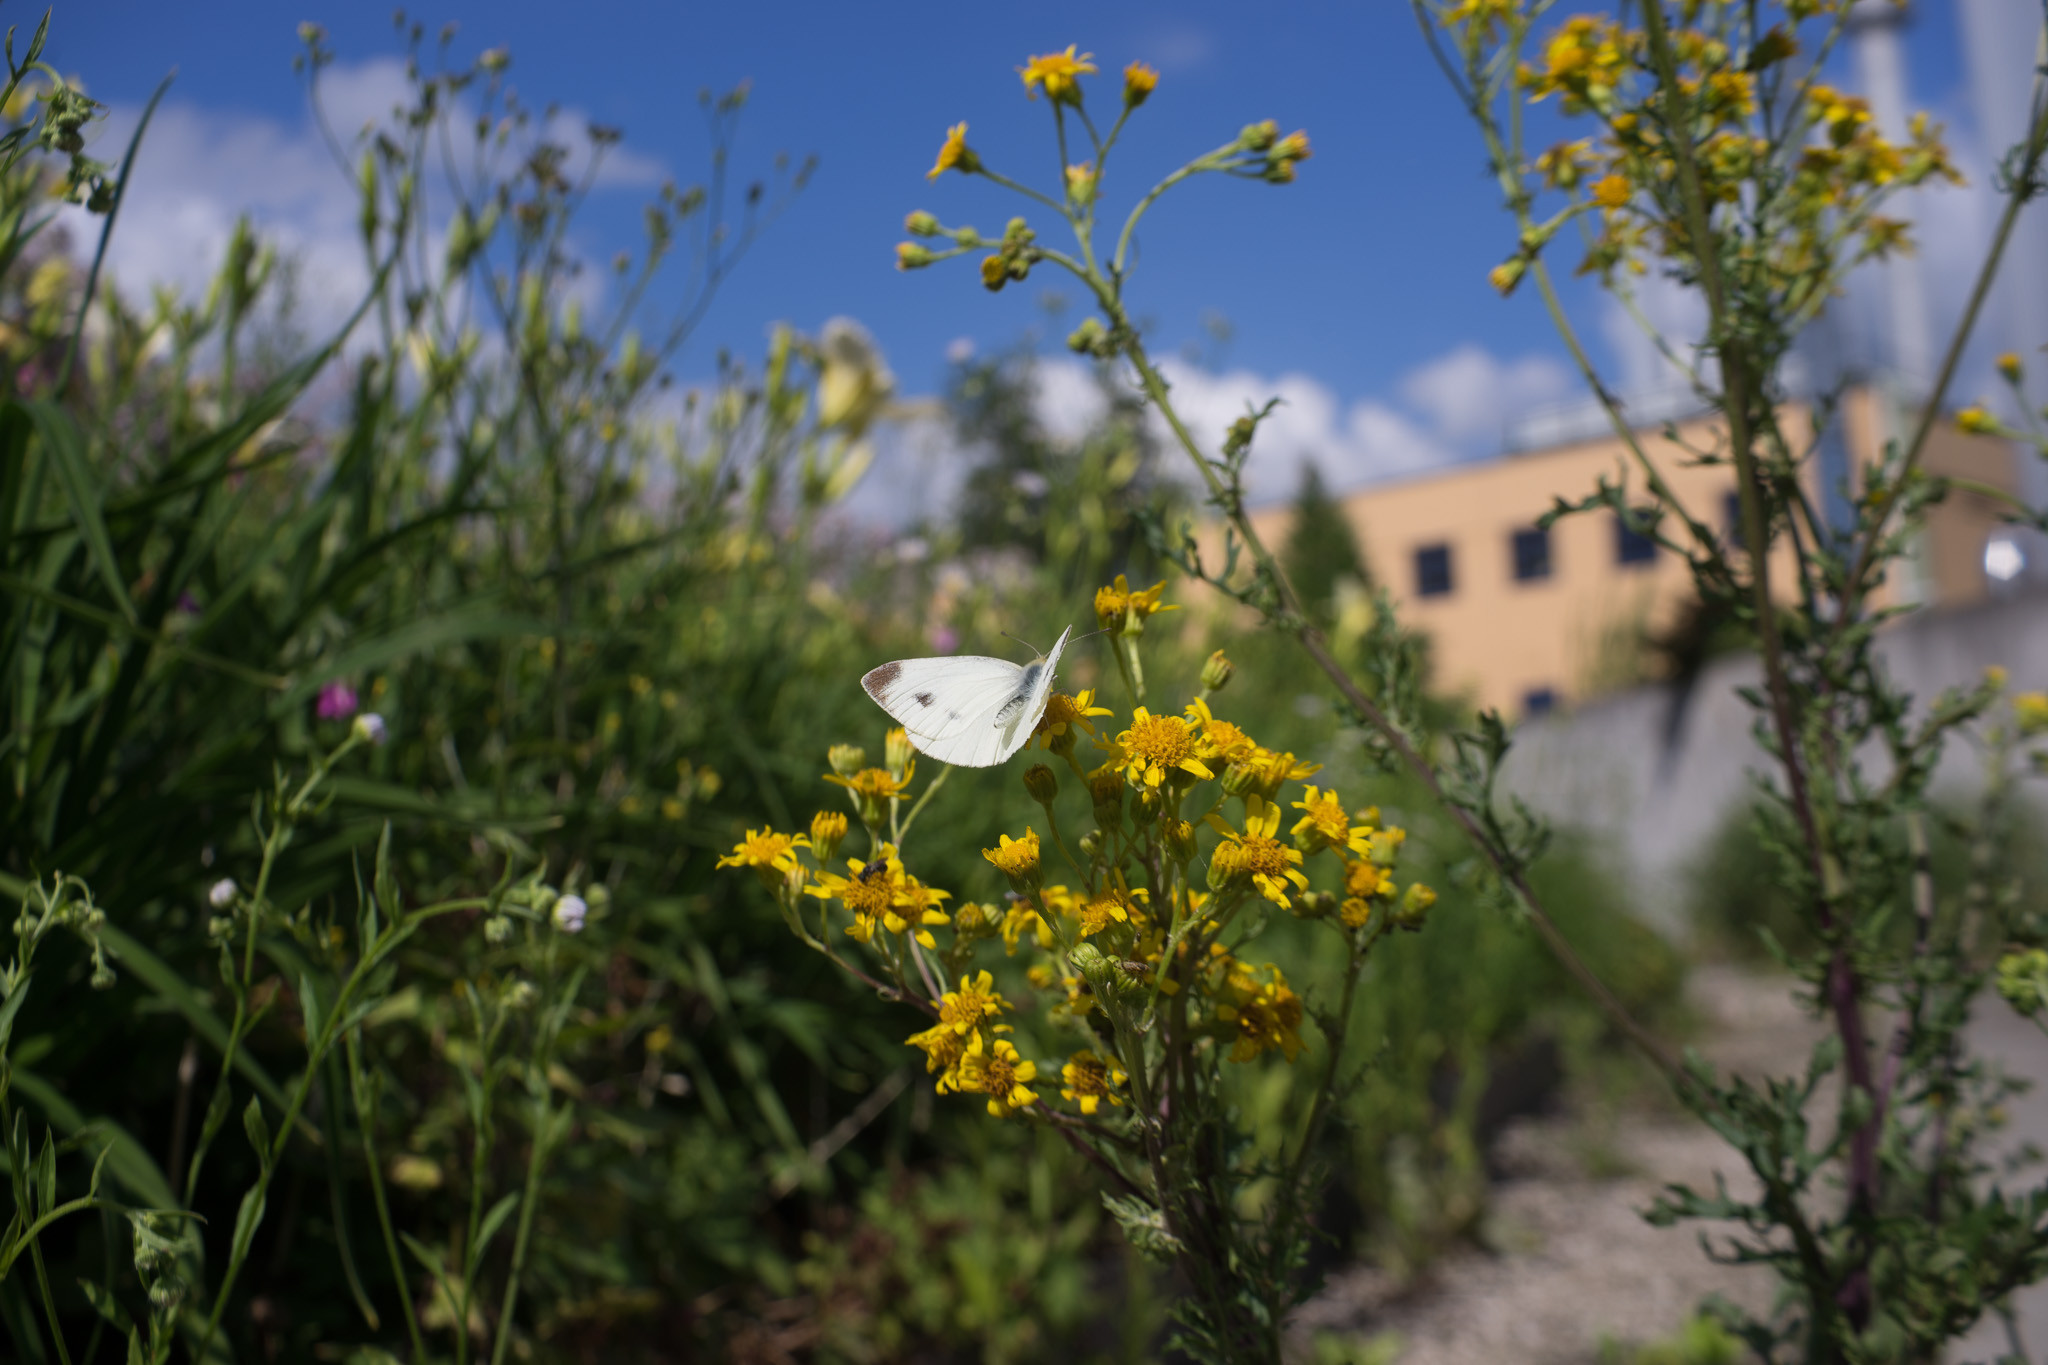
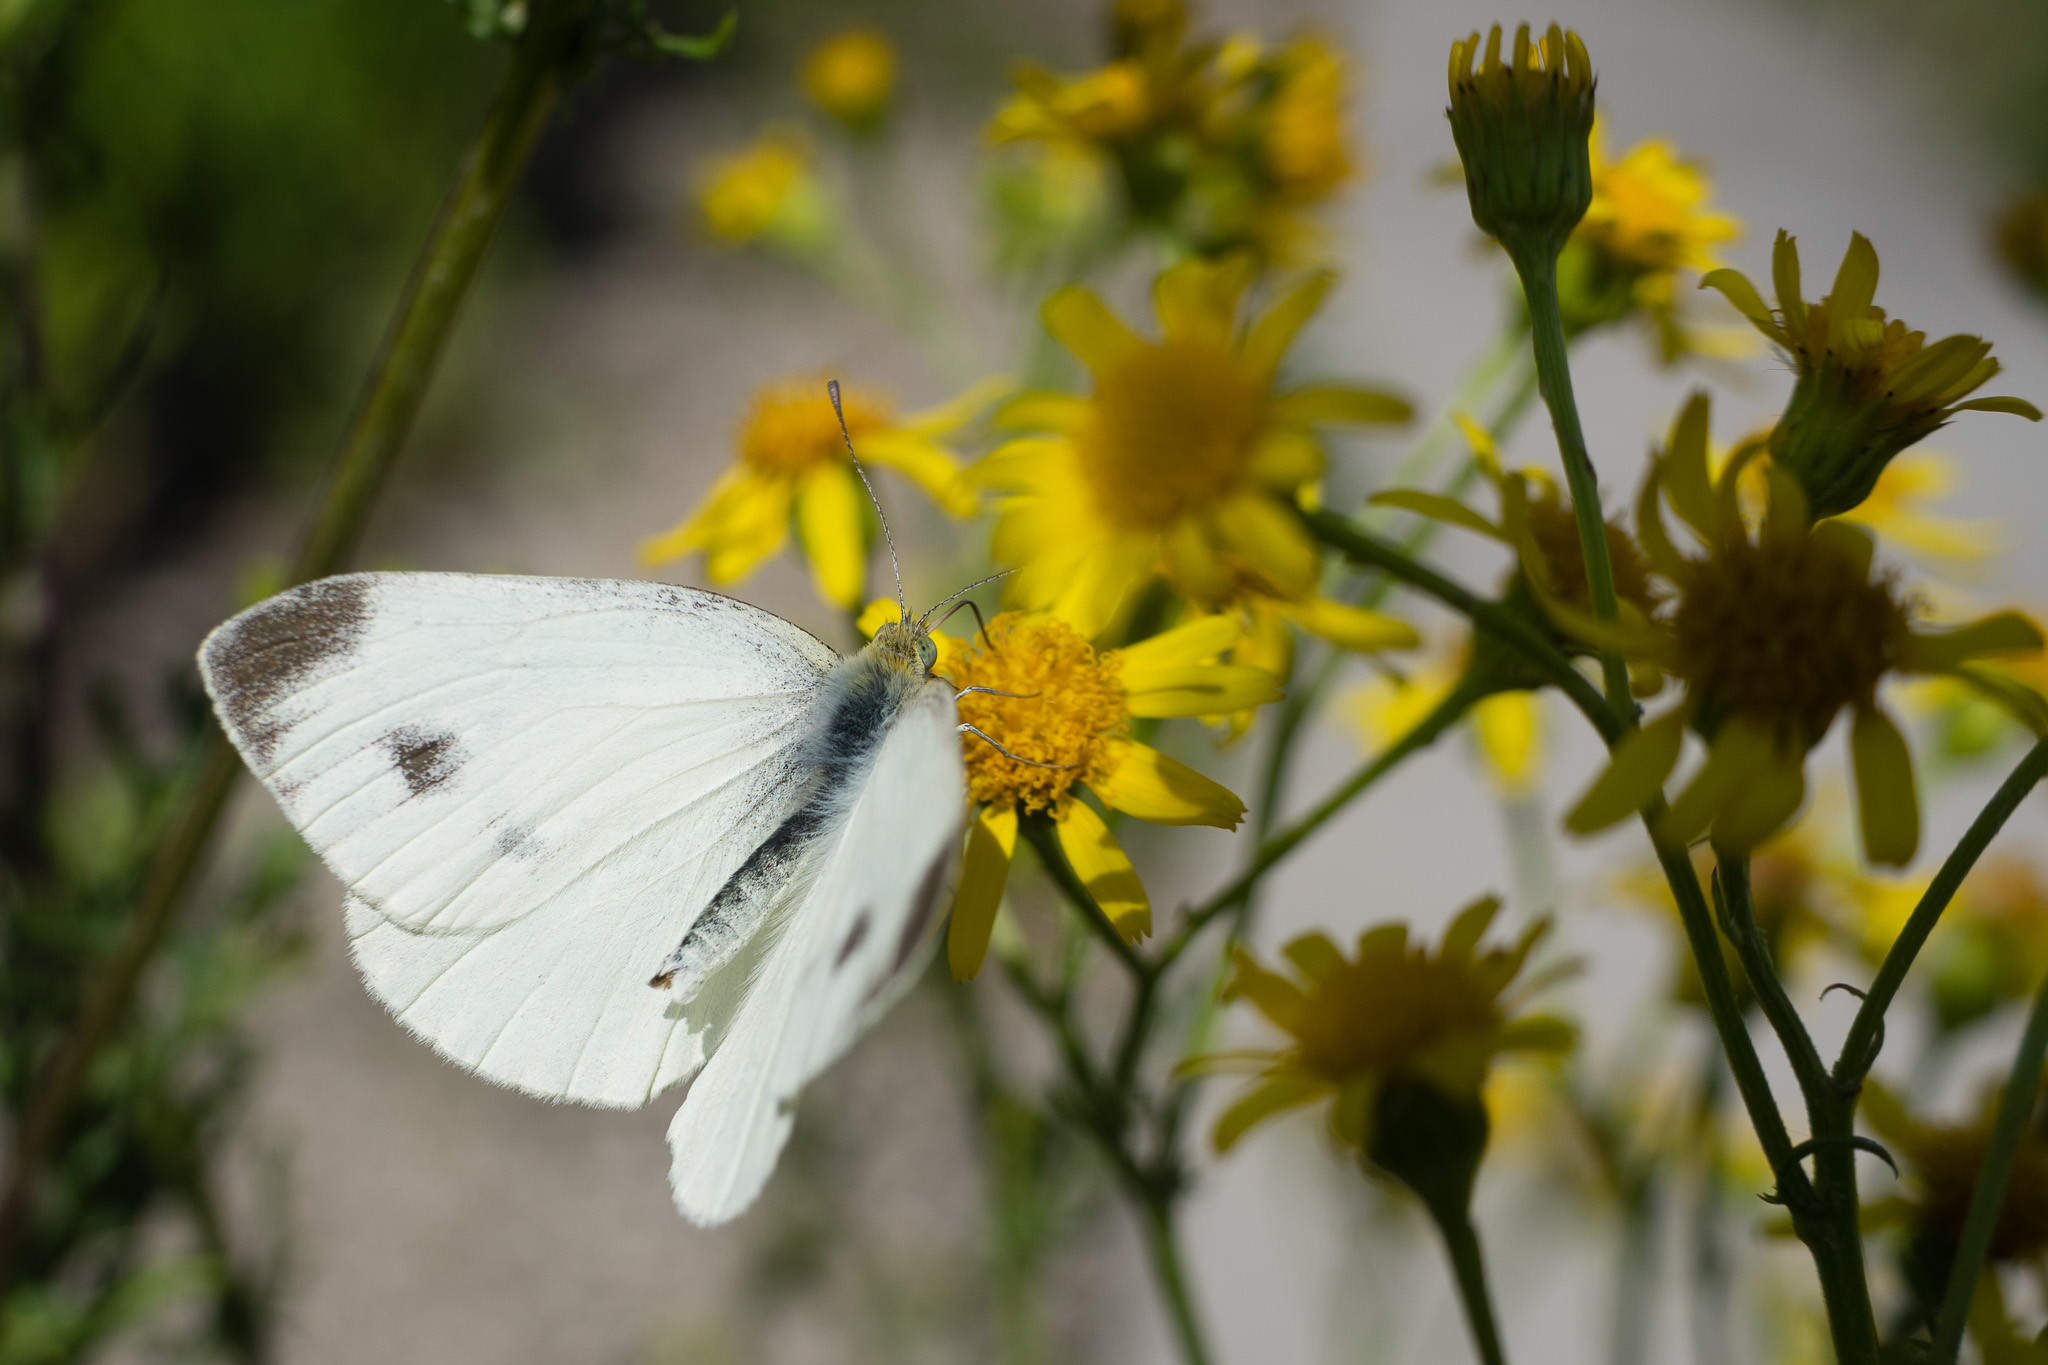
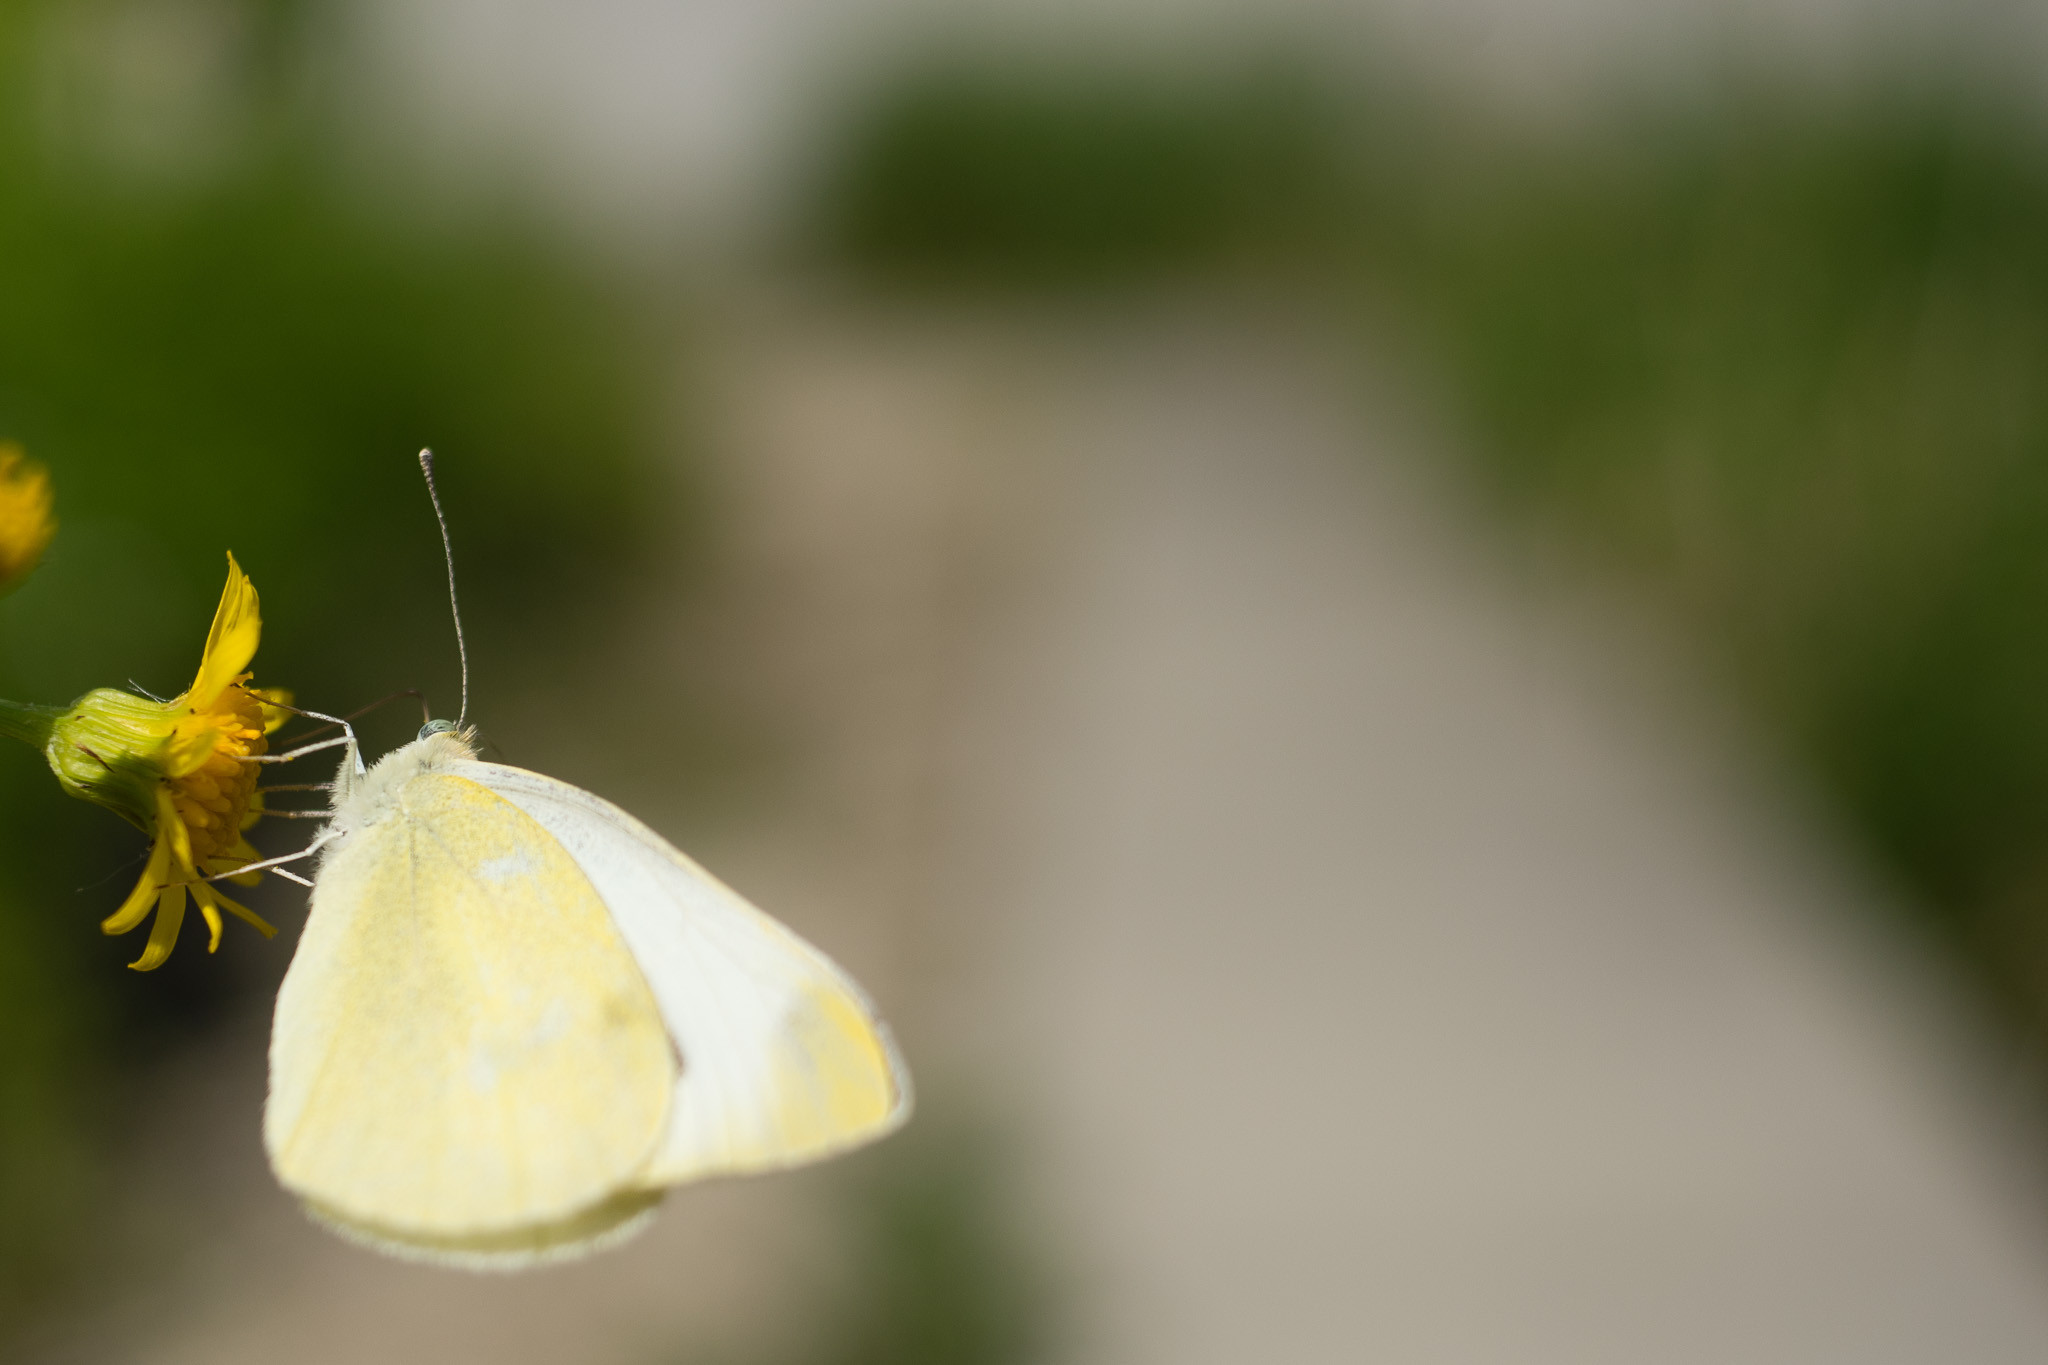
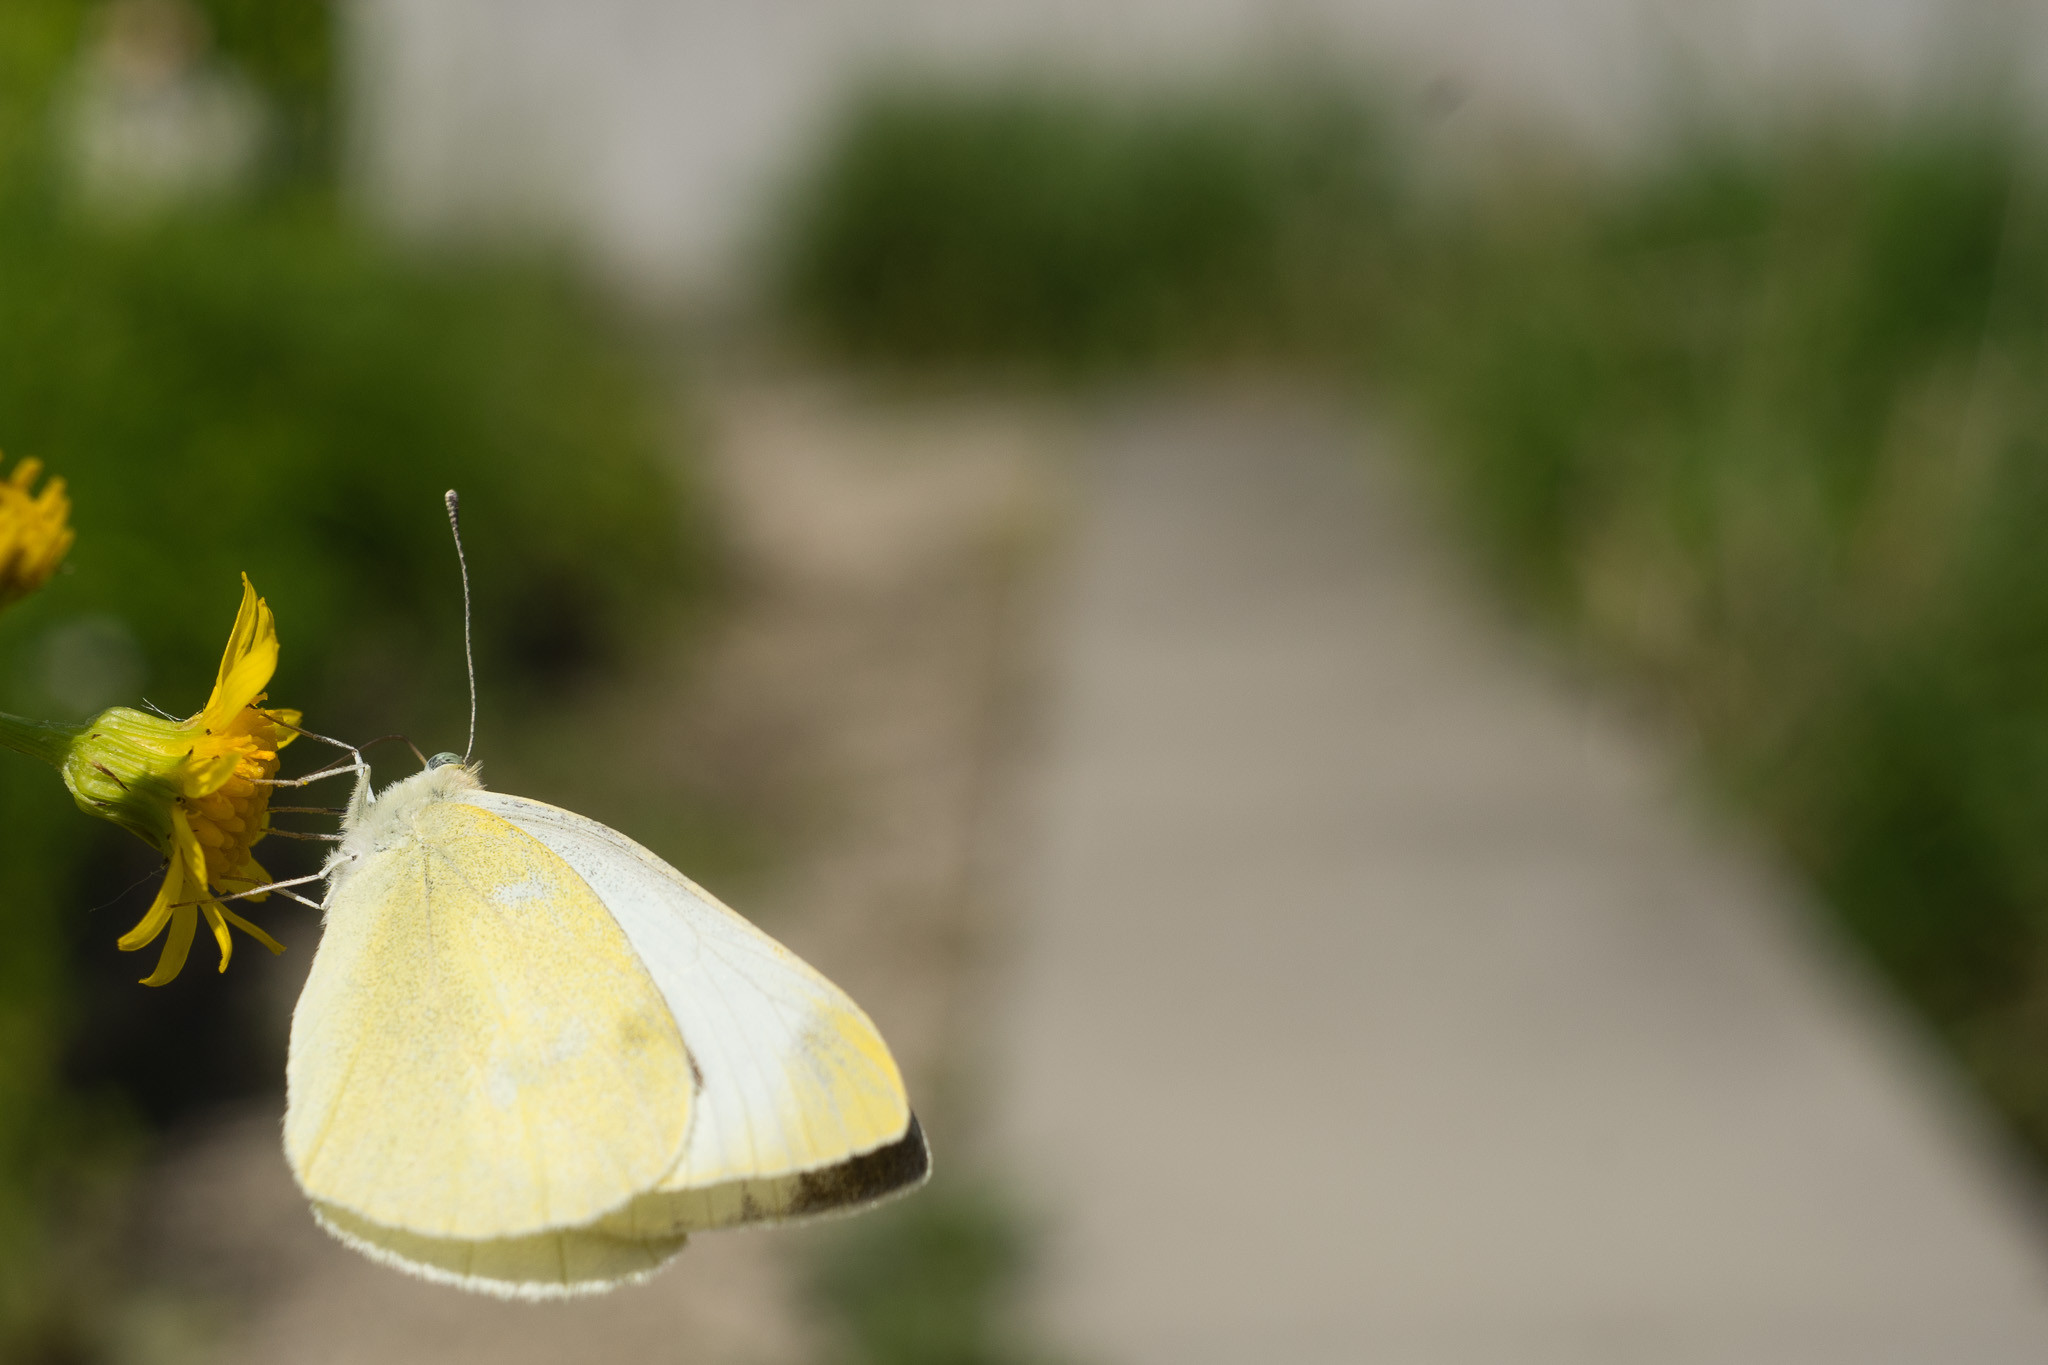
- Butterfly images are heavily cropped and shown close to 100% view to demonstrate lens sharpness, with no sharpening or clarity adjustments.
3.2/35 (Small, Older Version):
 DSC04394
 Open aperture sample
 Closed down aperture sample
 DSC04332
 Open aperture sample
Strongly Cropped Samples (3.2/35 – Small, Older Version):
 DSC04400 – strongly cropped
 DSC04424 – strongly cropped
 Wide open aperture – strongly cropped
 DSC04413 – strongly cropped
3.2/35 (Large, Newer Version):
 DSC04386
 DSC04370
 DSC04326
 DSC04377
 DSC04385
 DSC04479
Strongly Cropped Samples (3.2/35 – Large, Newer Version) – Aperture Series:
 Open aperture – strongly cropped
 Open aperture f/3.2 – strongly cropped
 Two stops down aperture – strongly cropped
3.2/85 Samples:
 DSC03370
 Stopped down aperture – close focus
 DSC04477
 DSC03385
 DSC04449
 Stopped down aperture – infinity focus
 Open aperture – close focus
 DSC03376
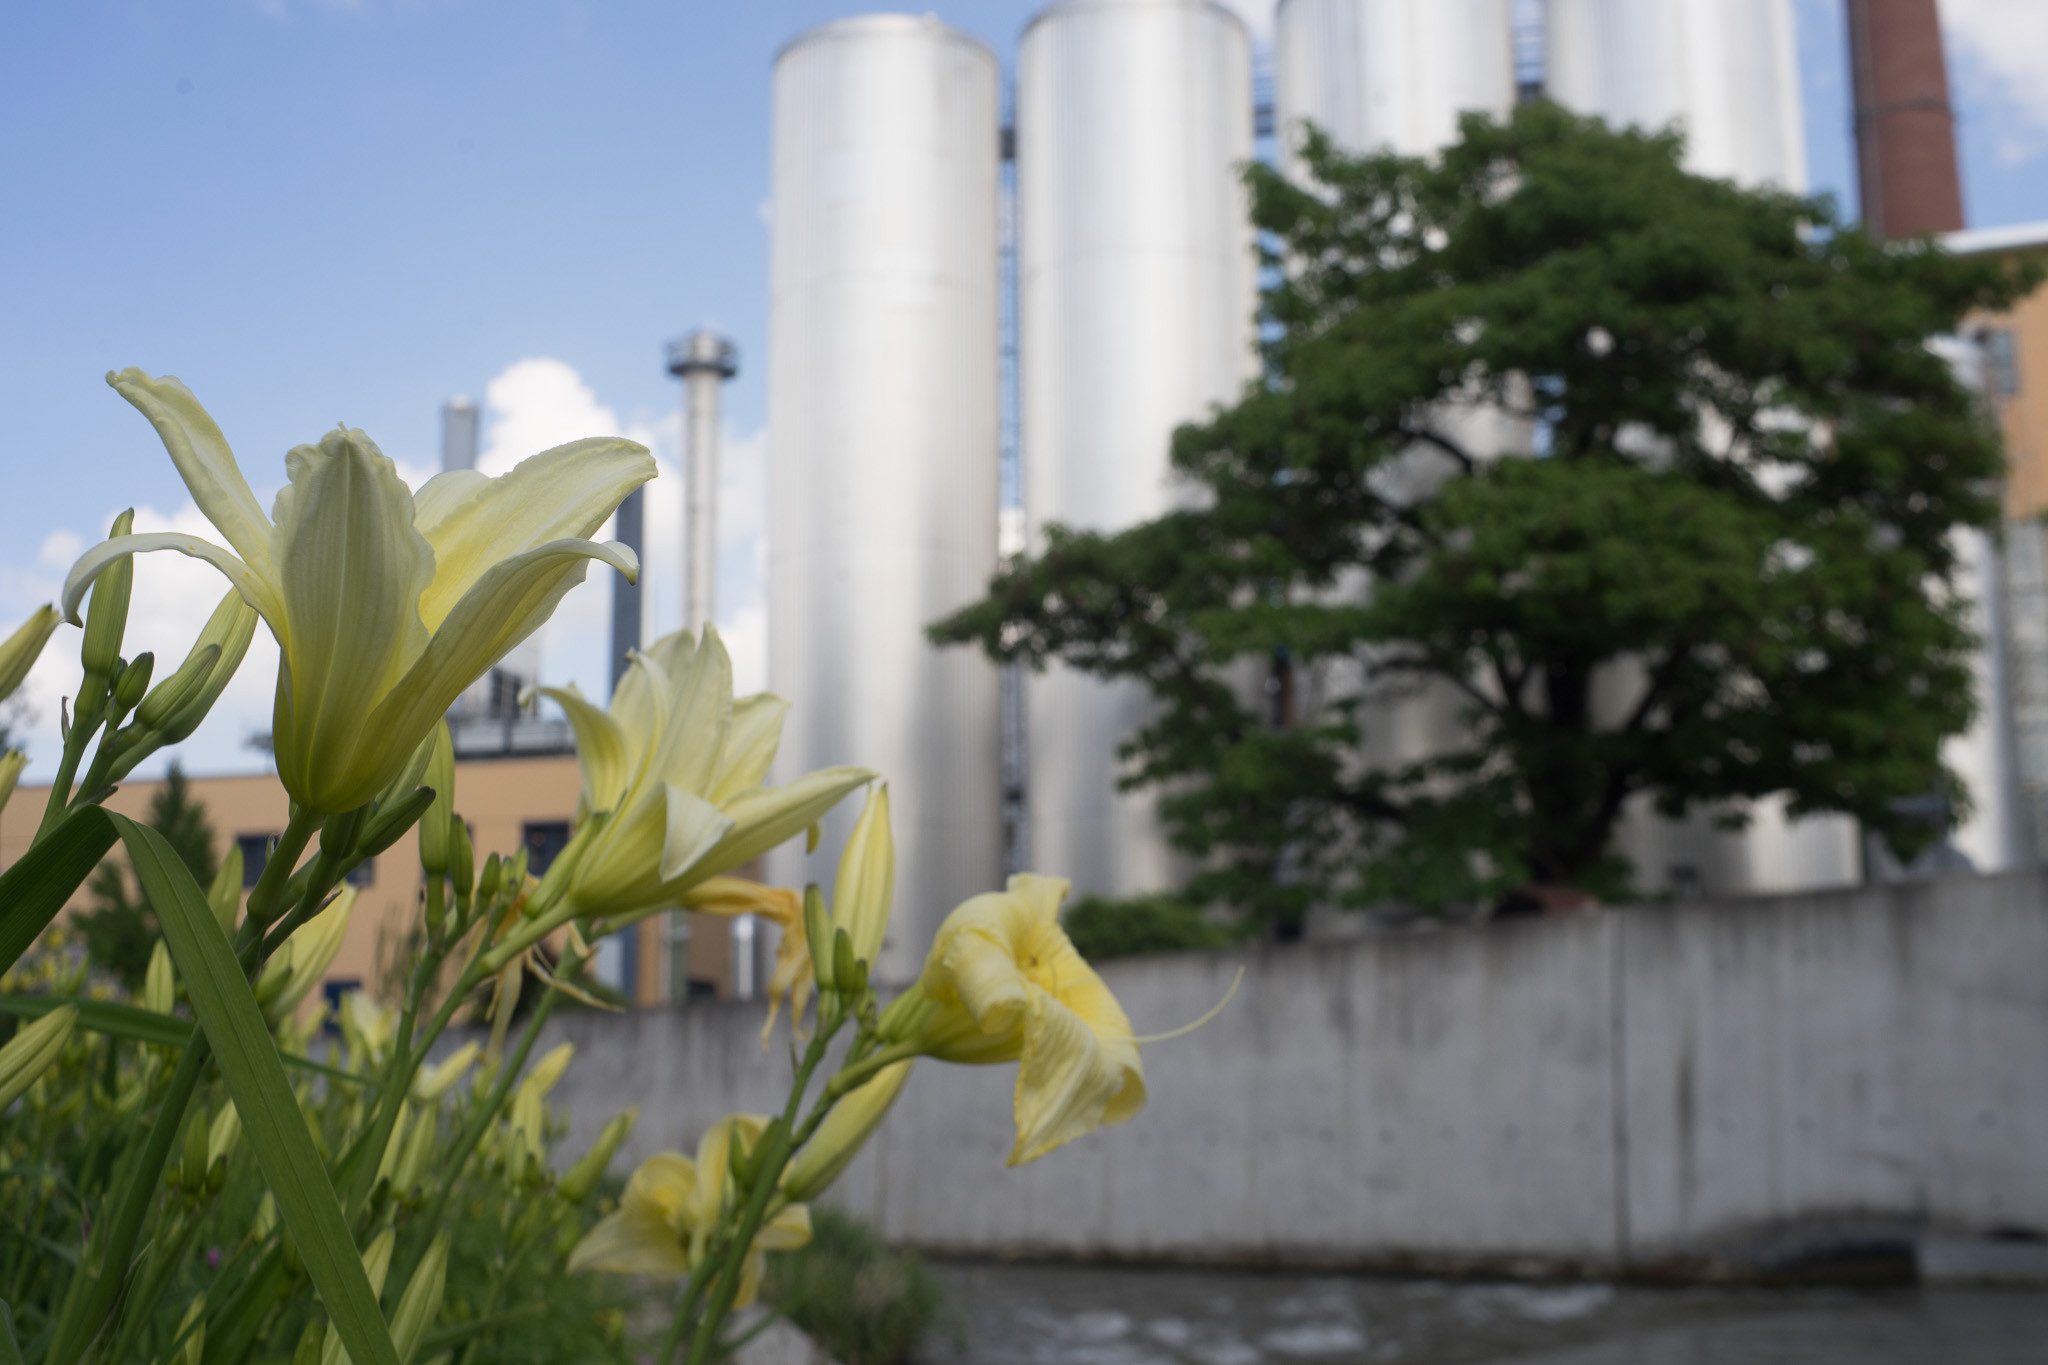
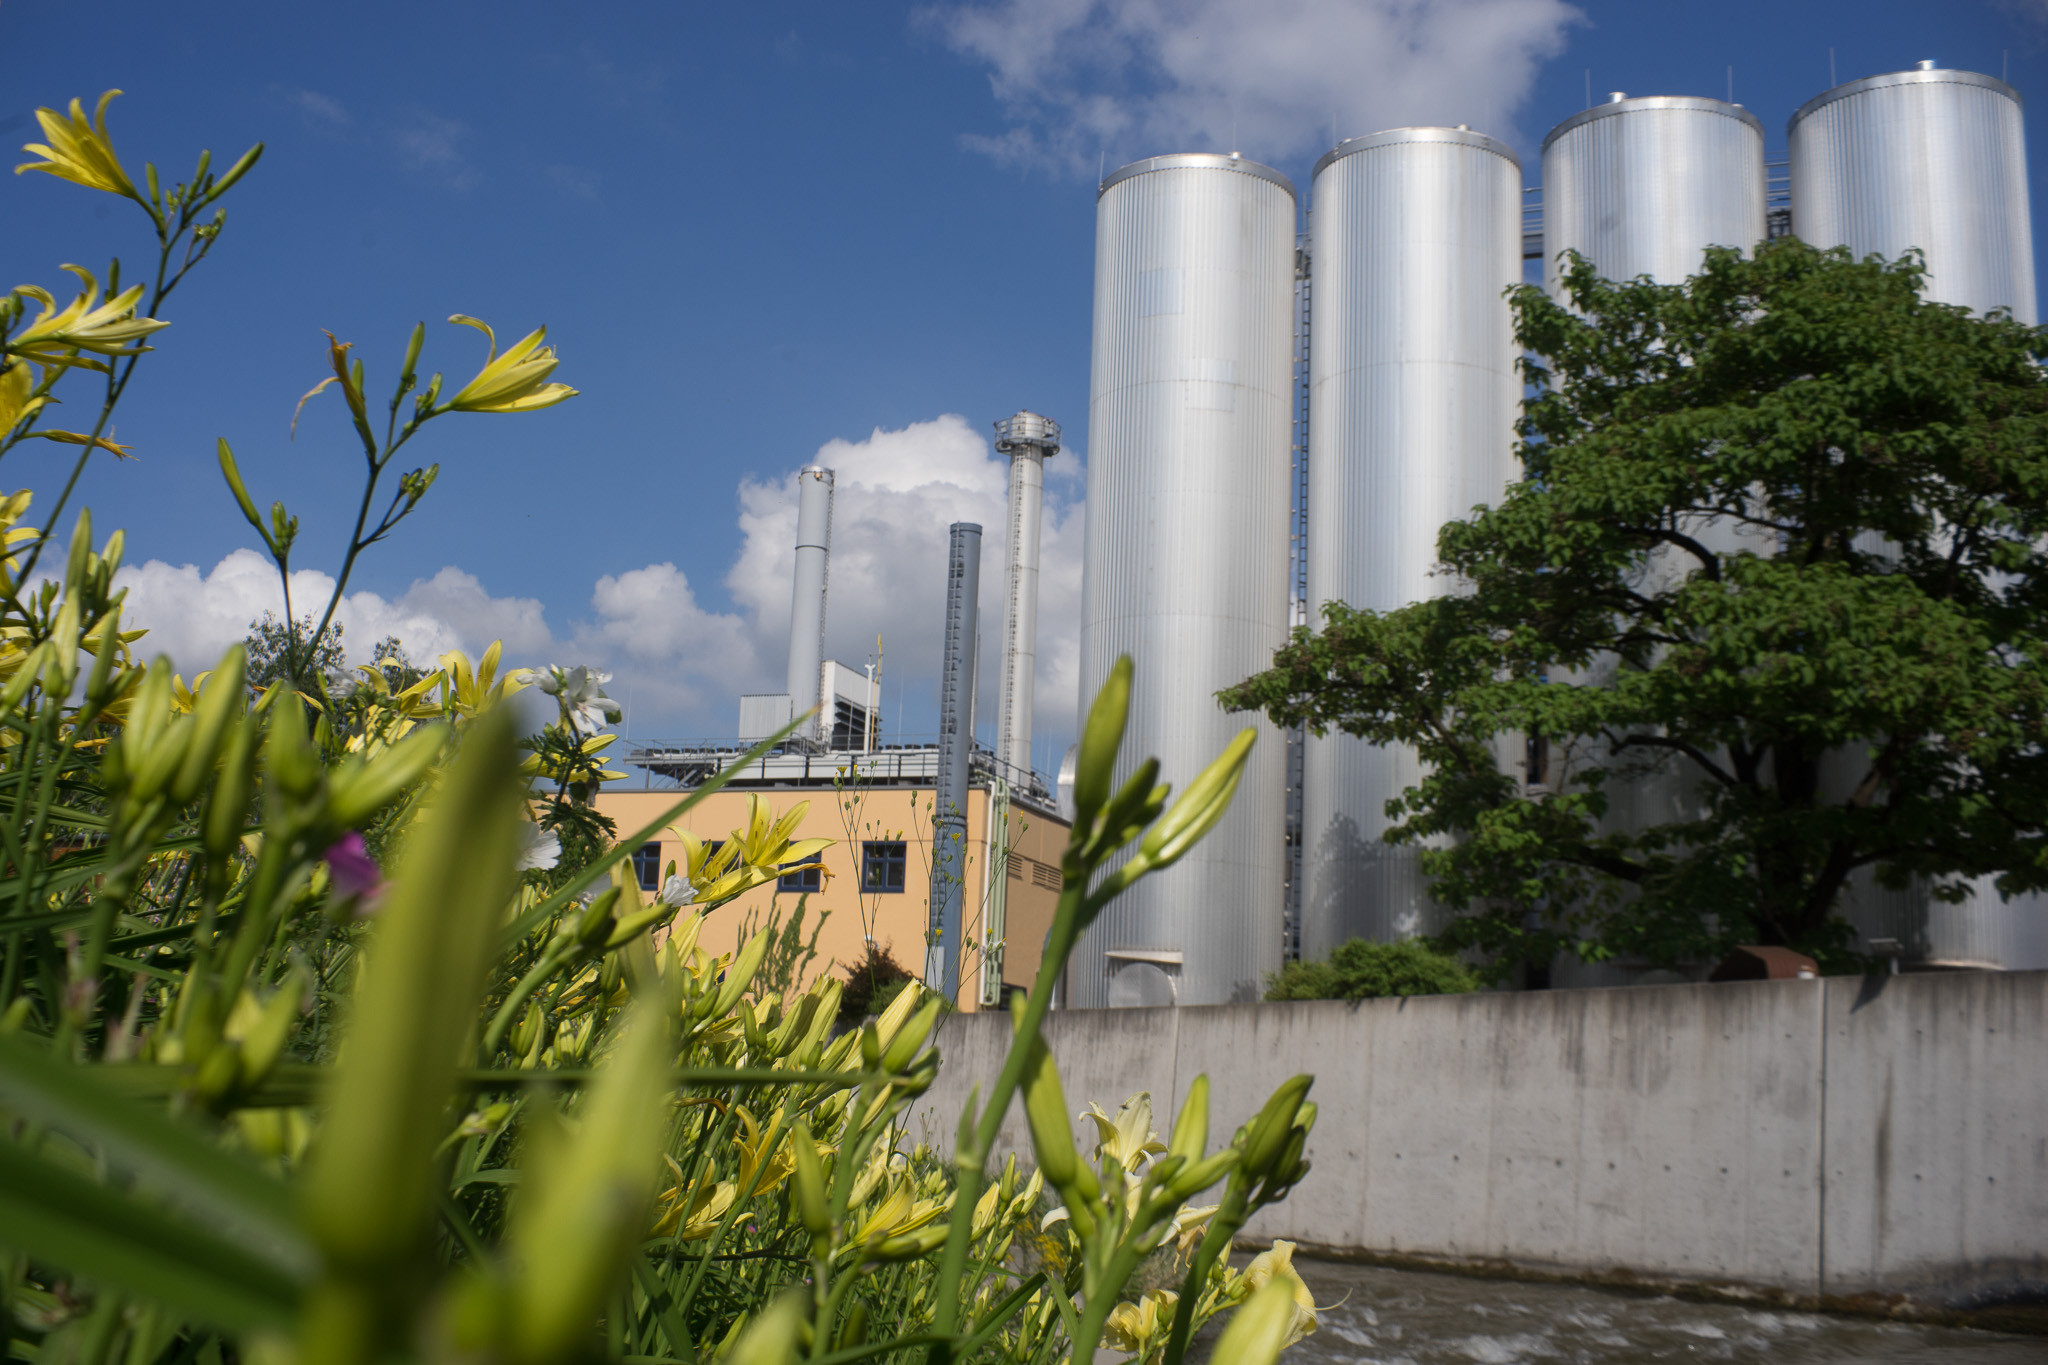
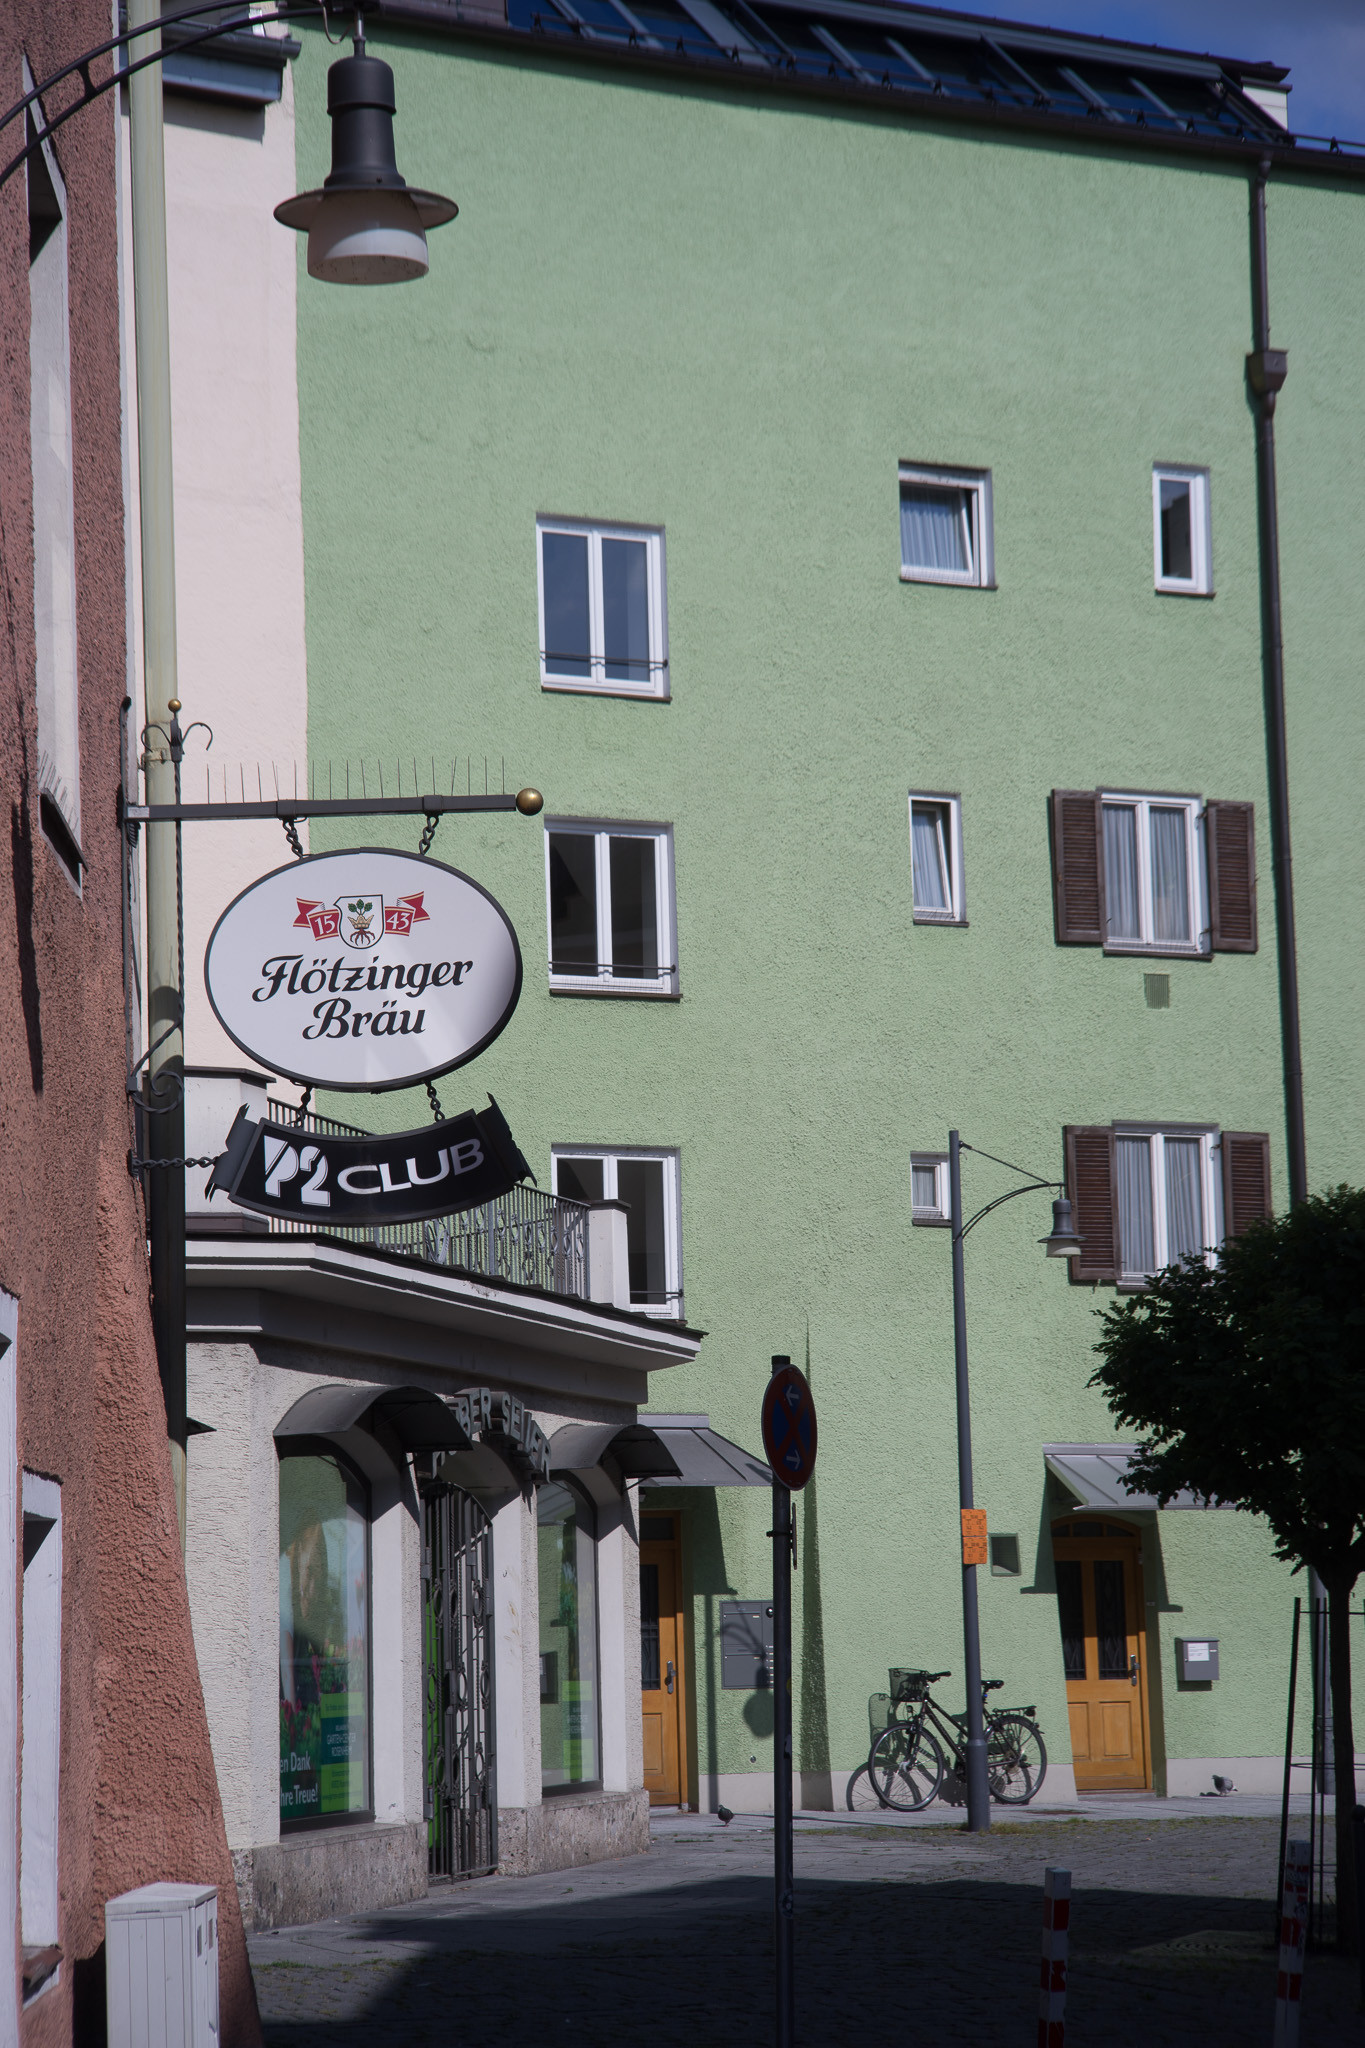
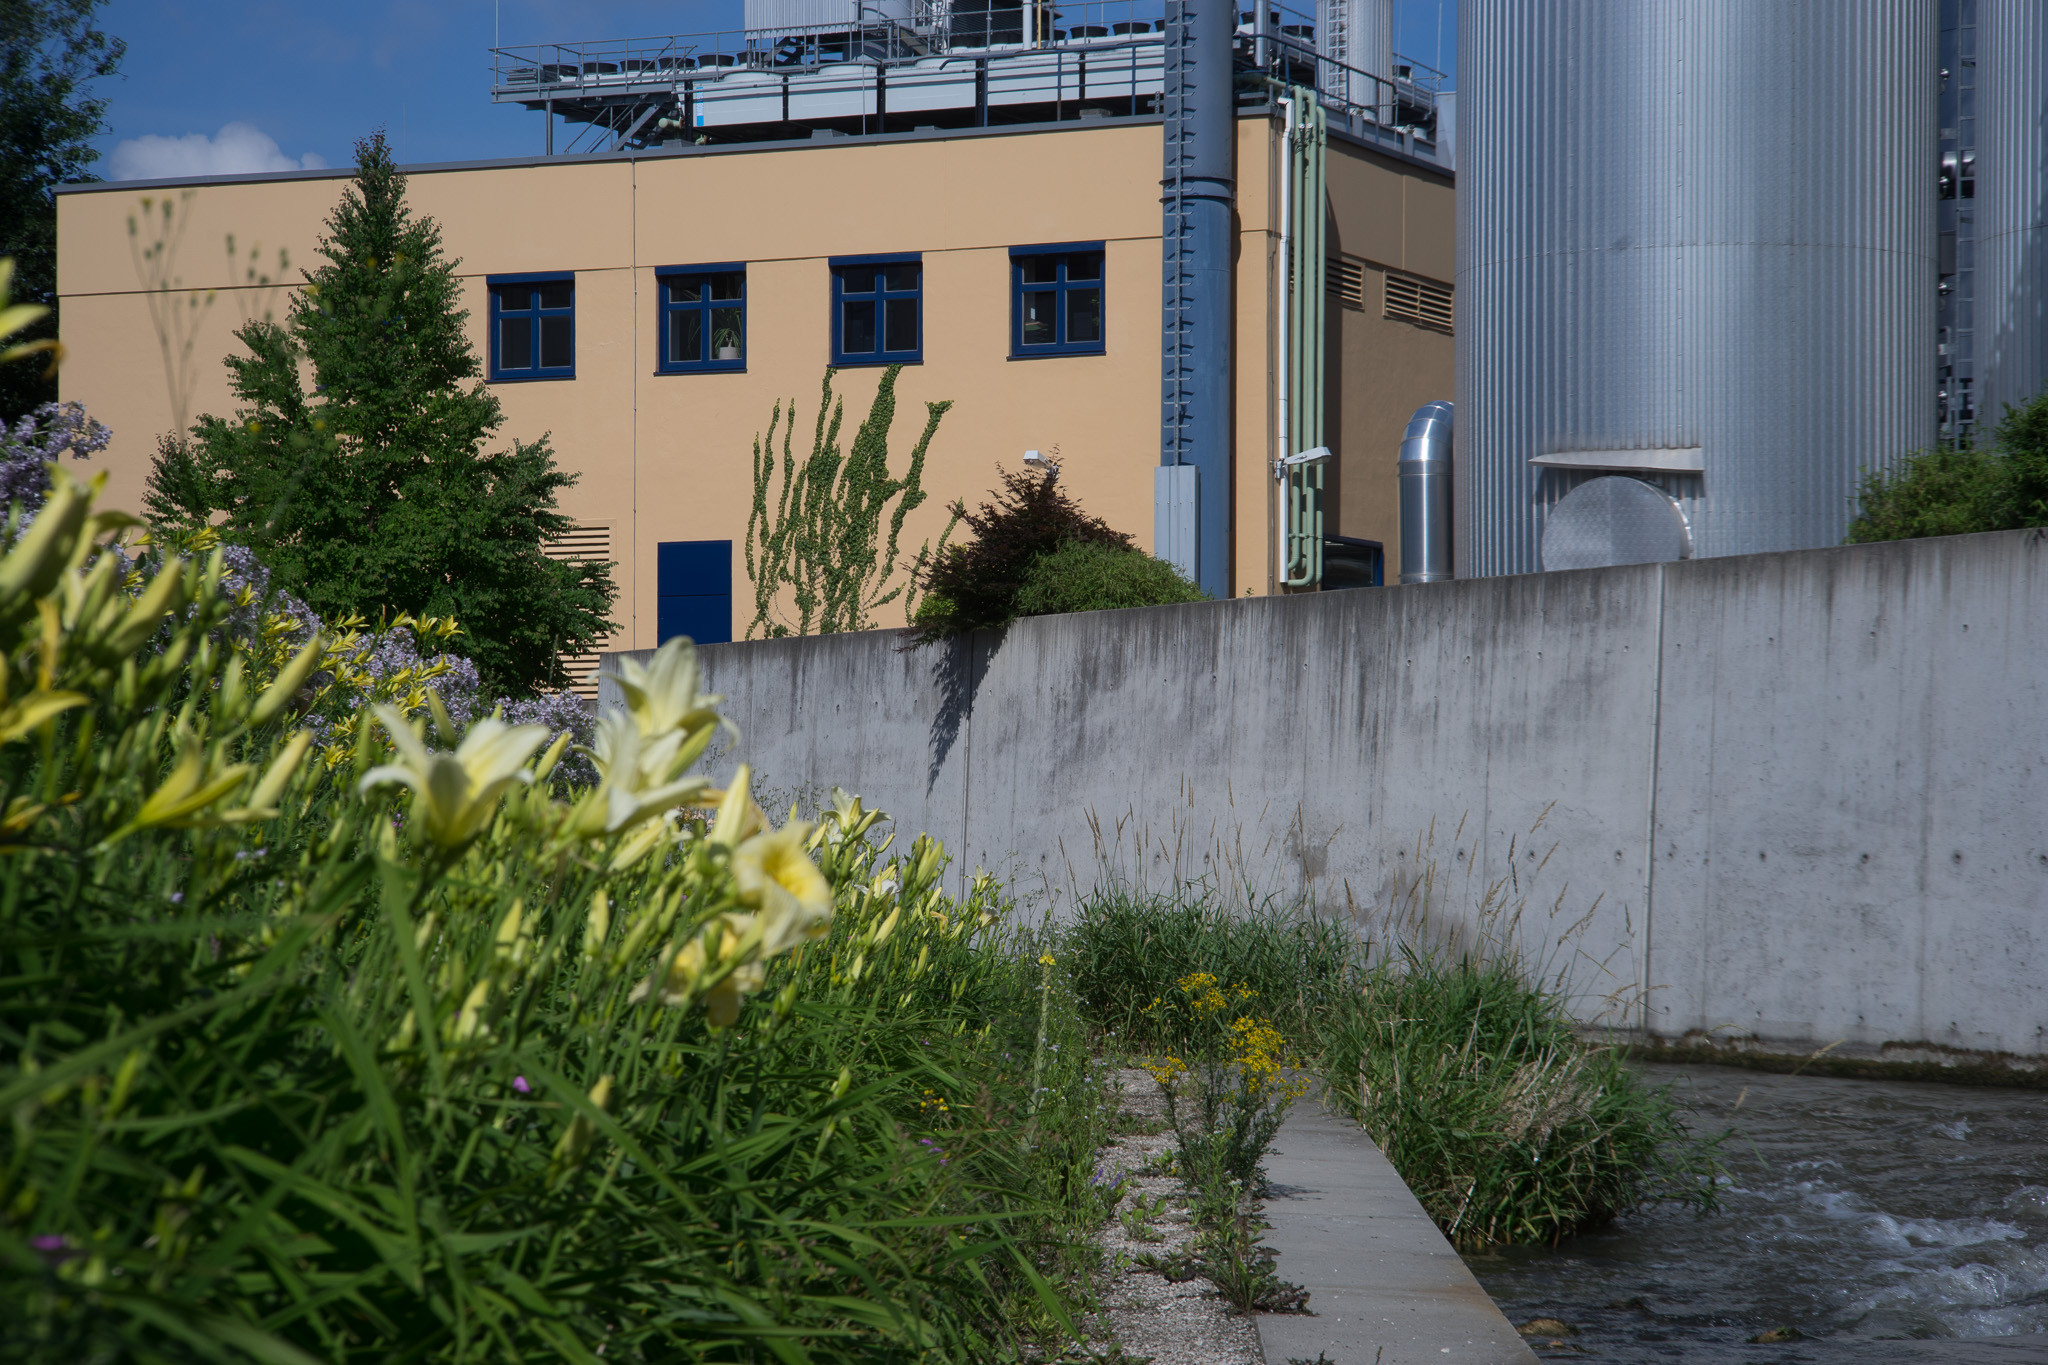
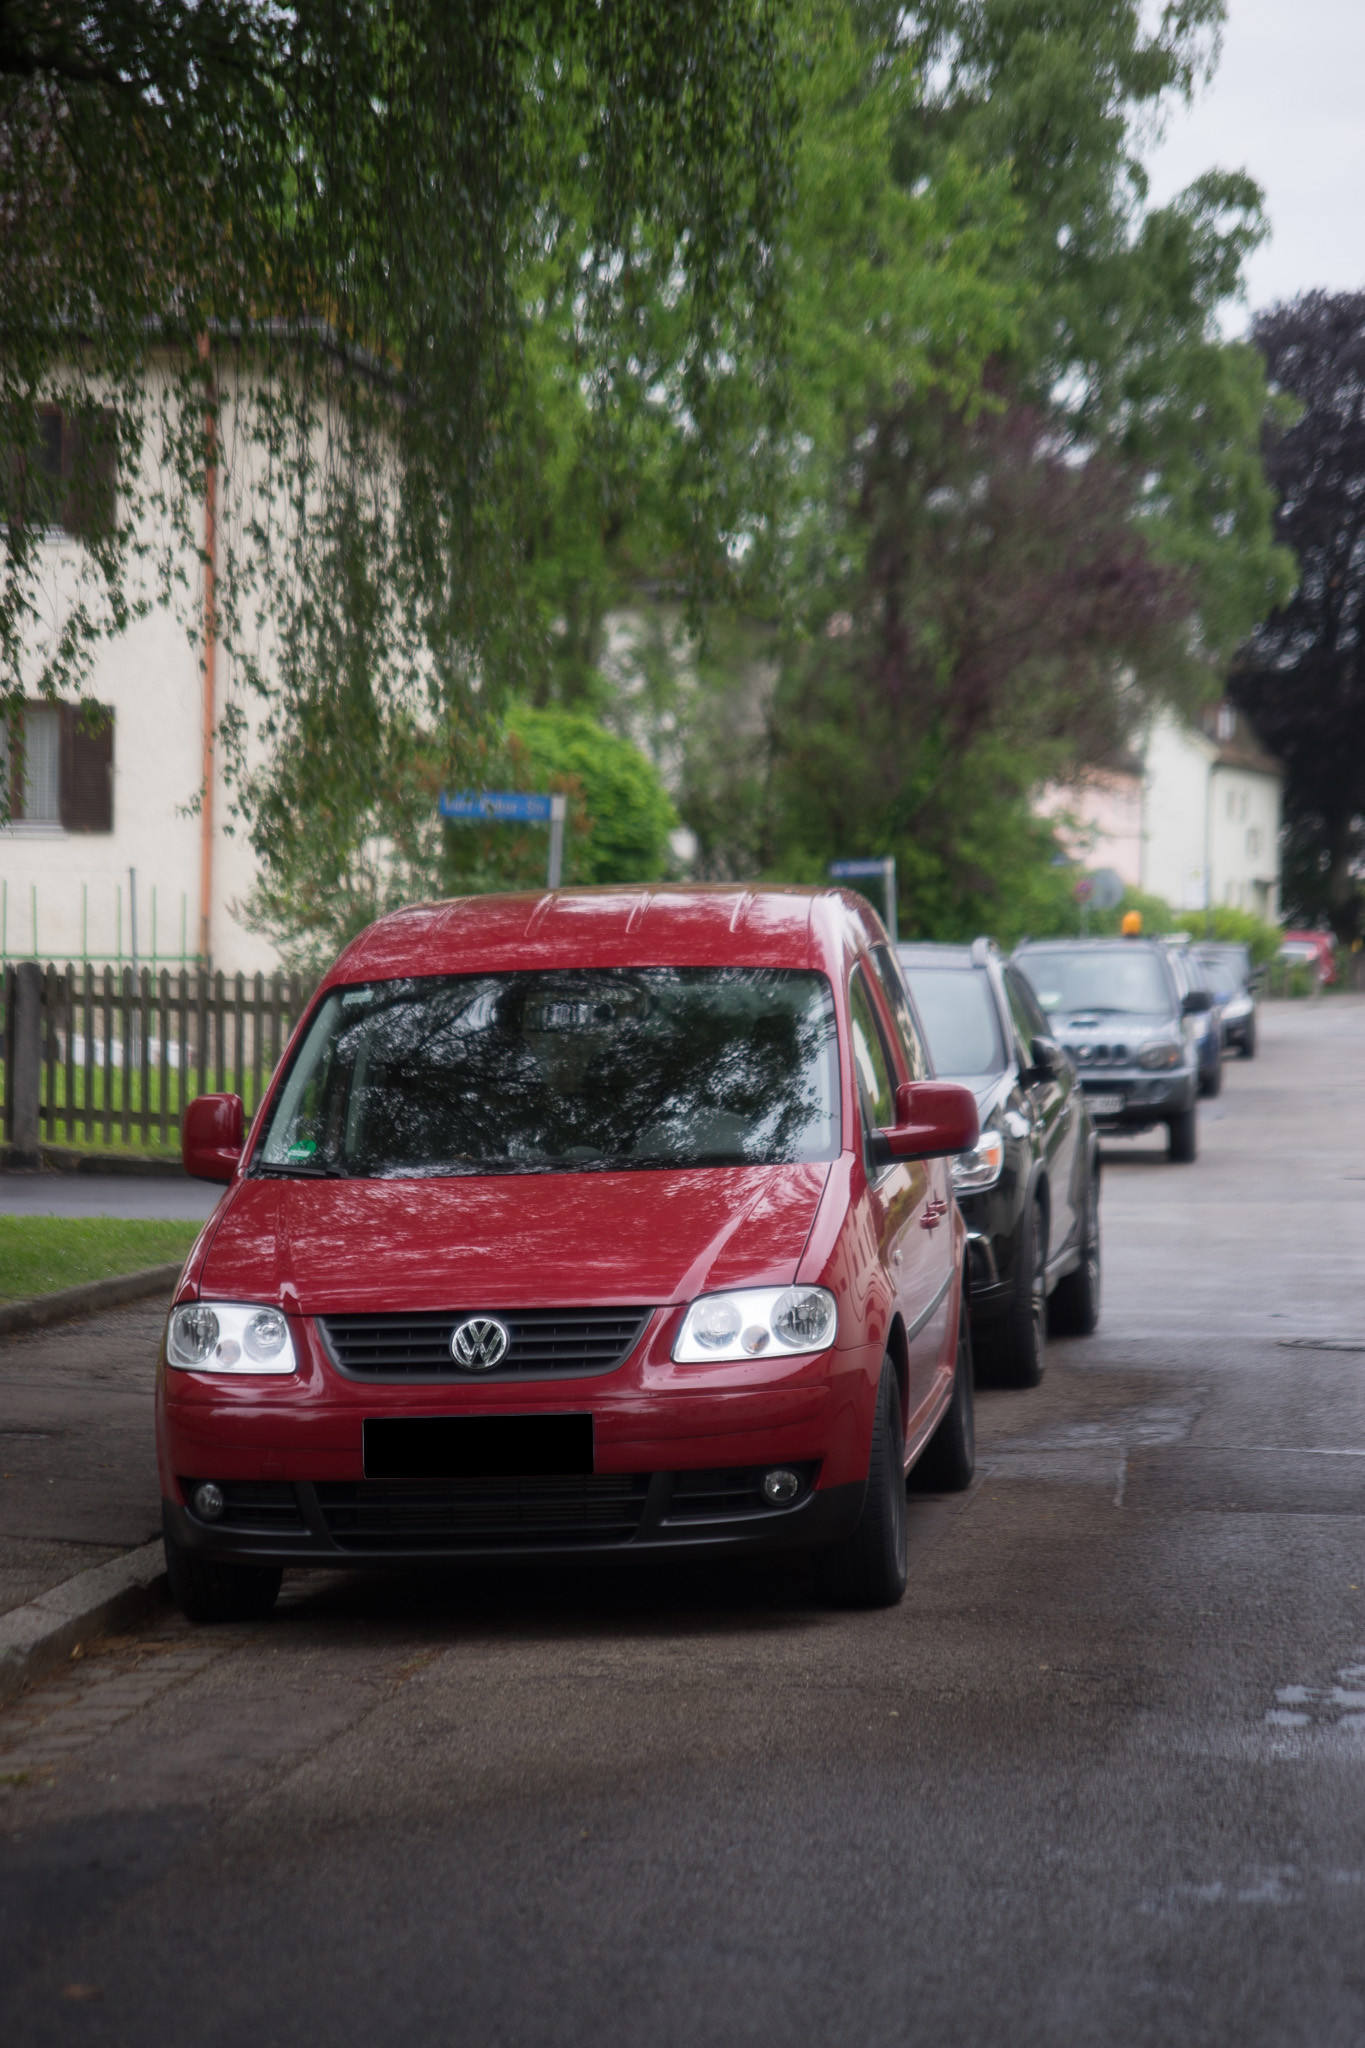
4/115 Samples:
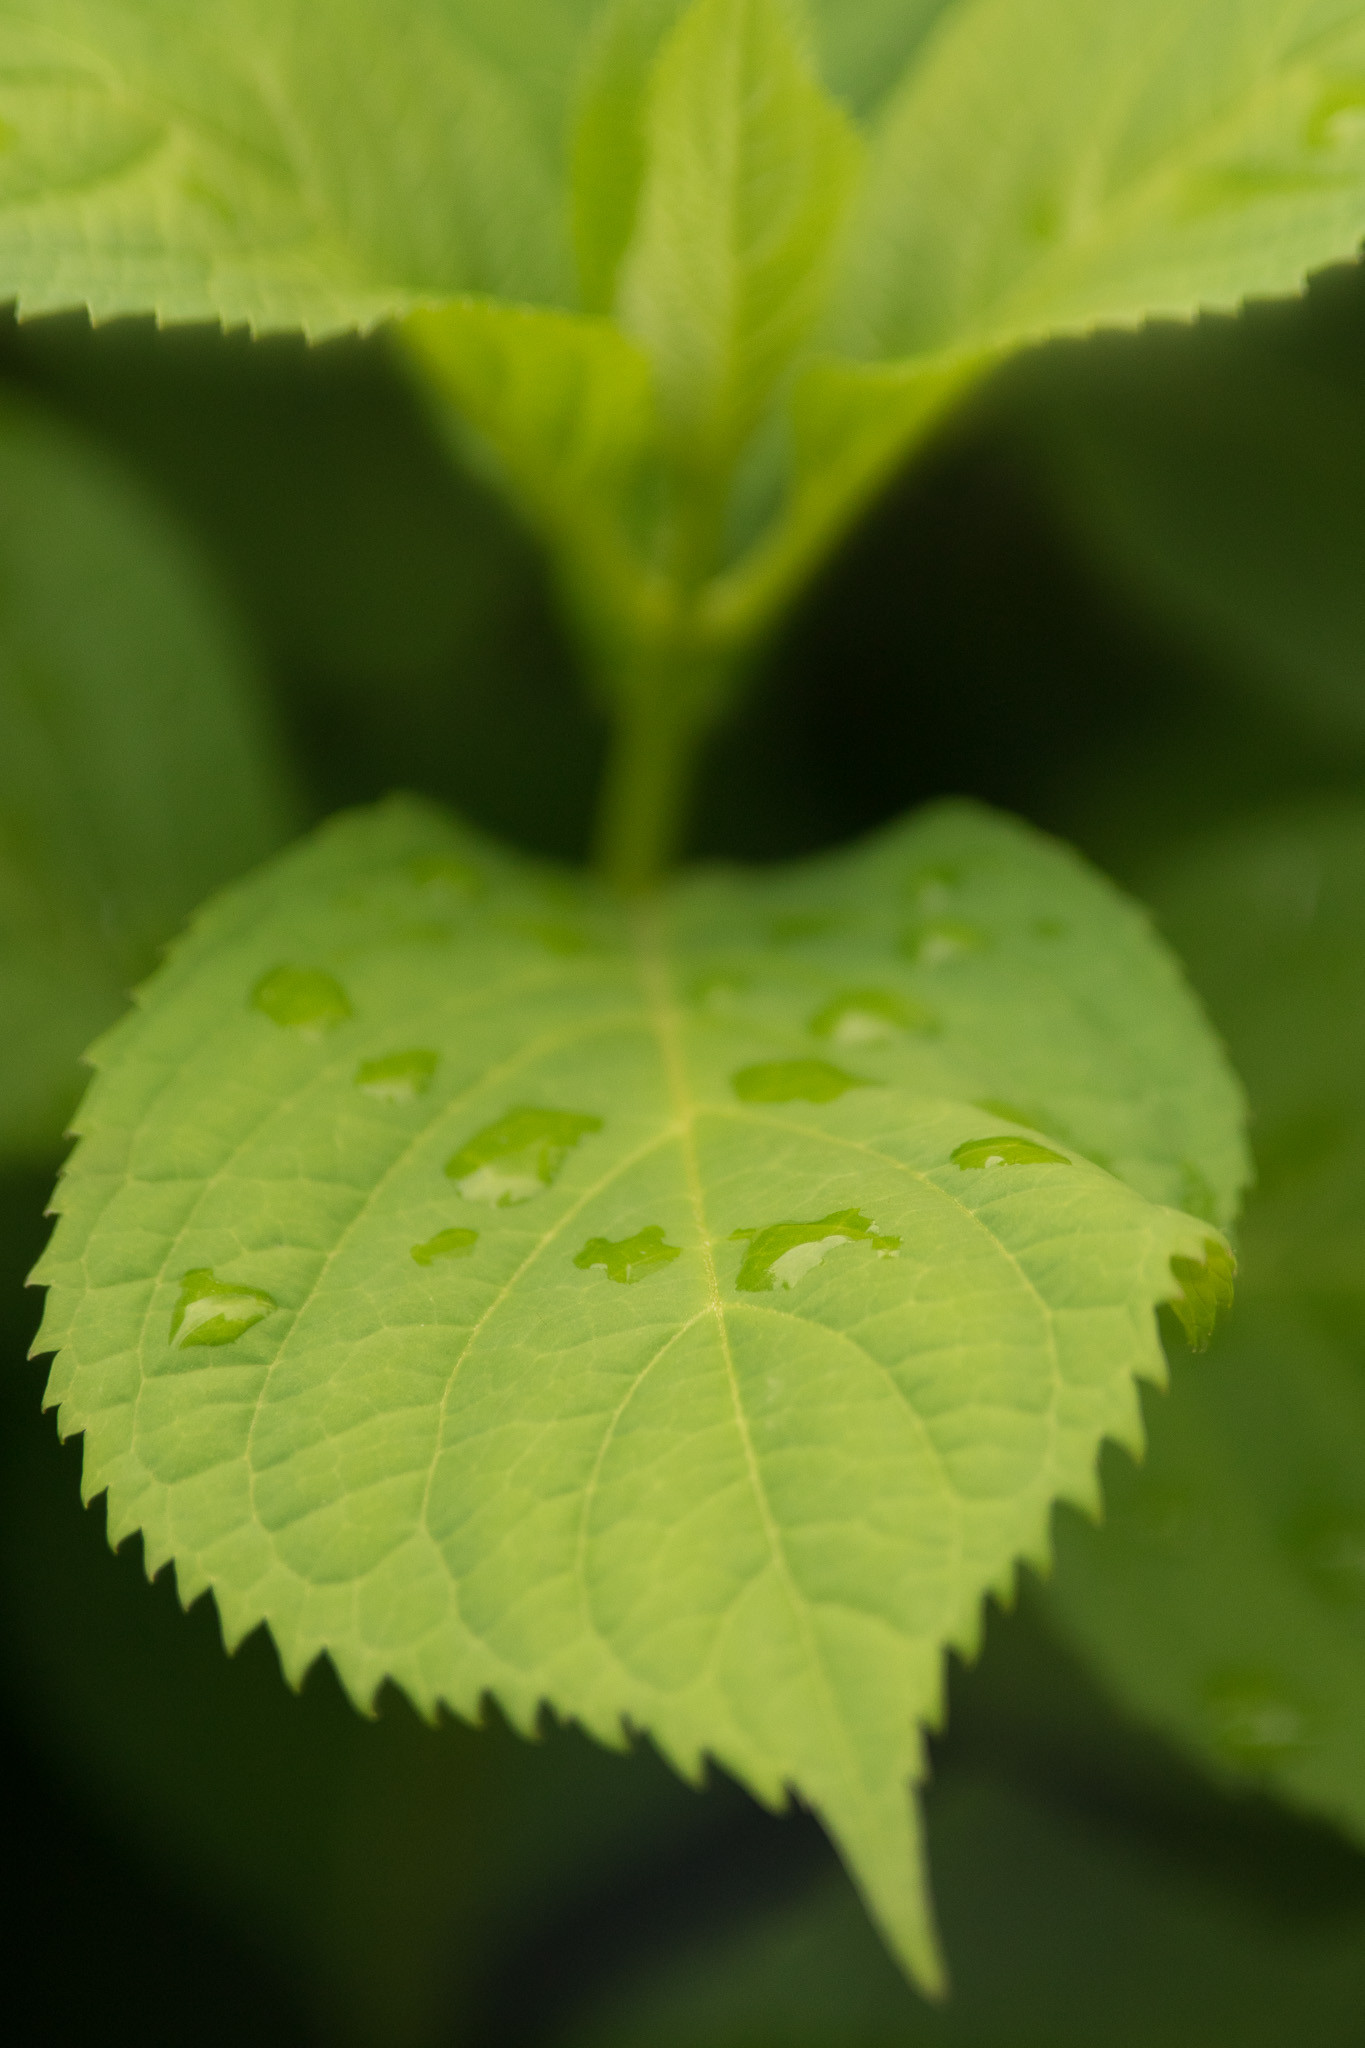 DSC04294
 DSC04463
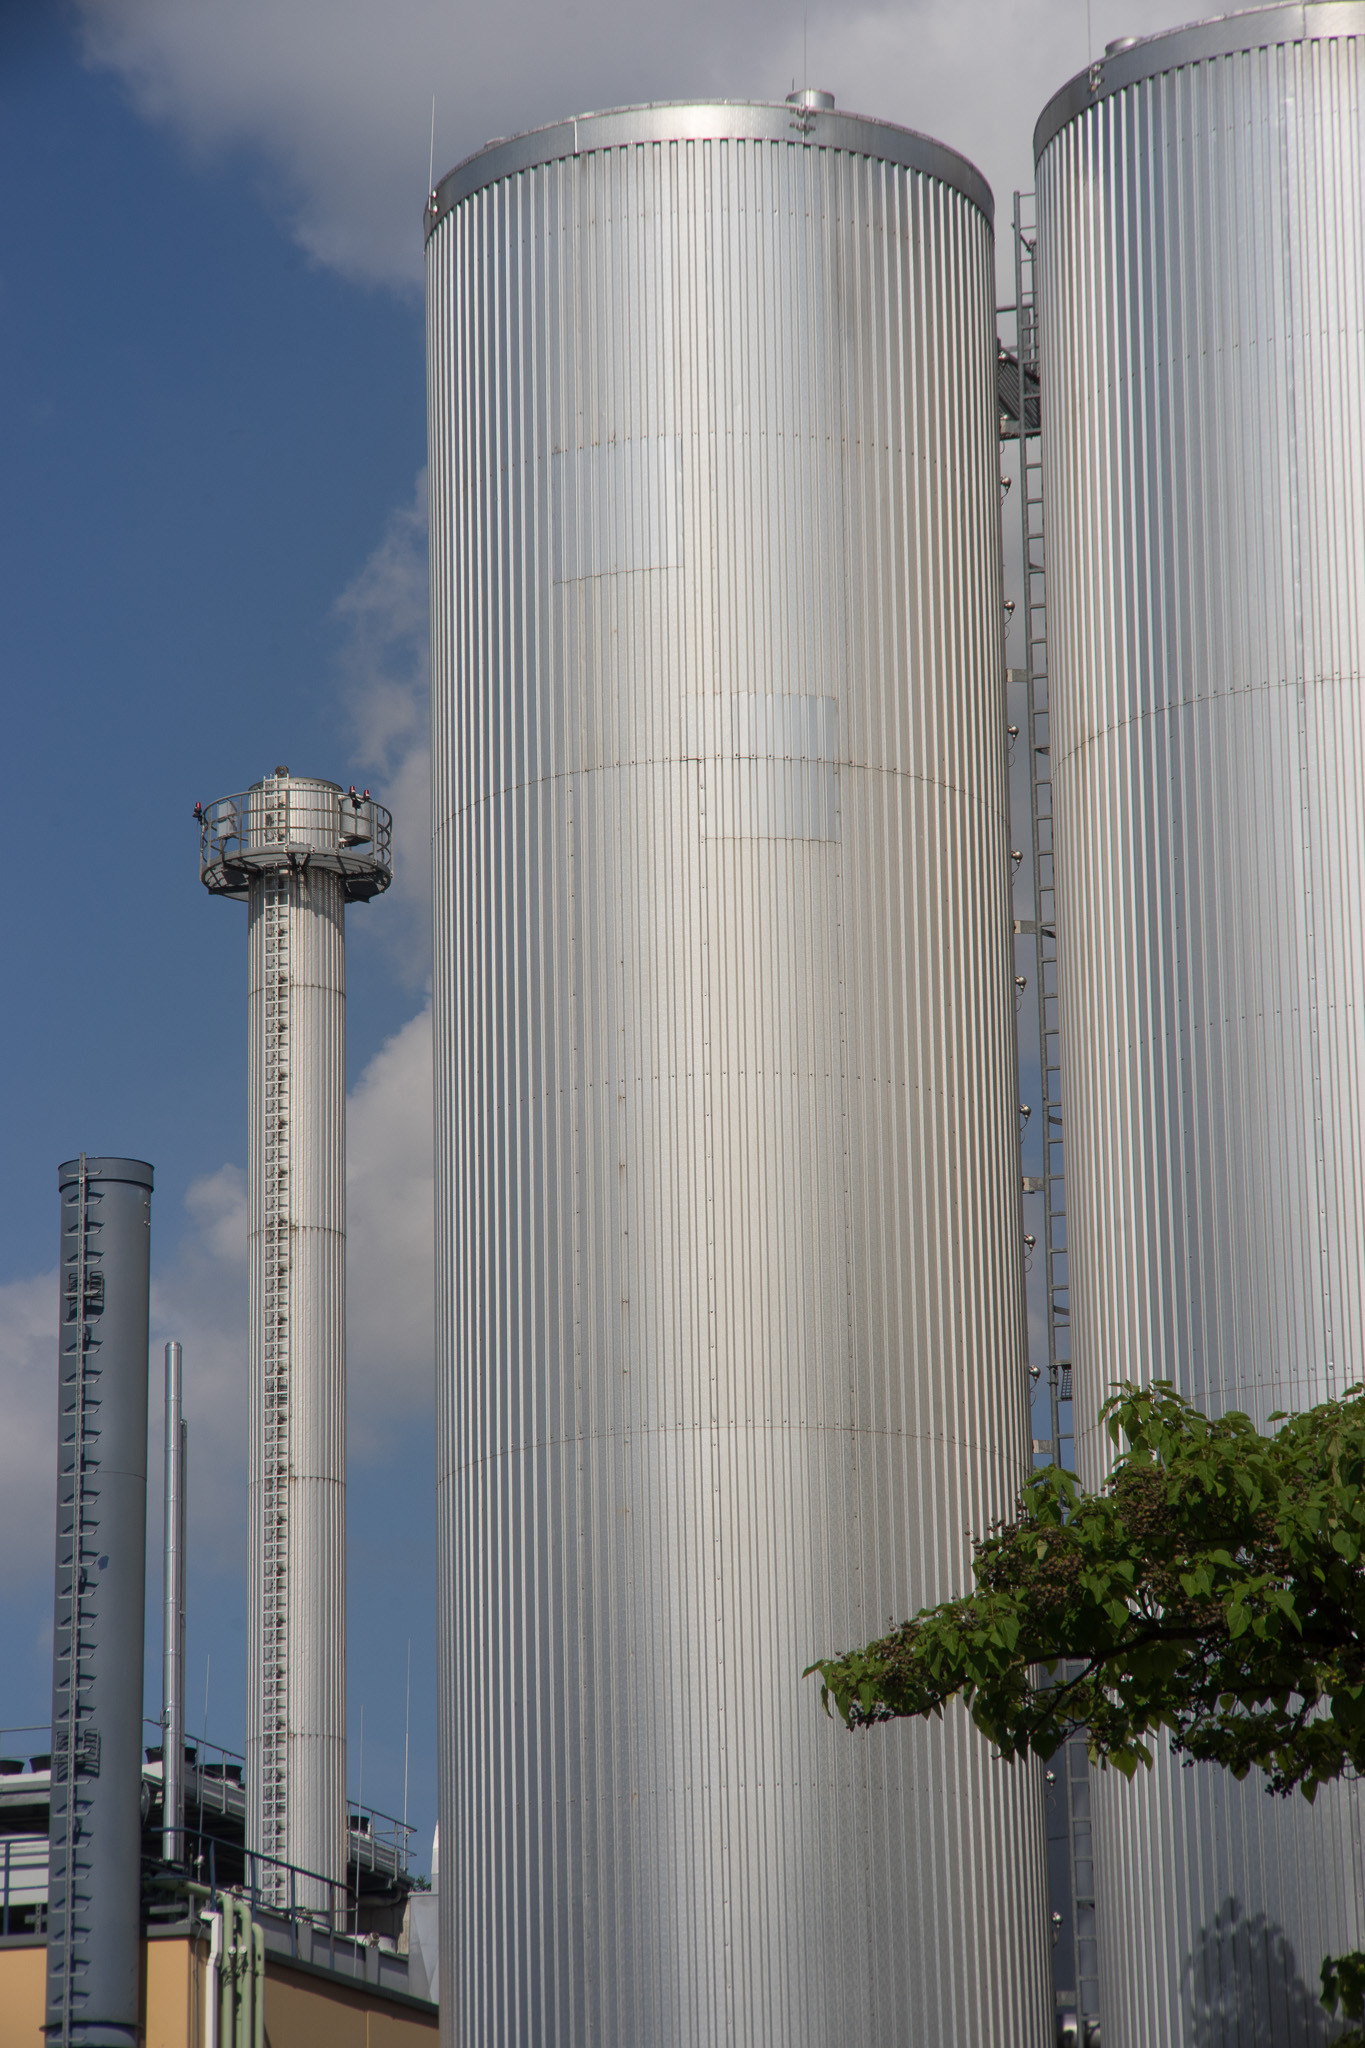 DSC04466
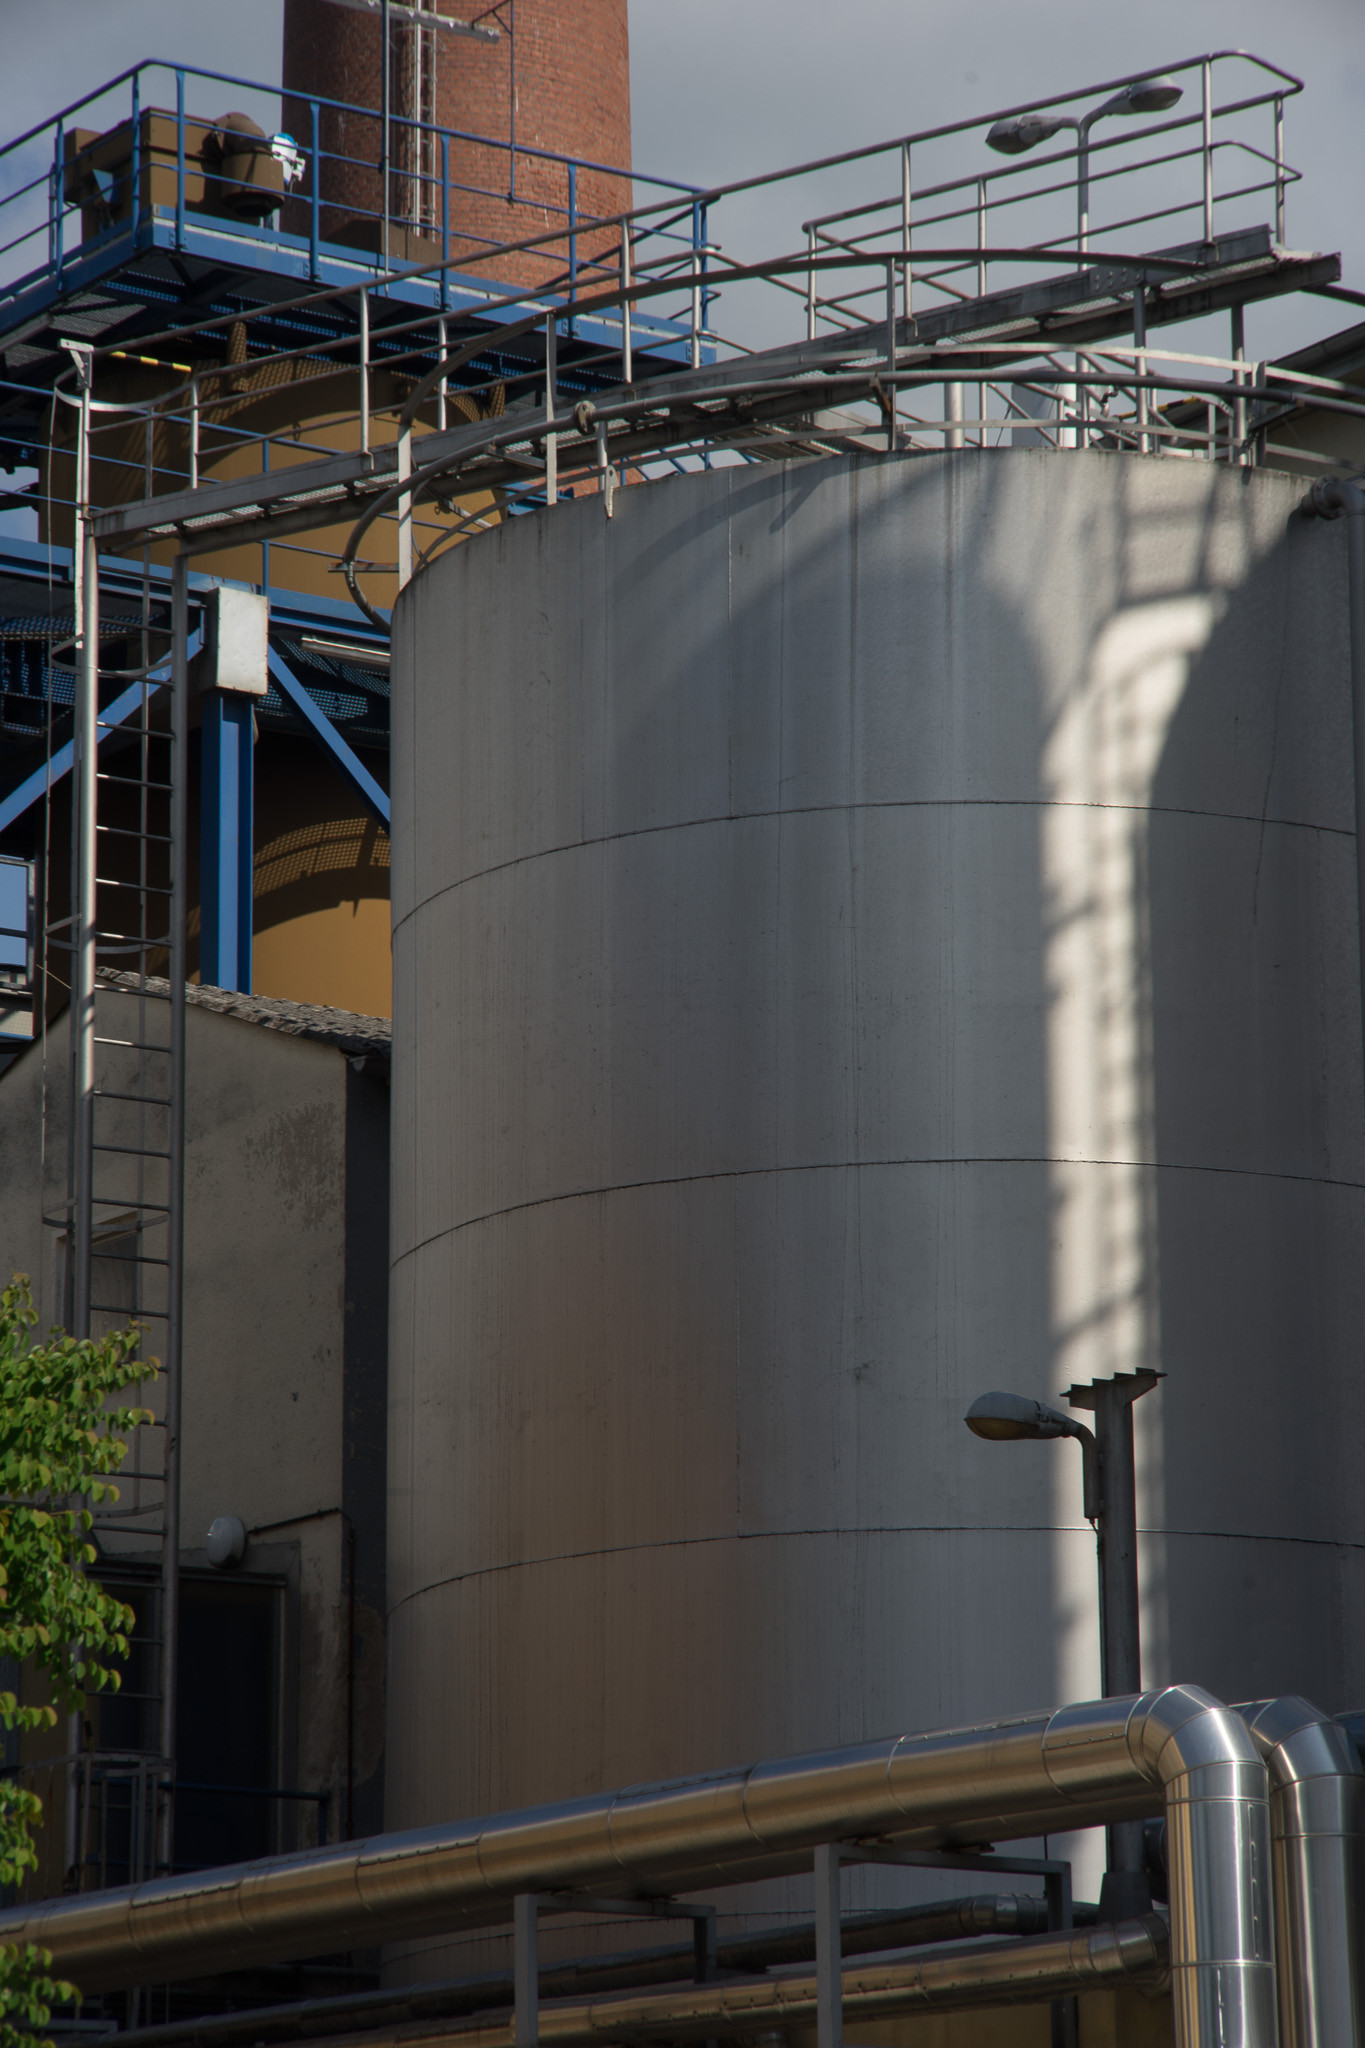 DSC04467
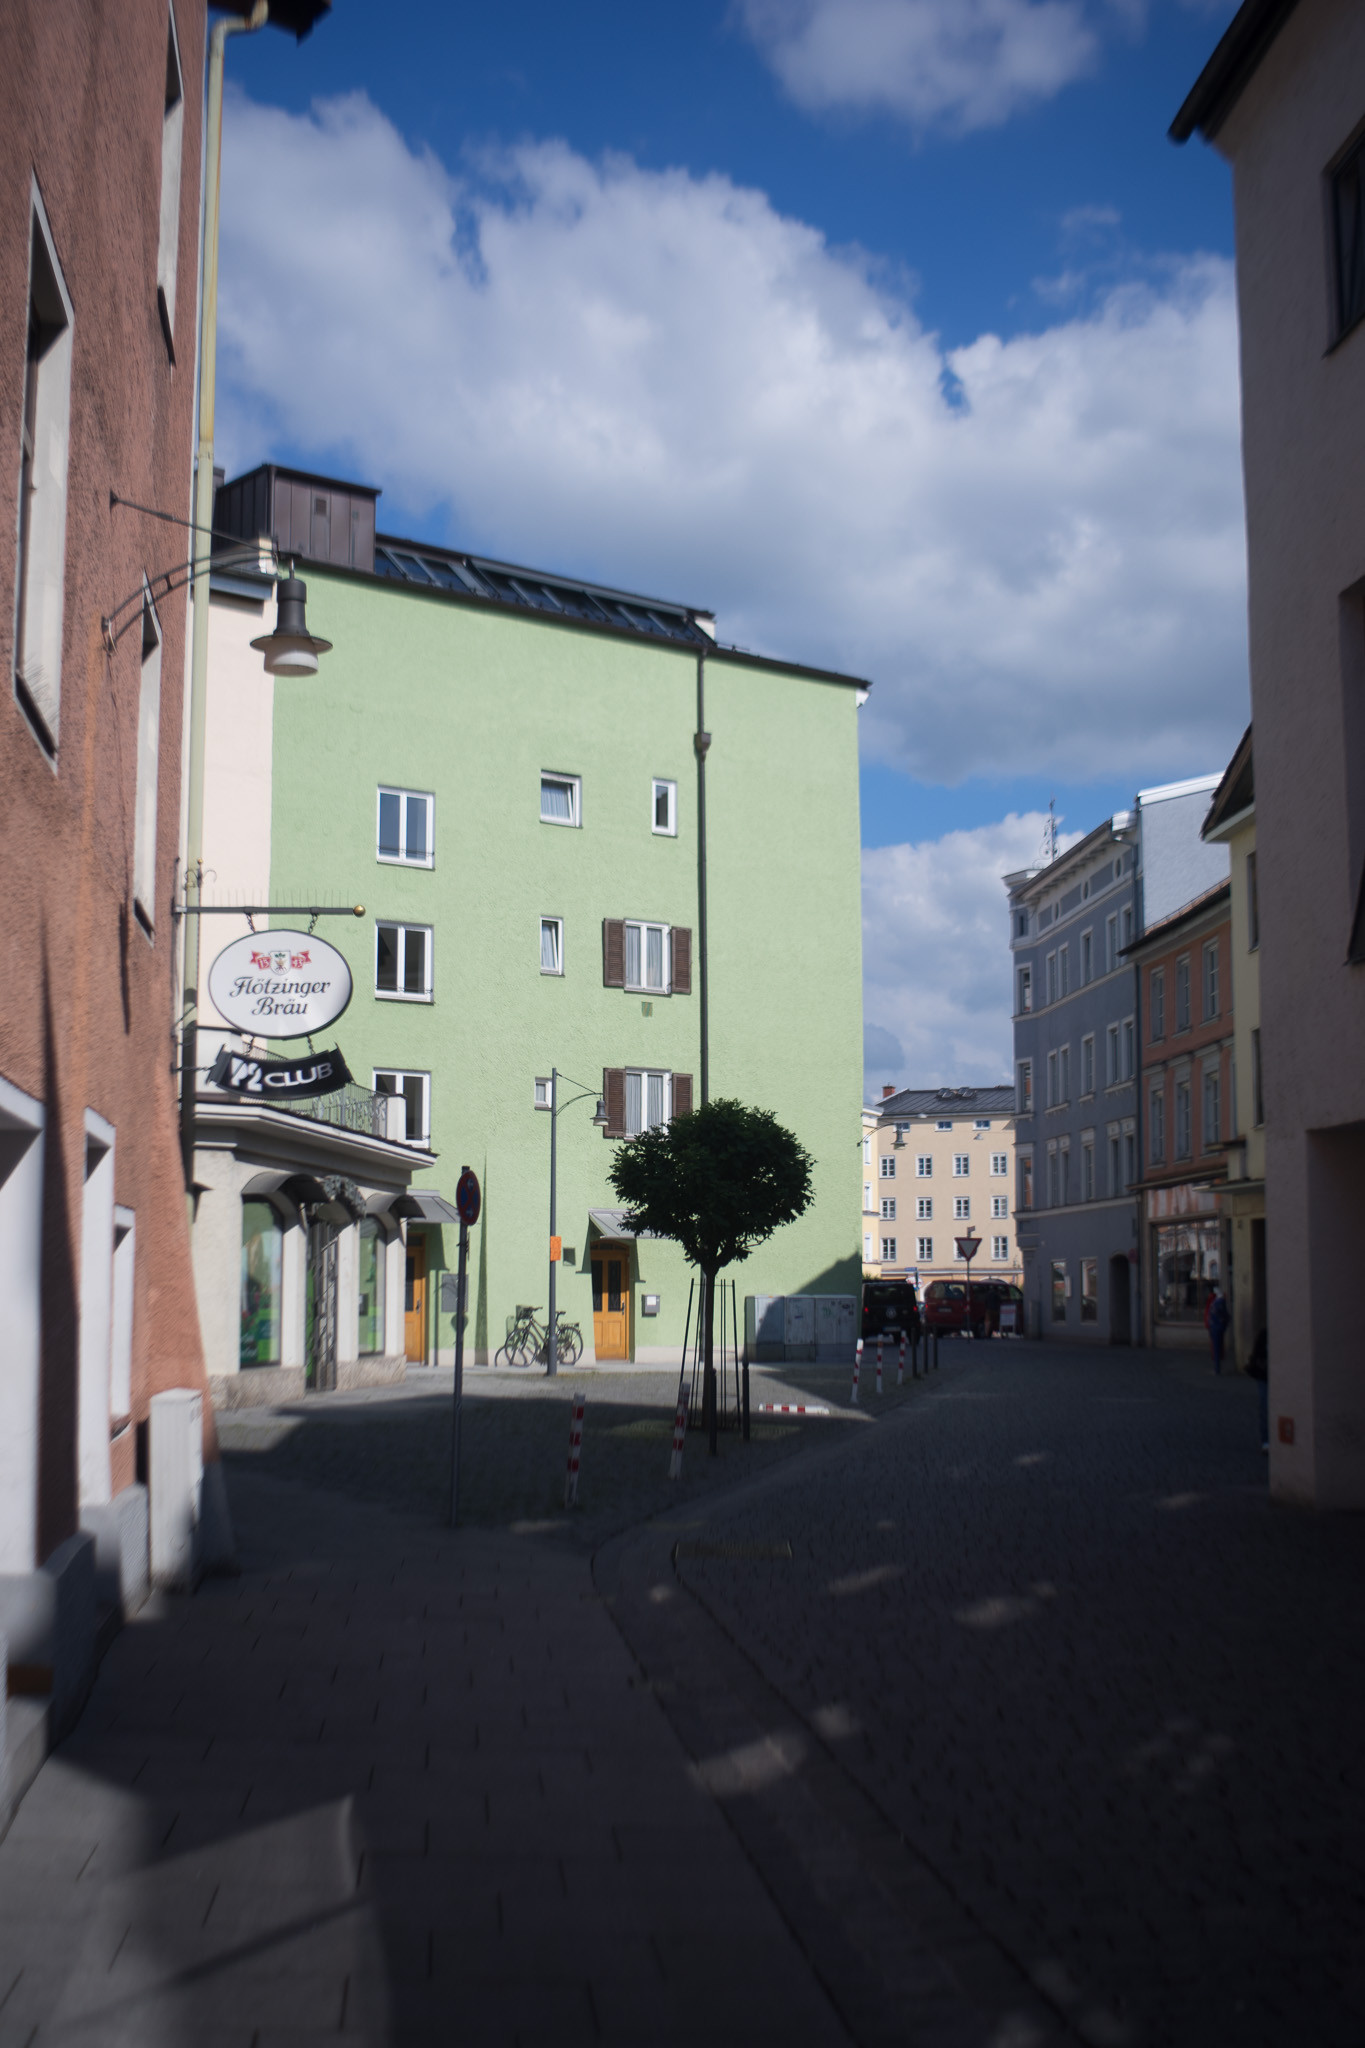
Processed Samples (4/115 Lens):
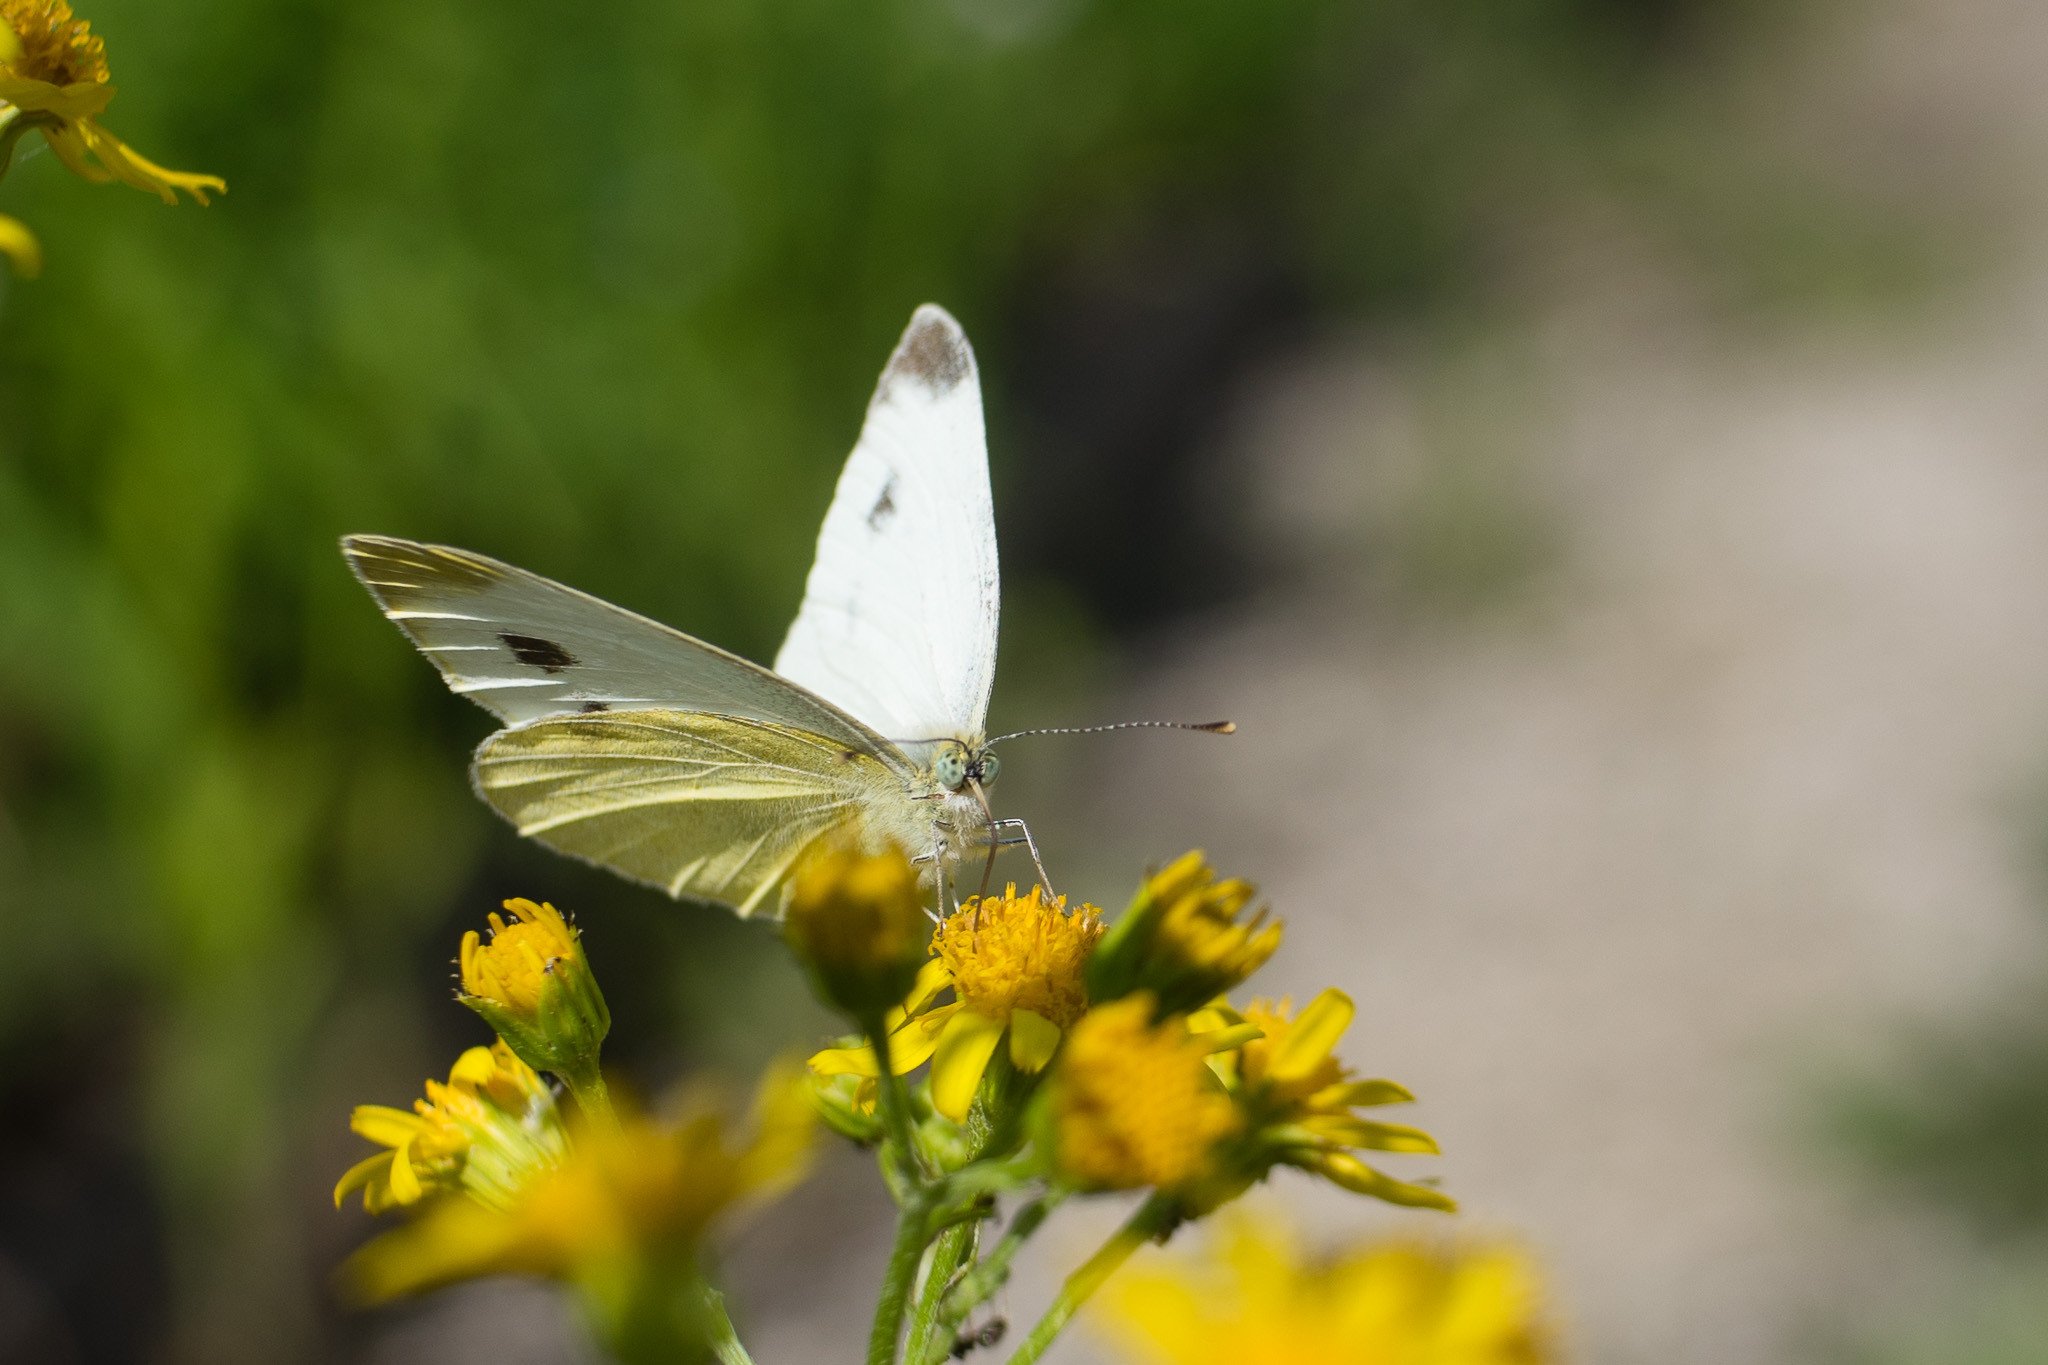
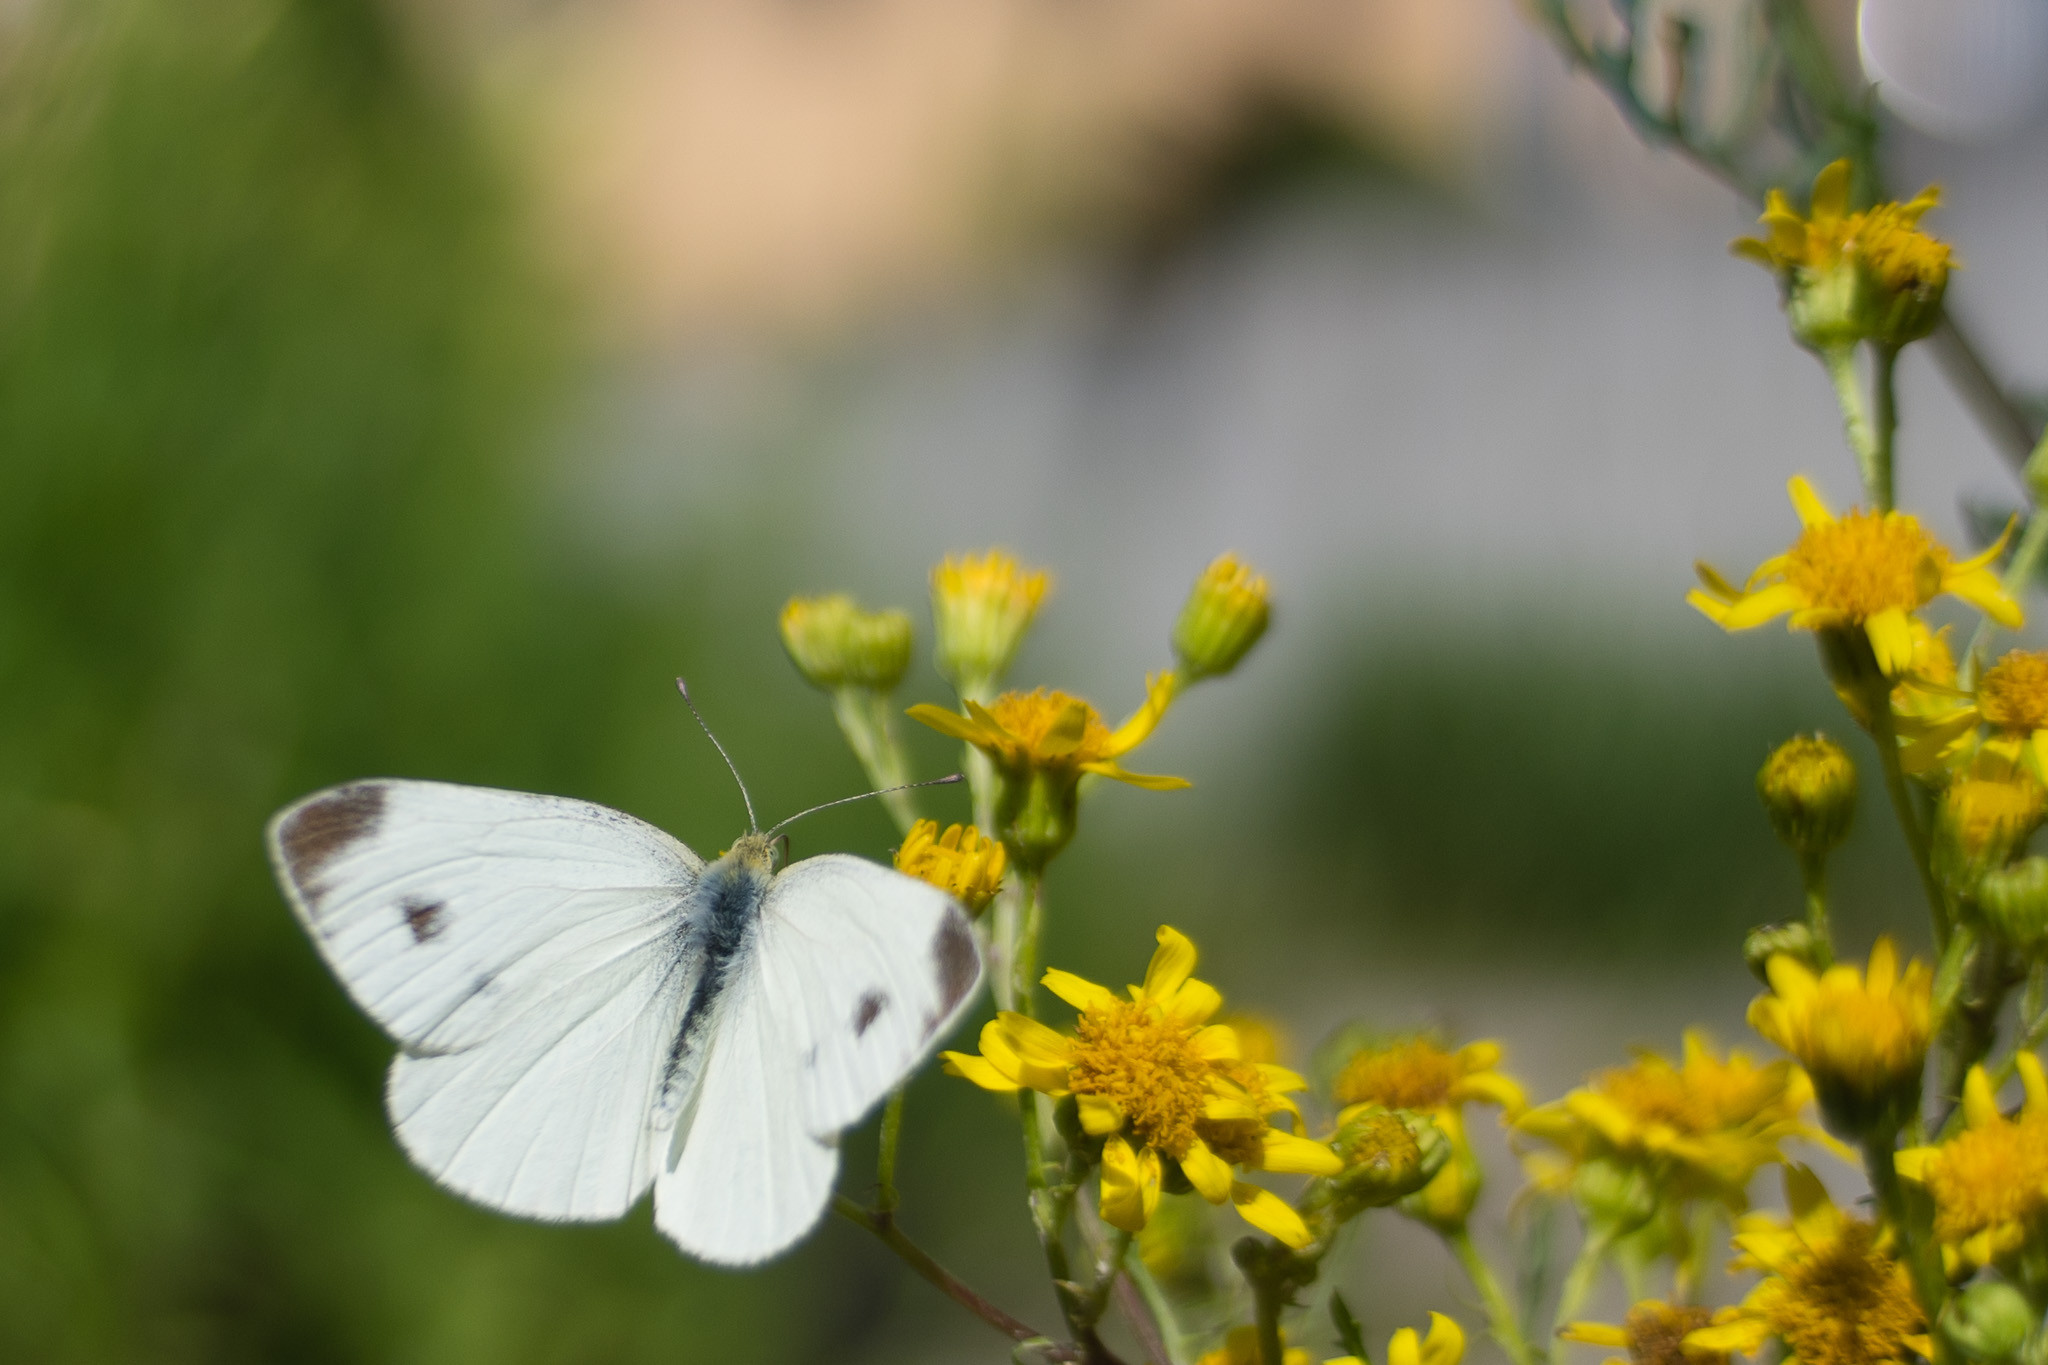
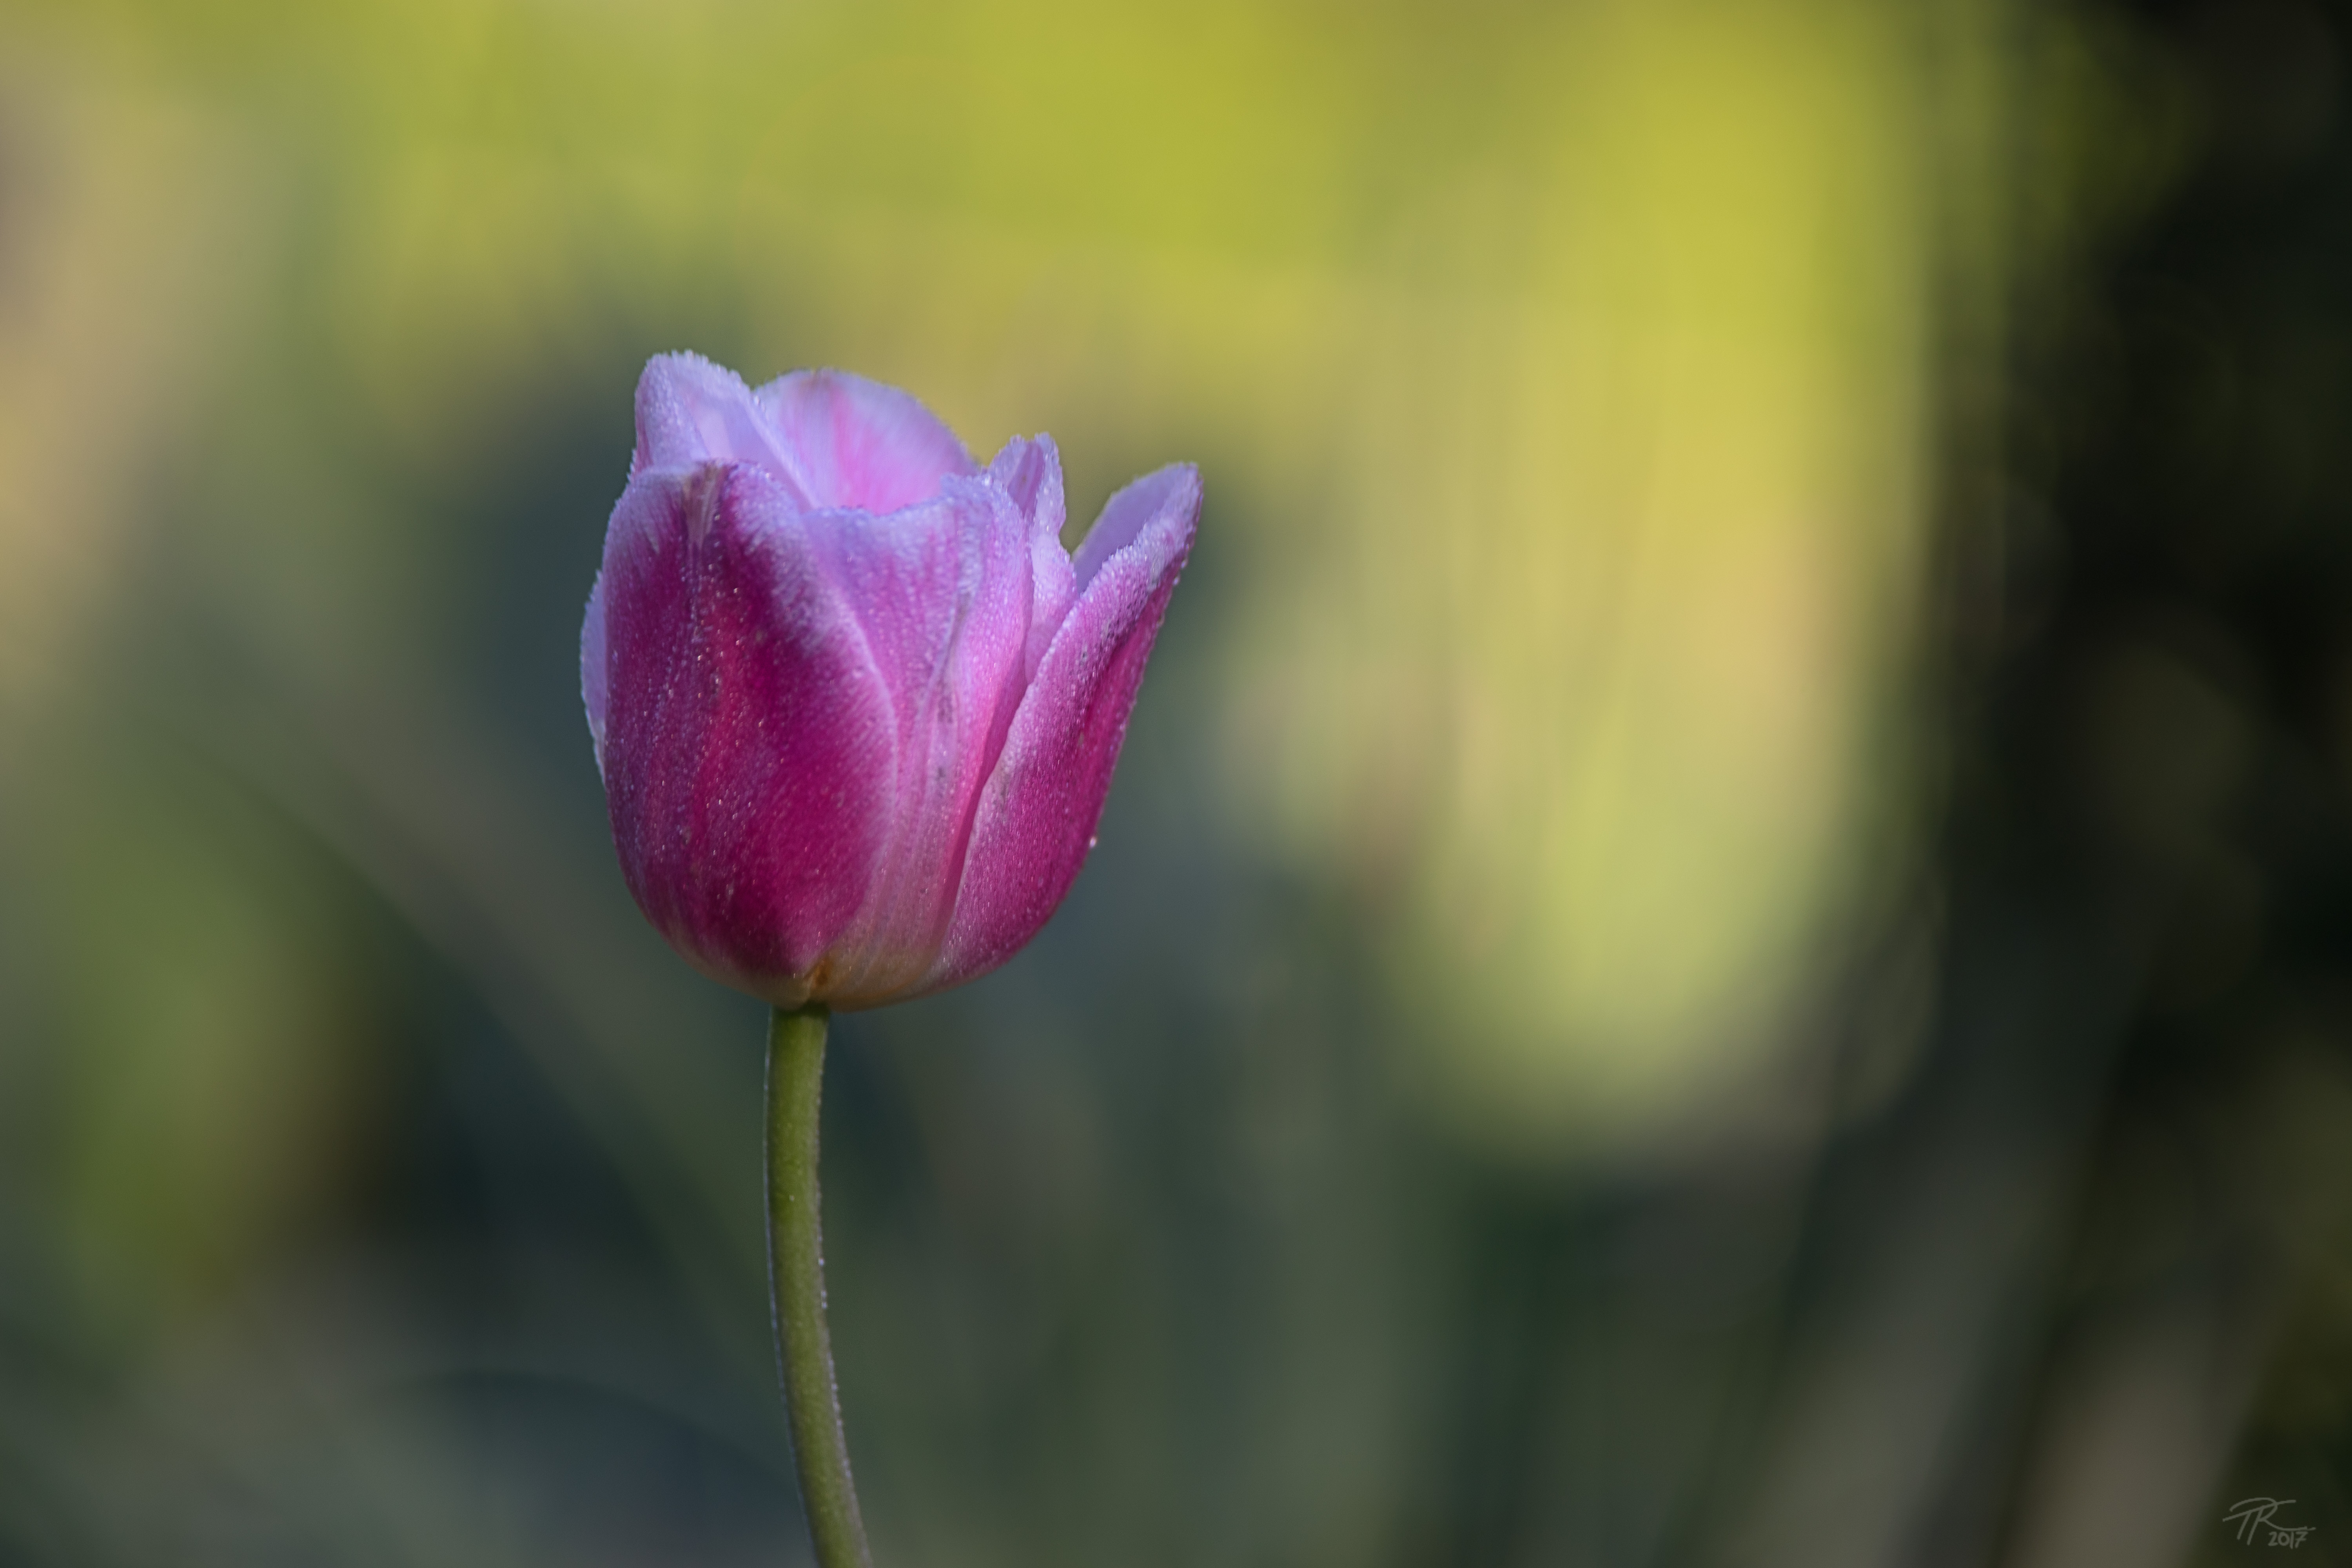
 Funky bokeh, no bokeh fringing – processed sample
 Funky bokeh, no fringing – processed sample
 DSC05091 – processed sample
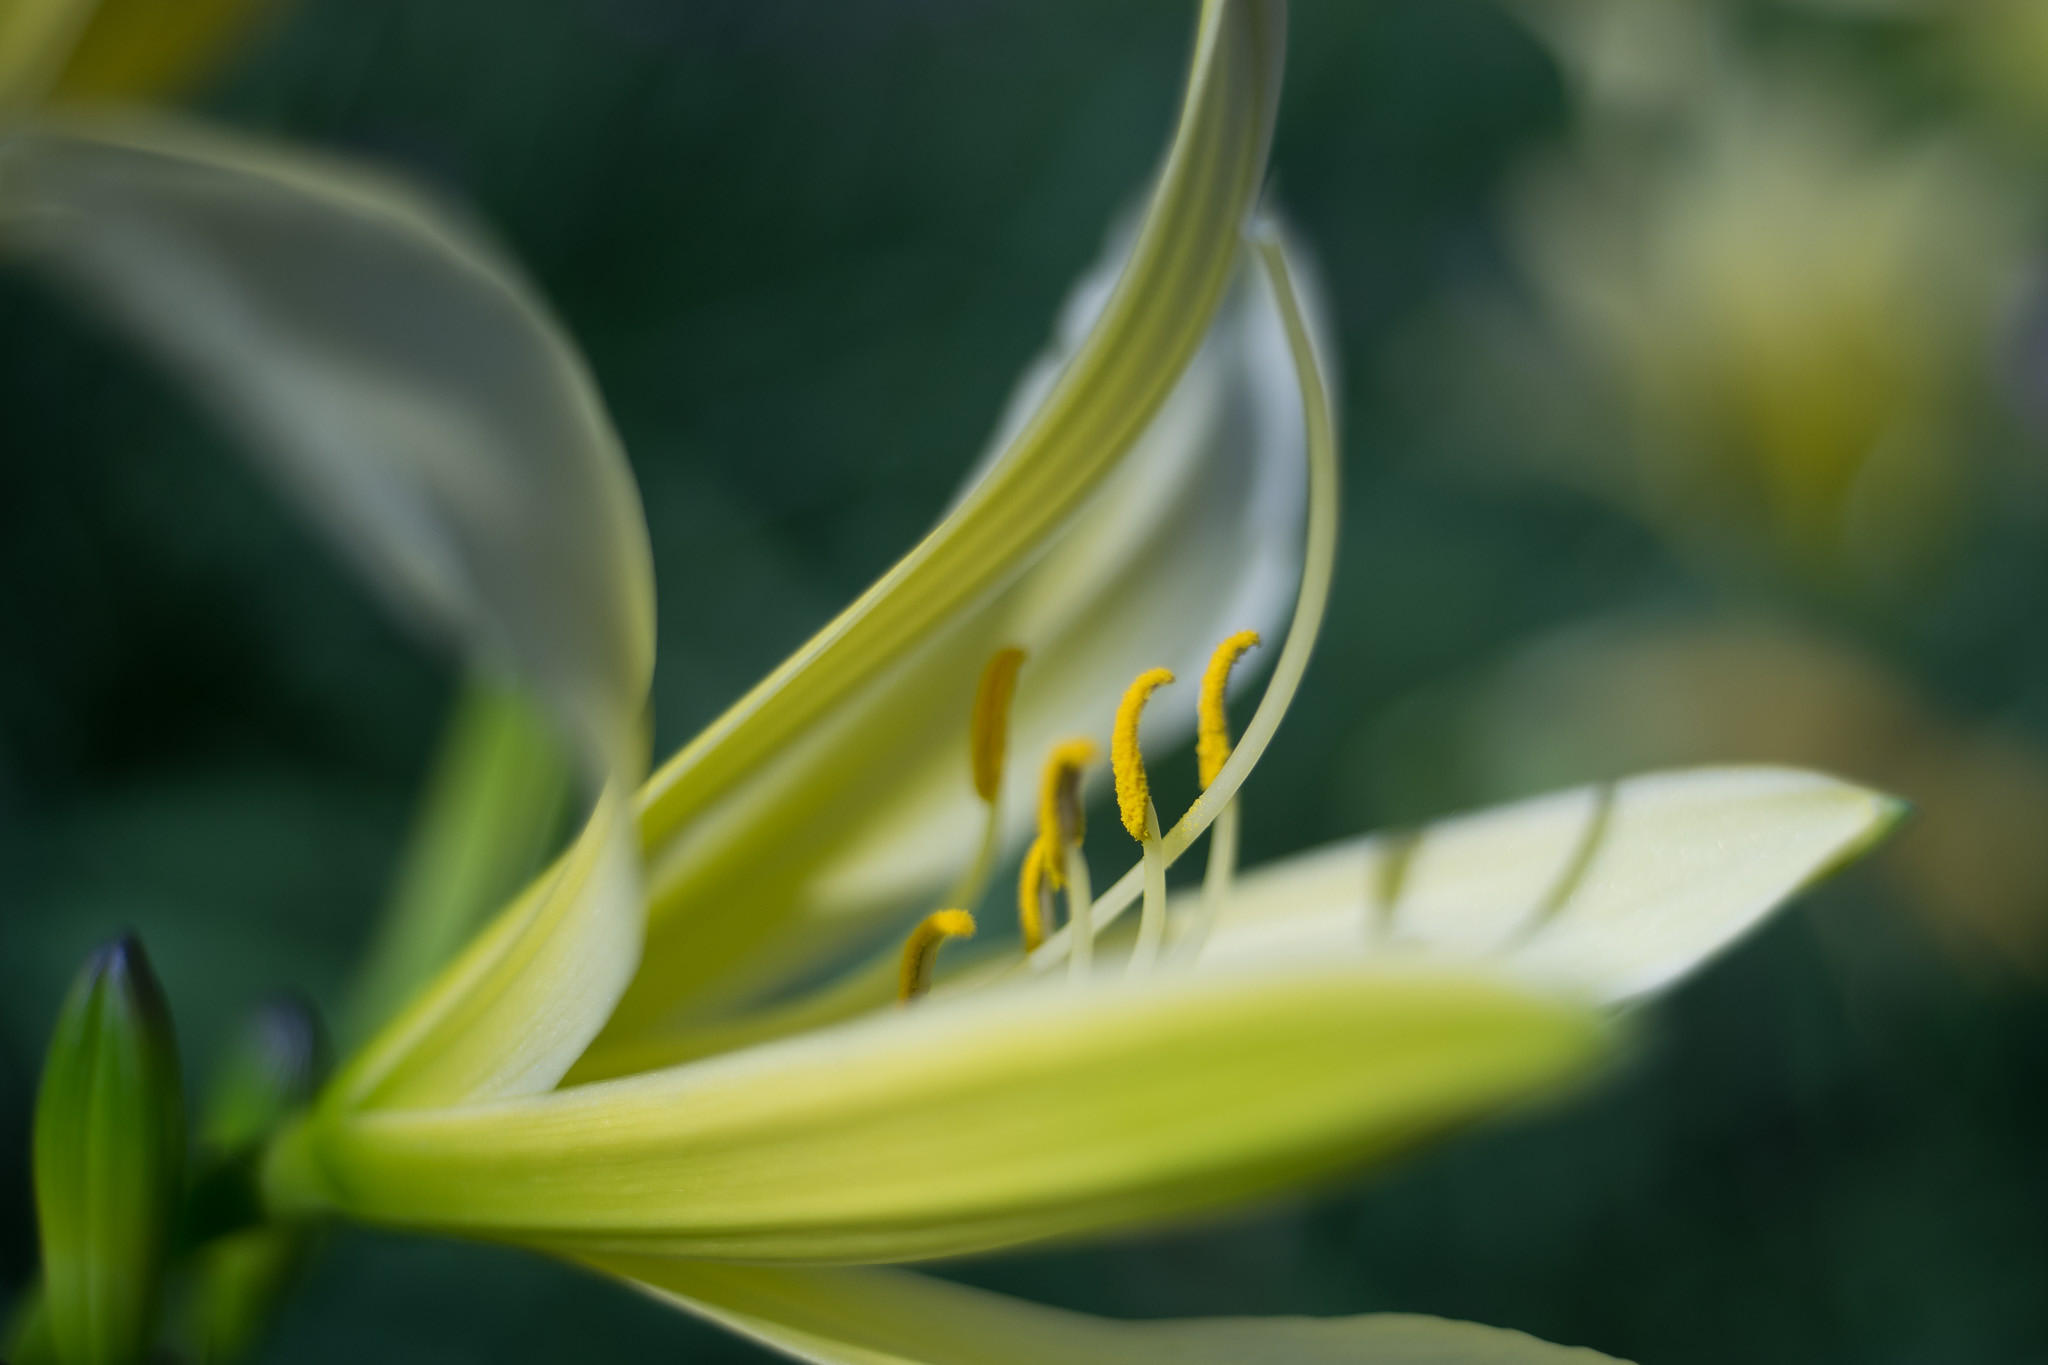
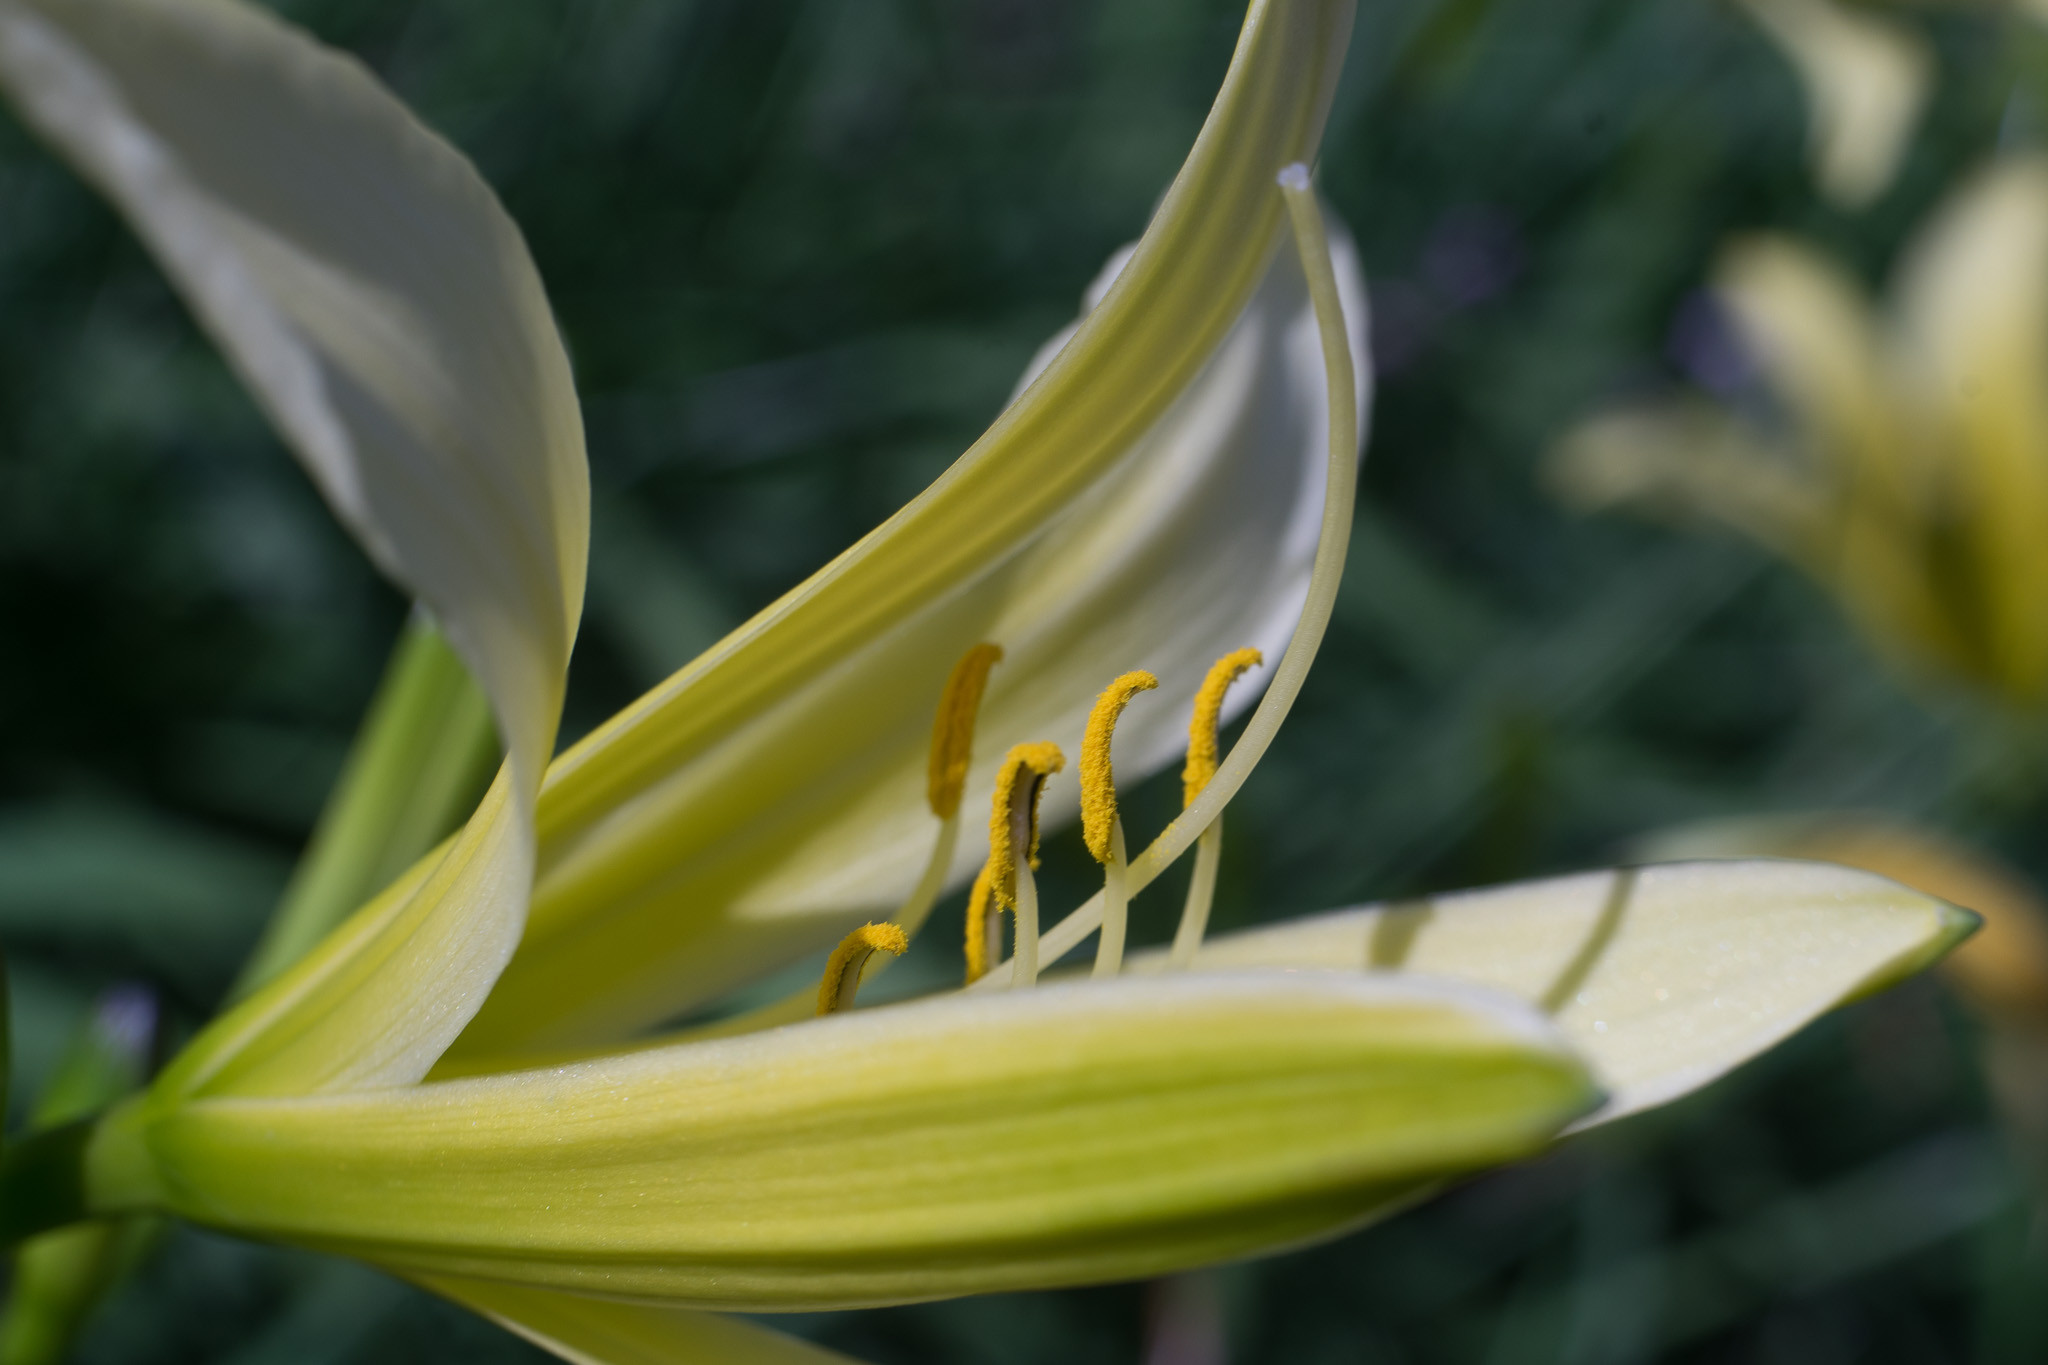
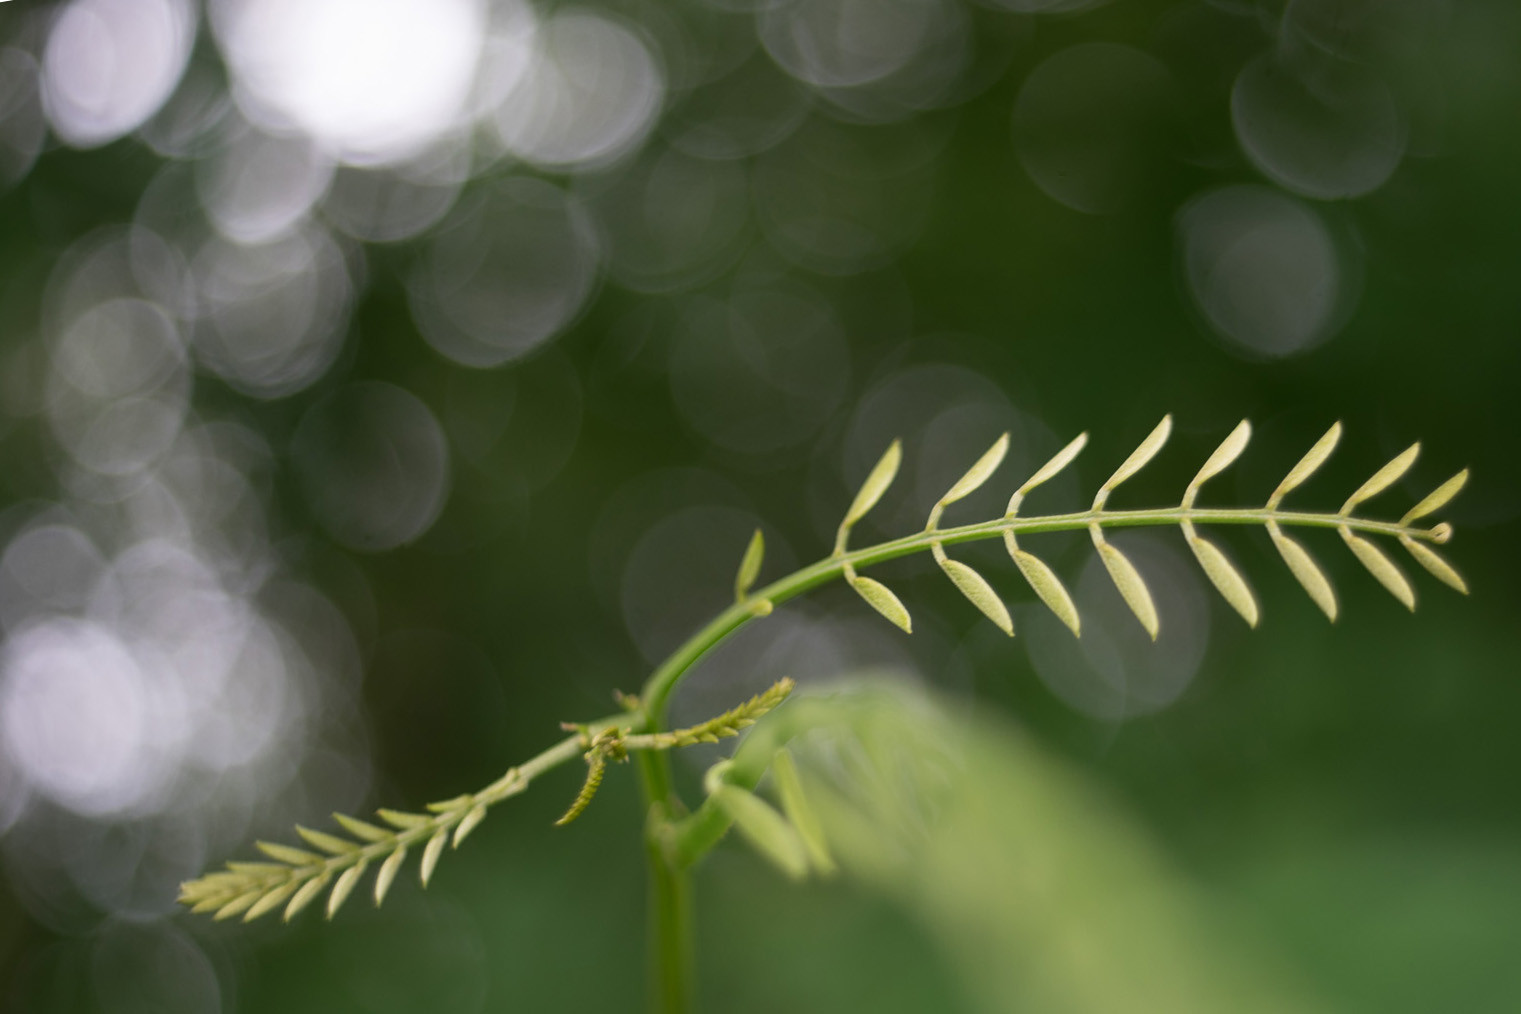
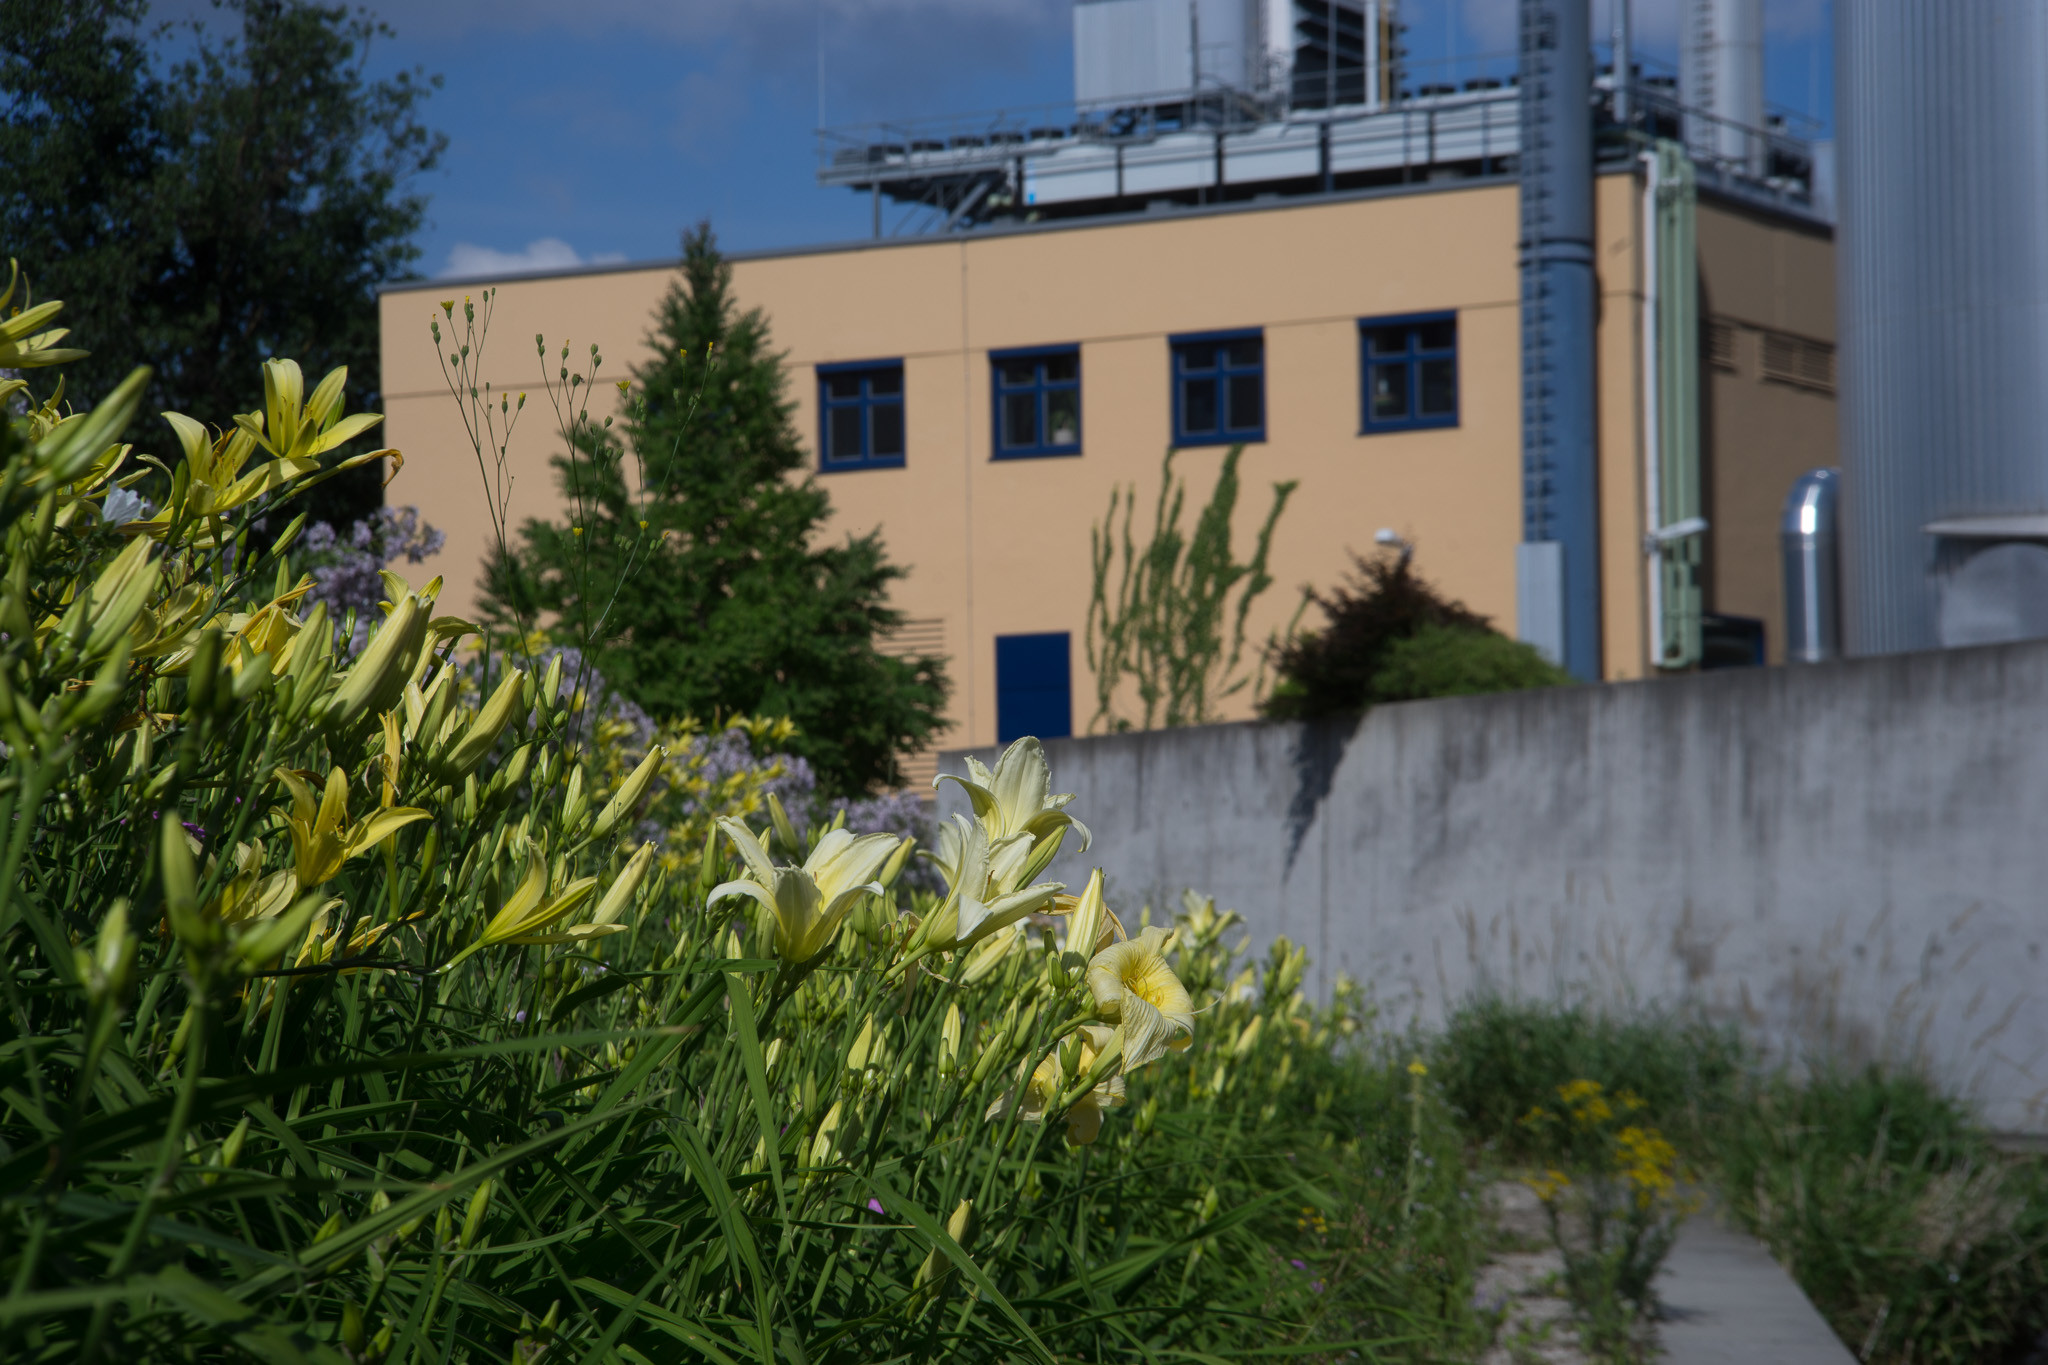
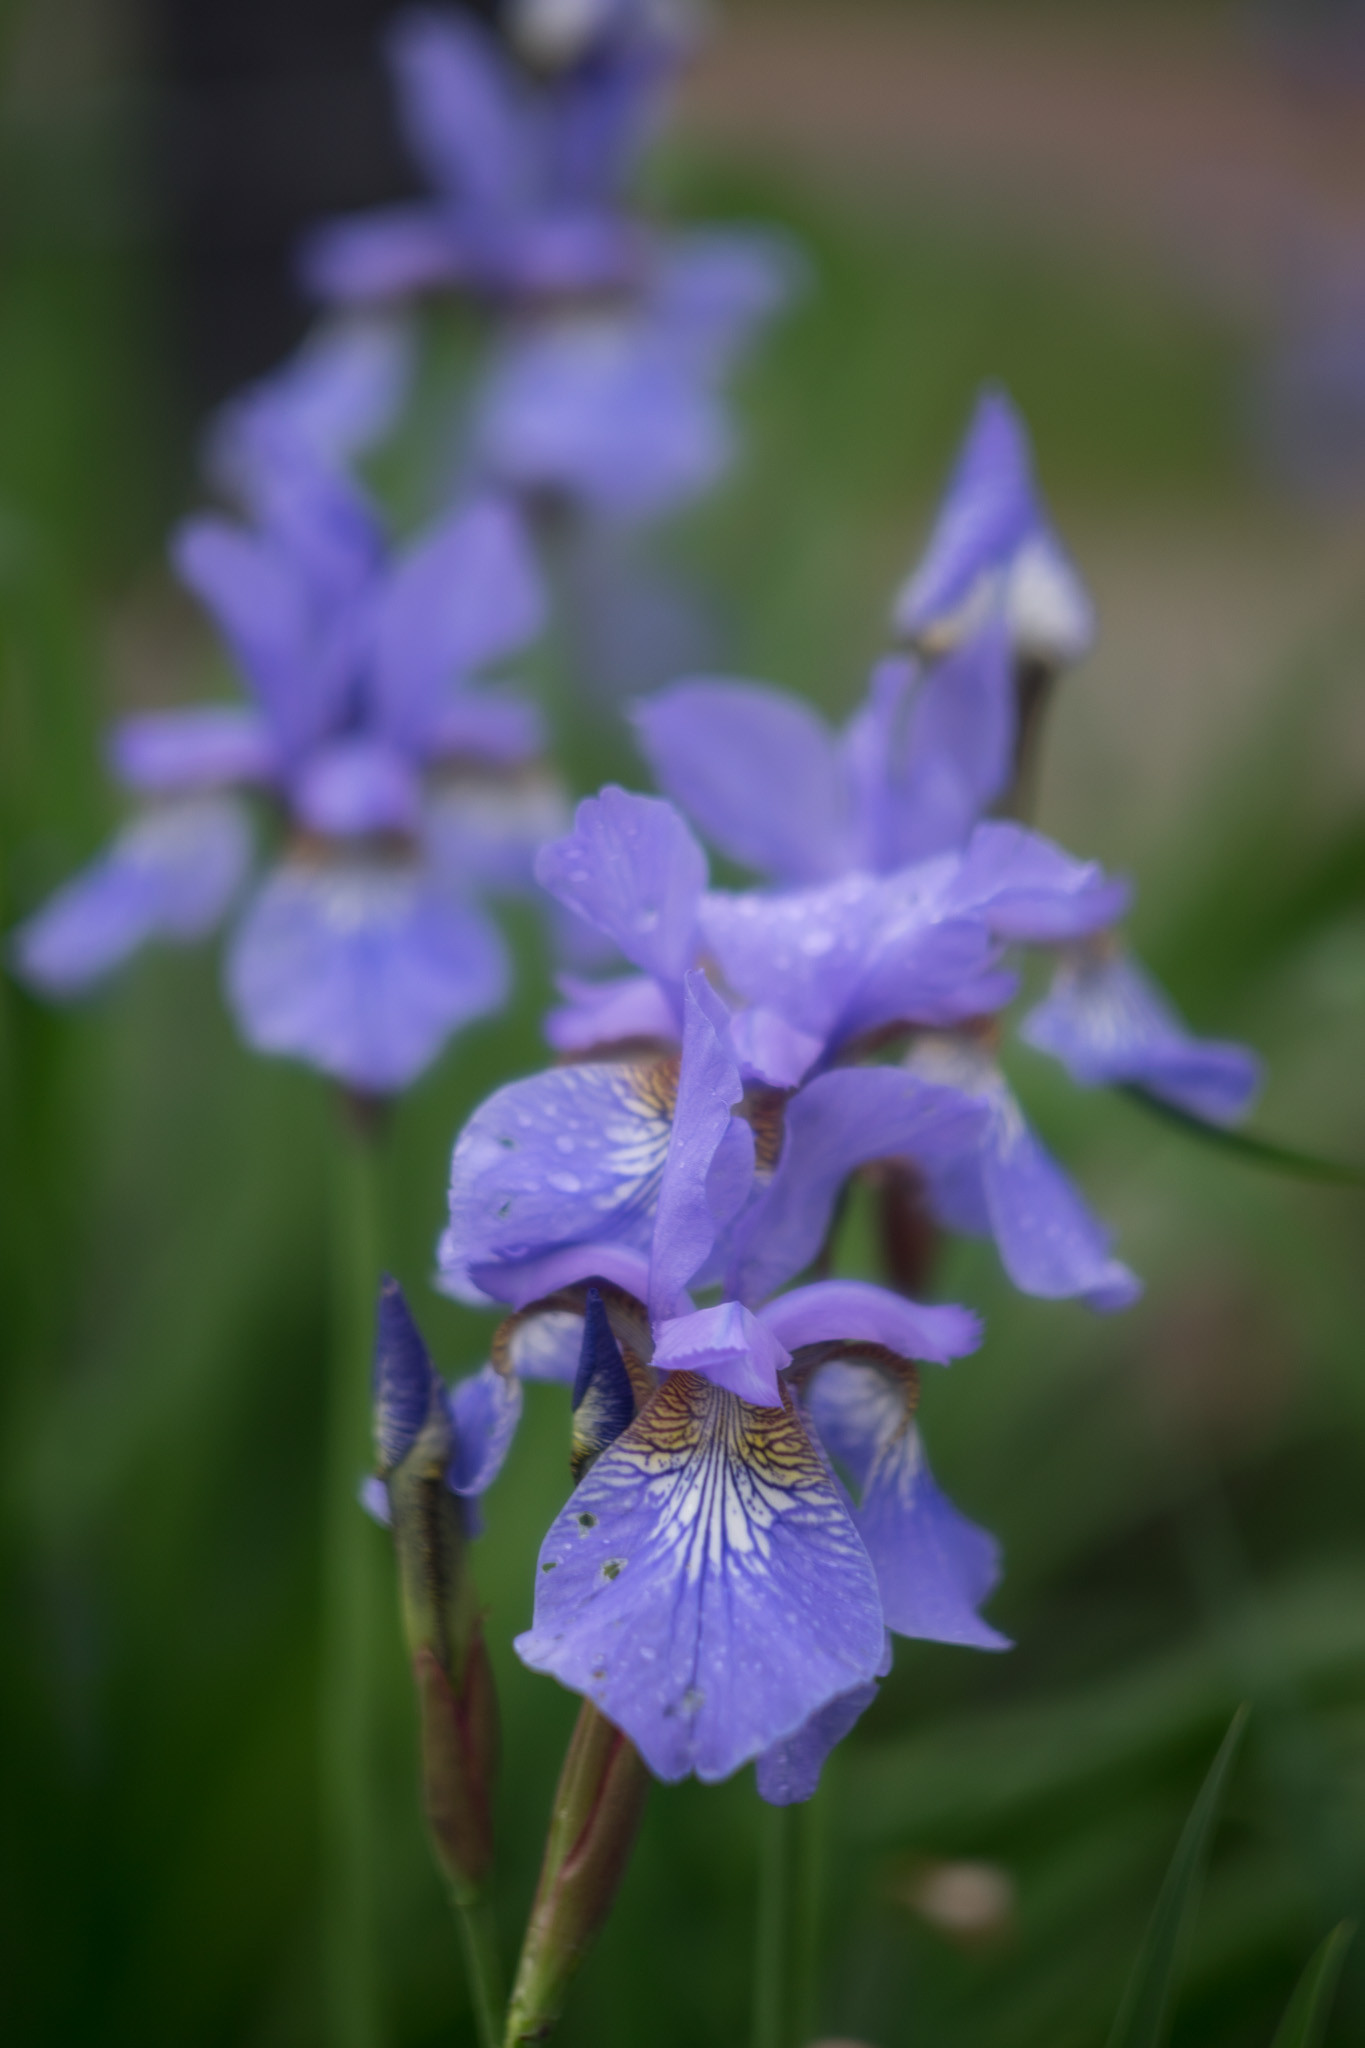
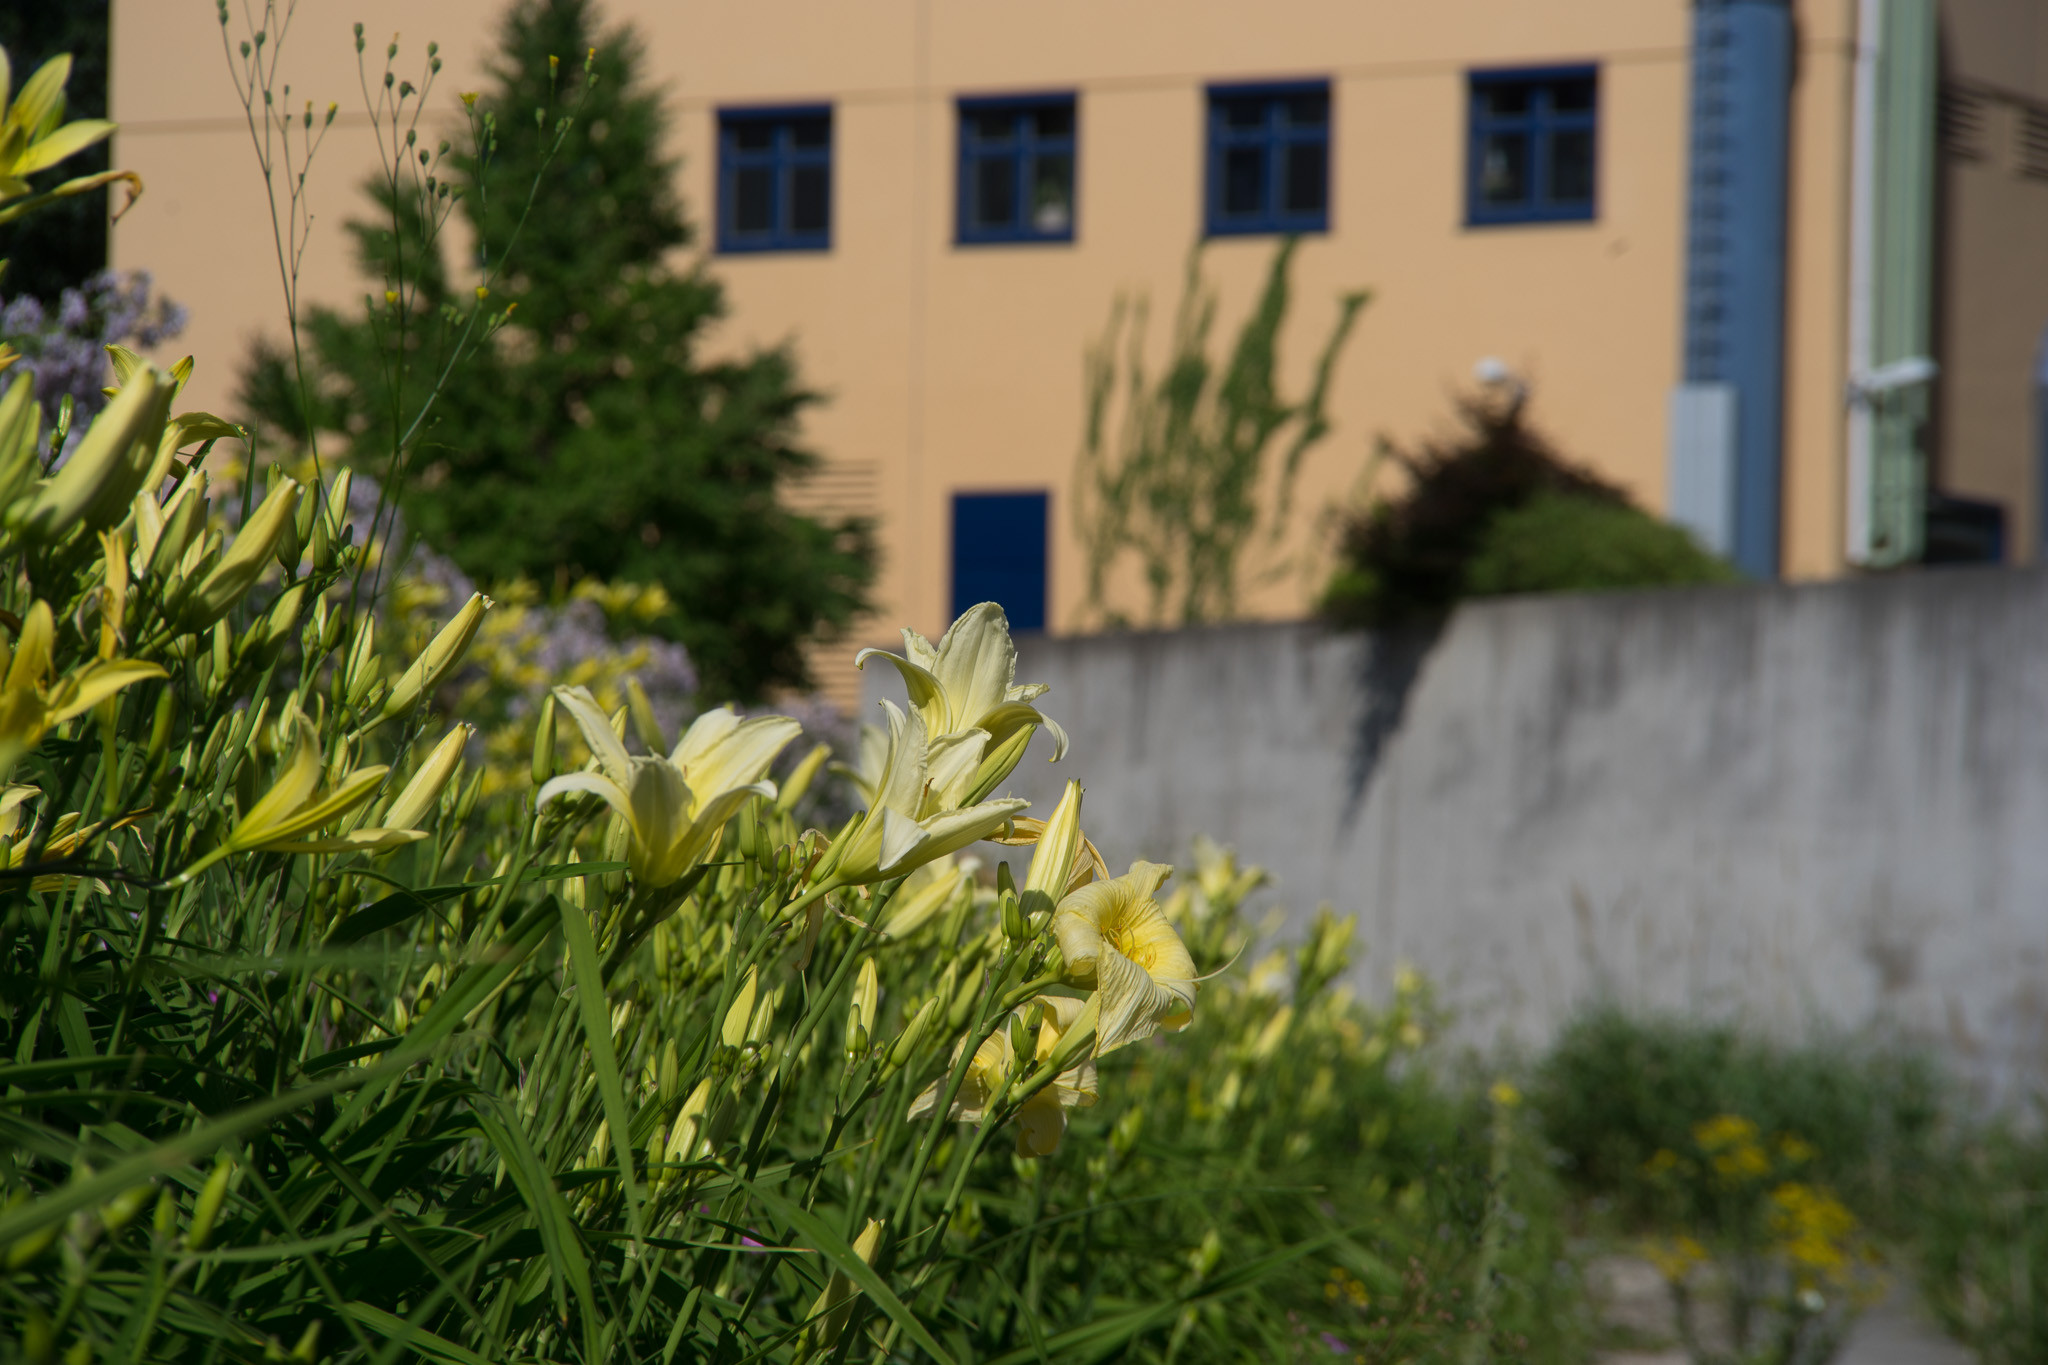
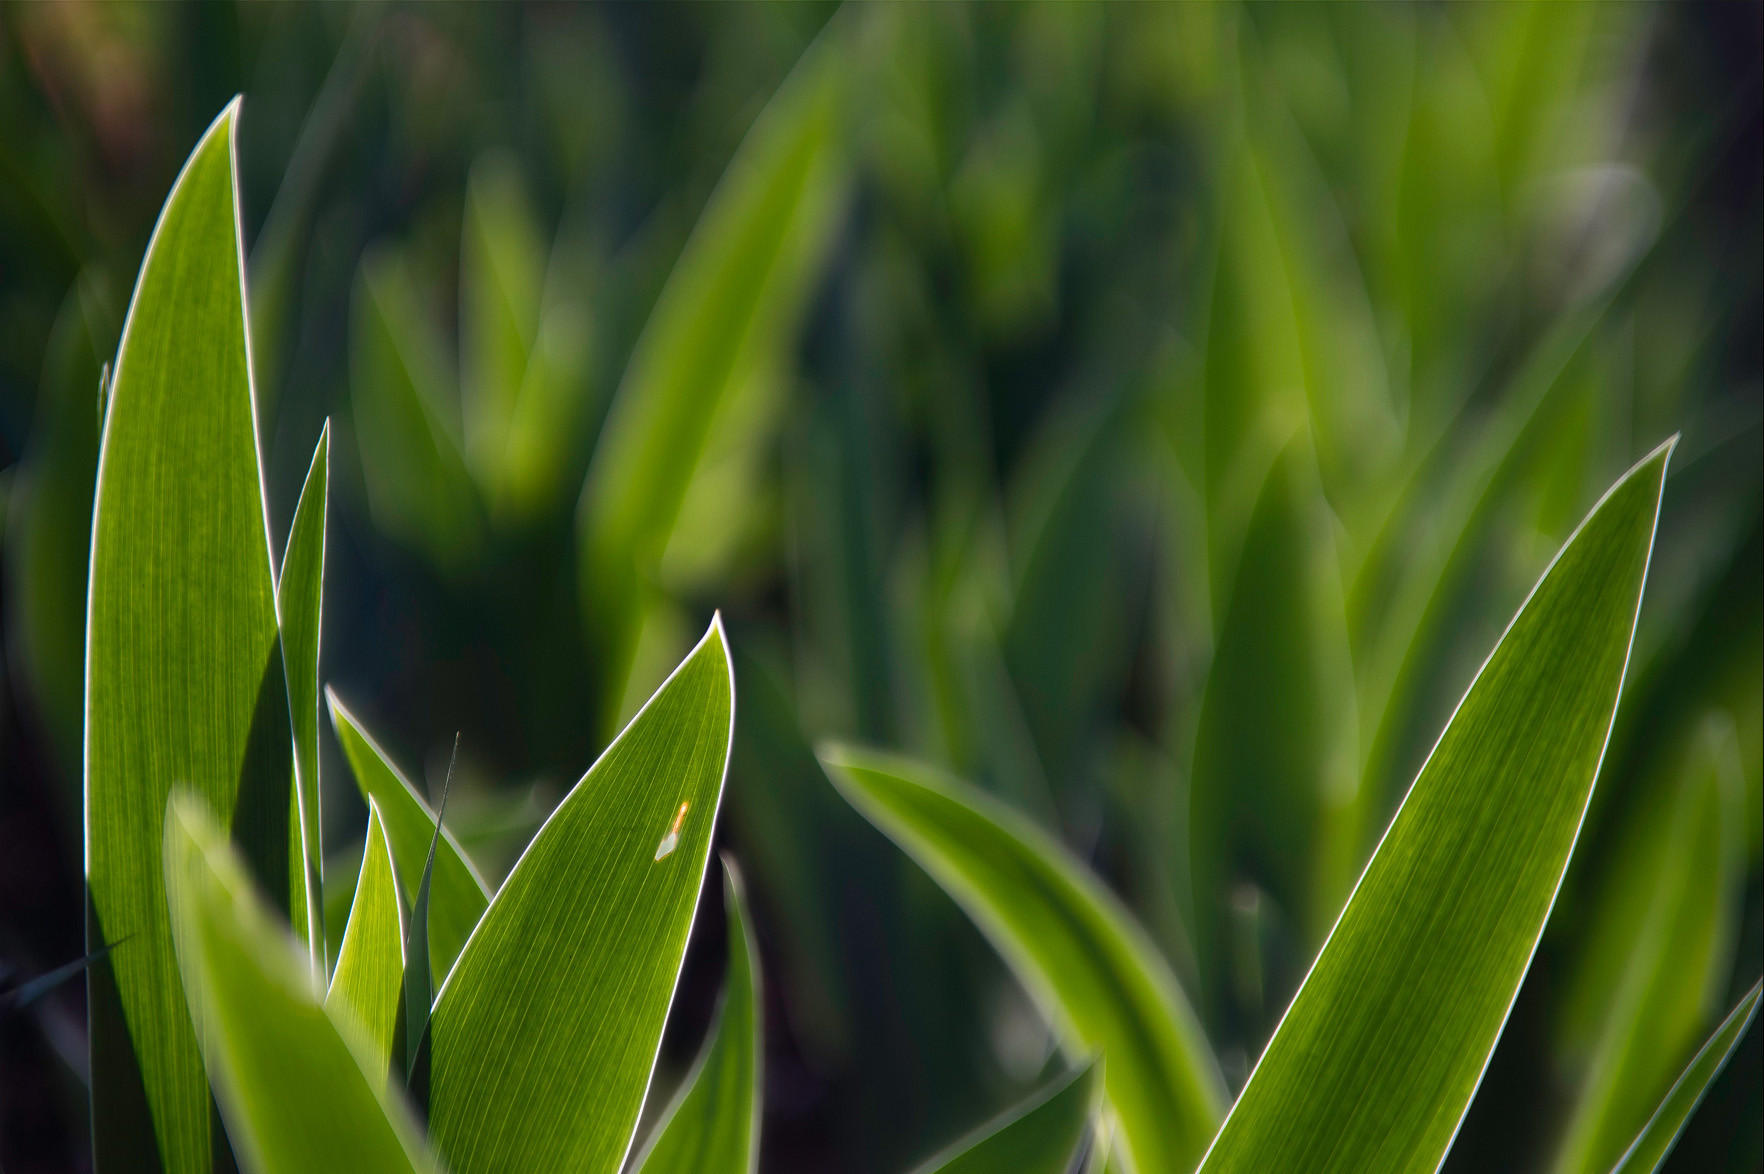 Grüne-Schwerter – processed sample
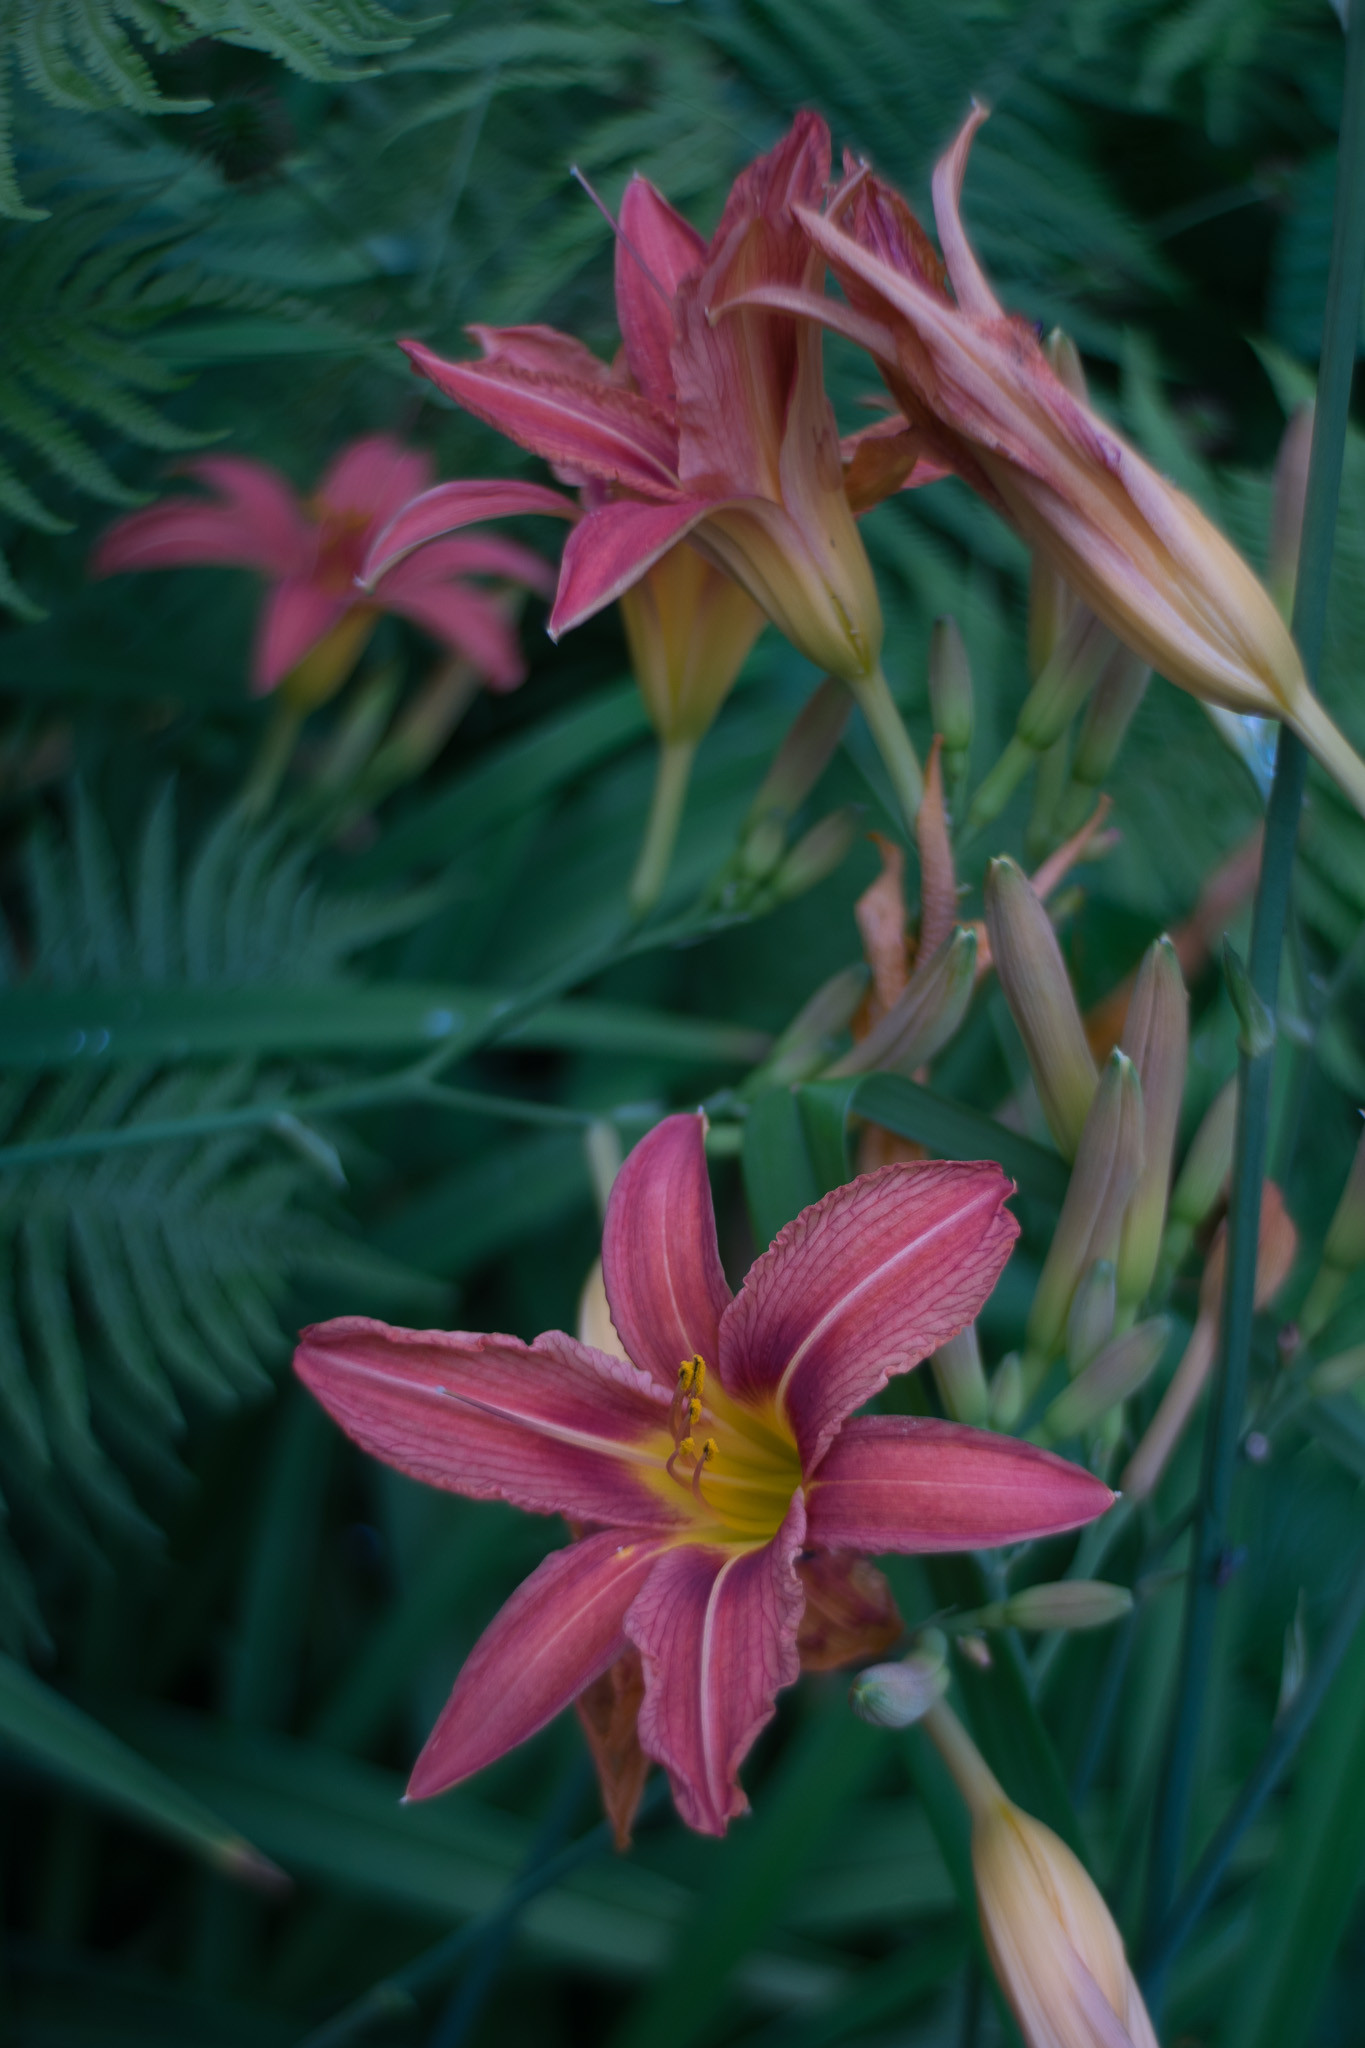
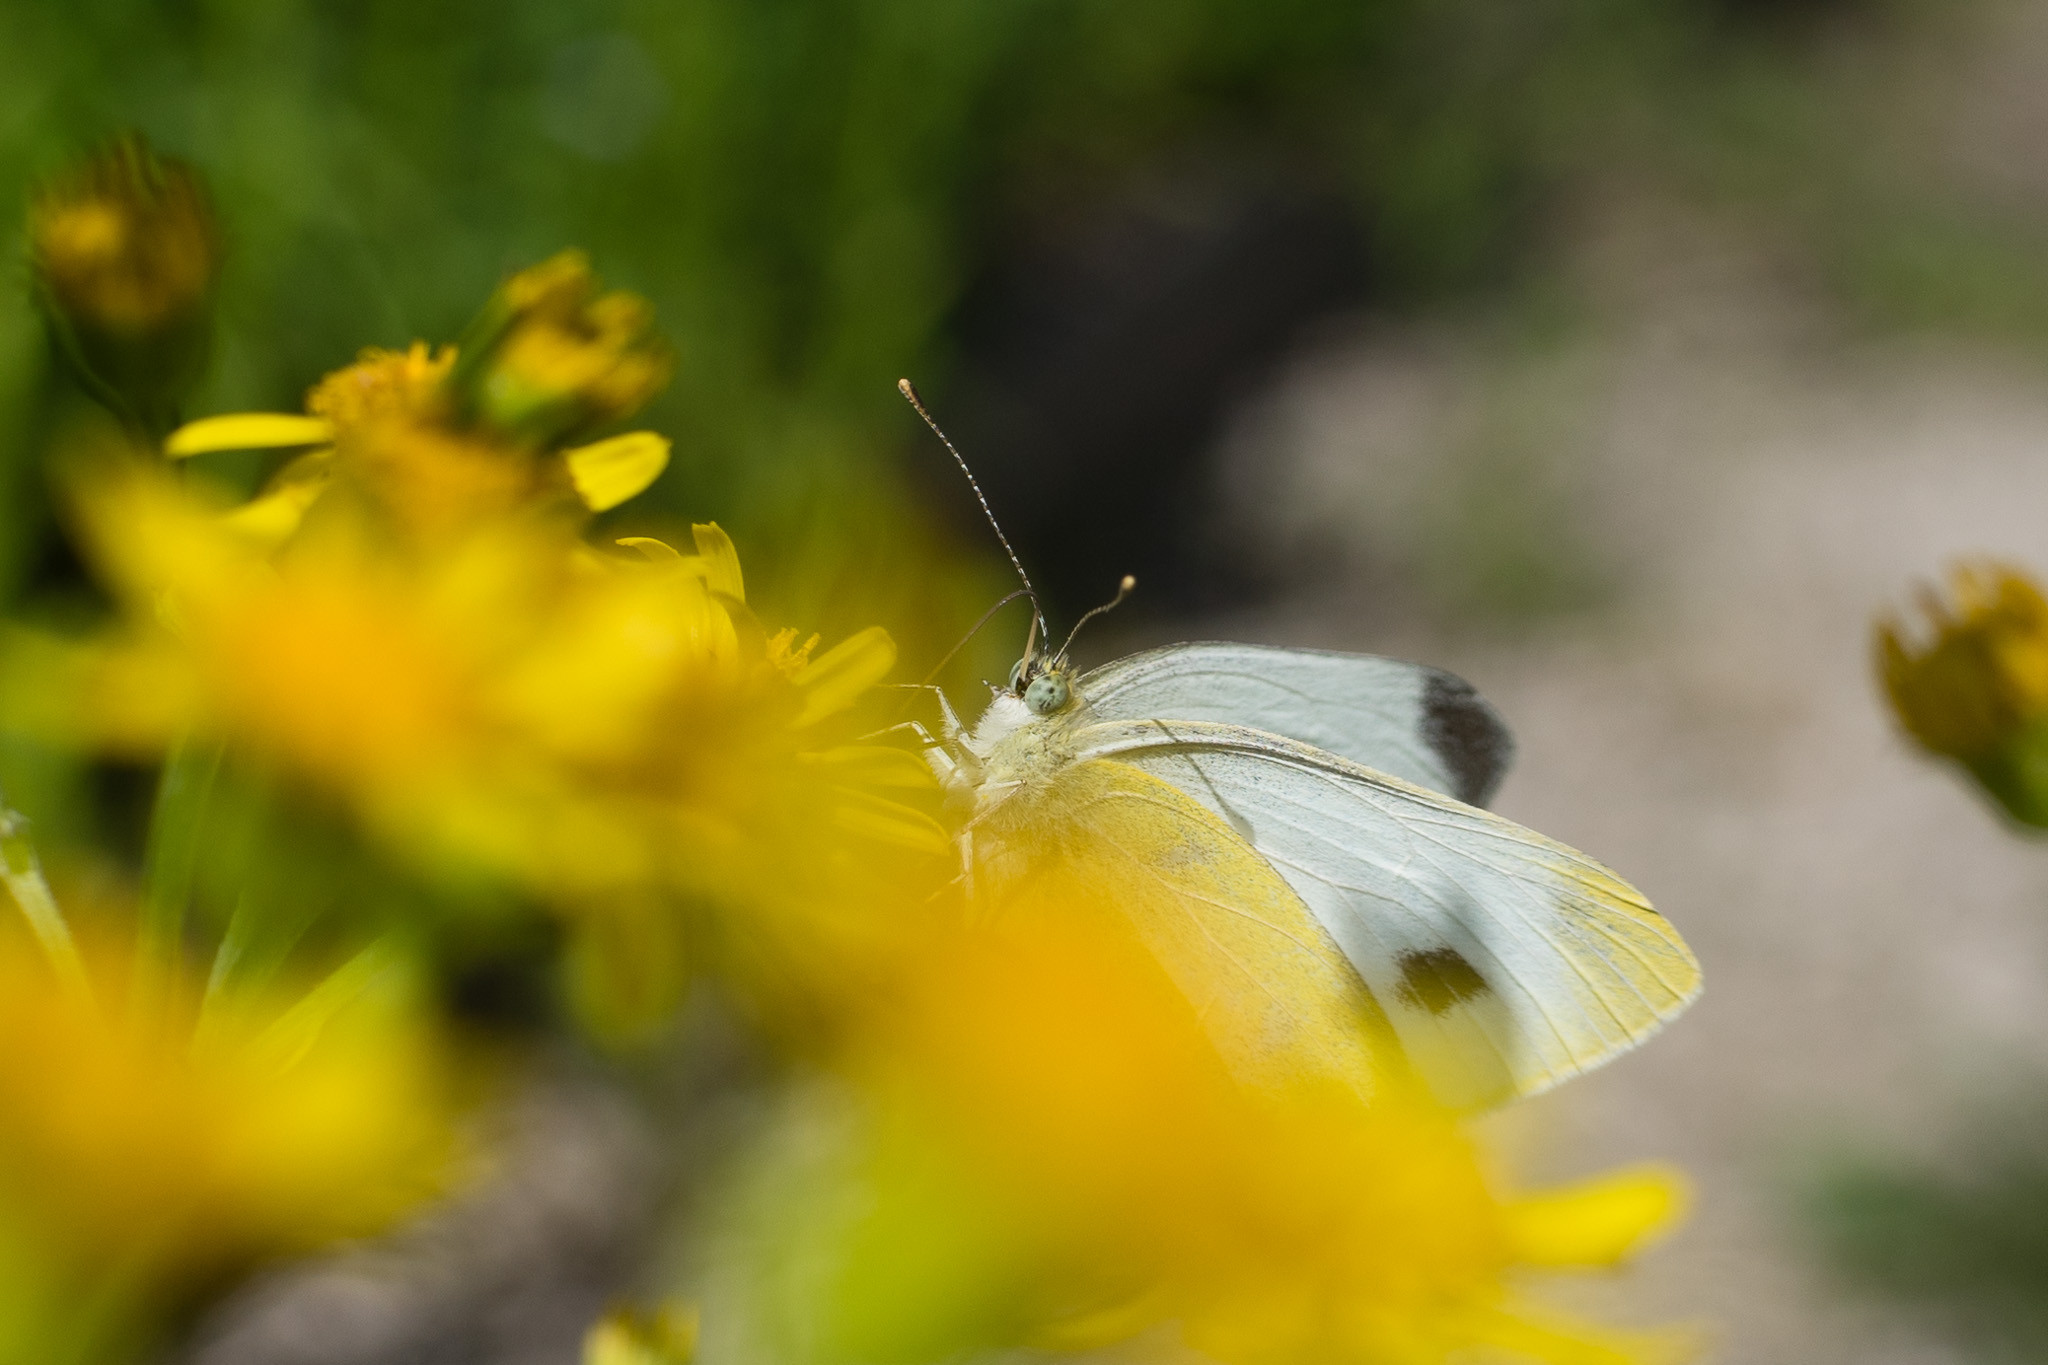
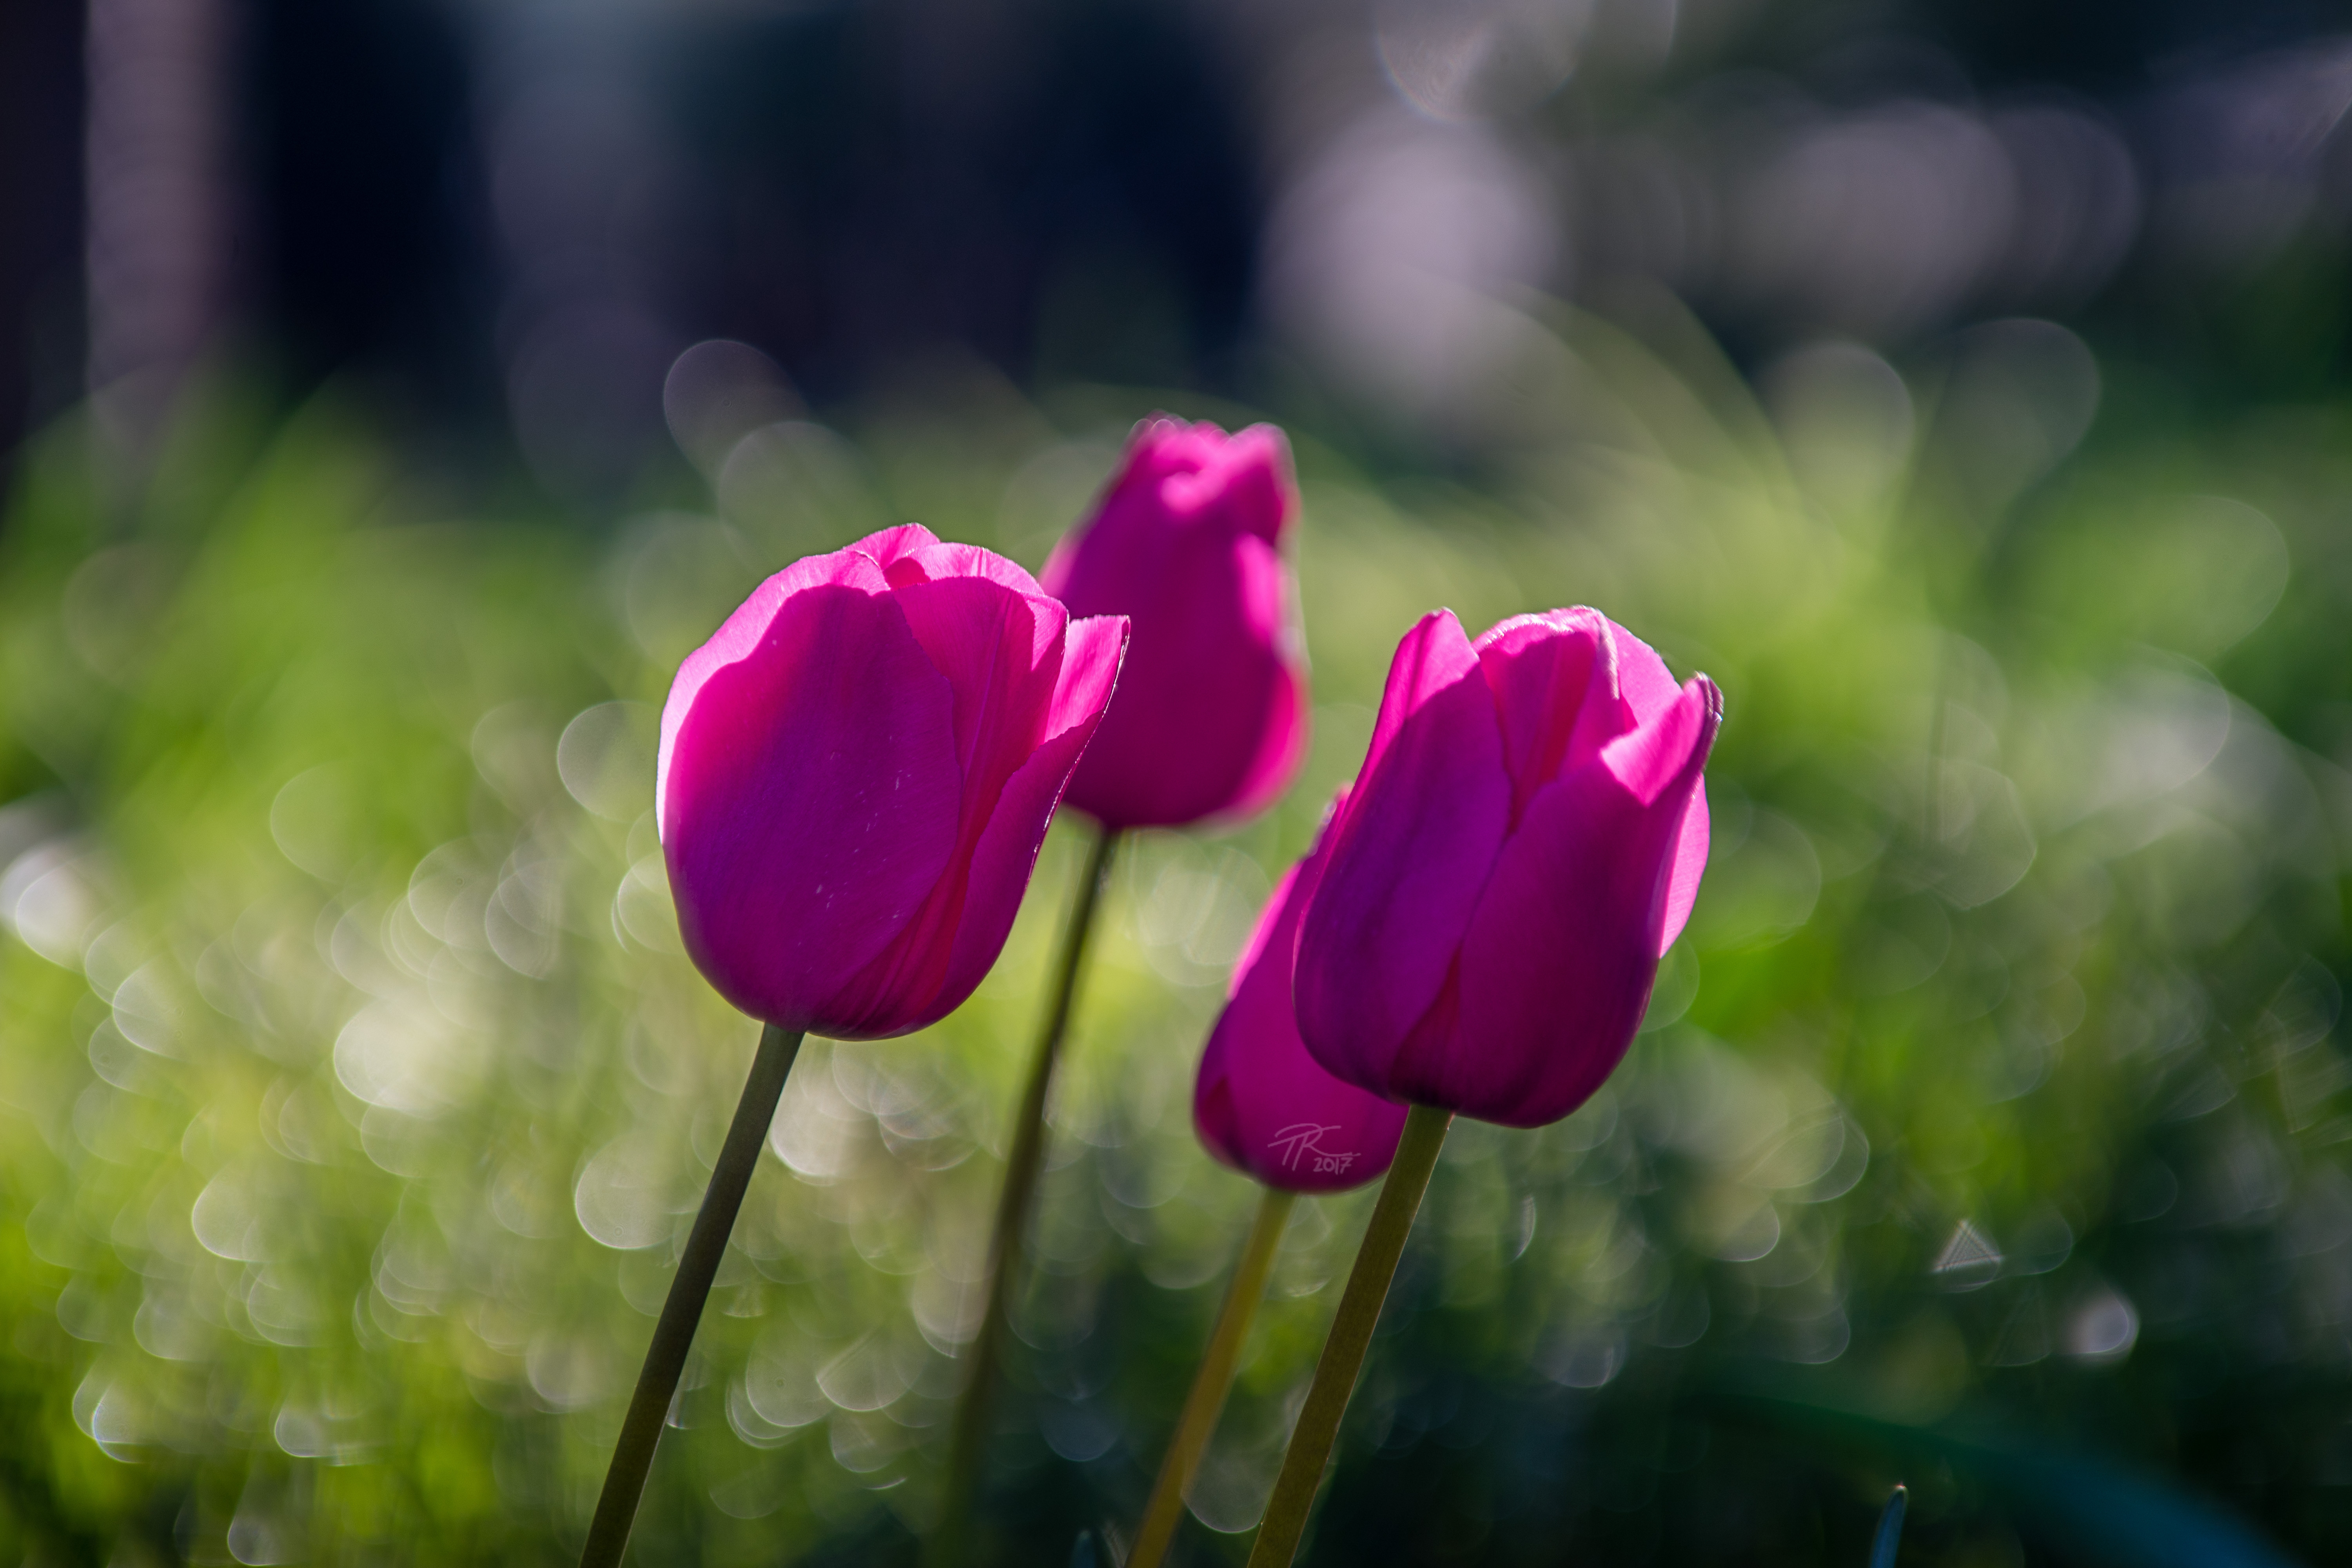
 Beautiful bokeh – processed sample
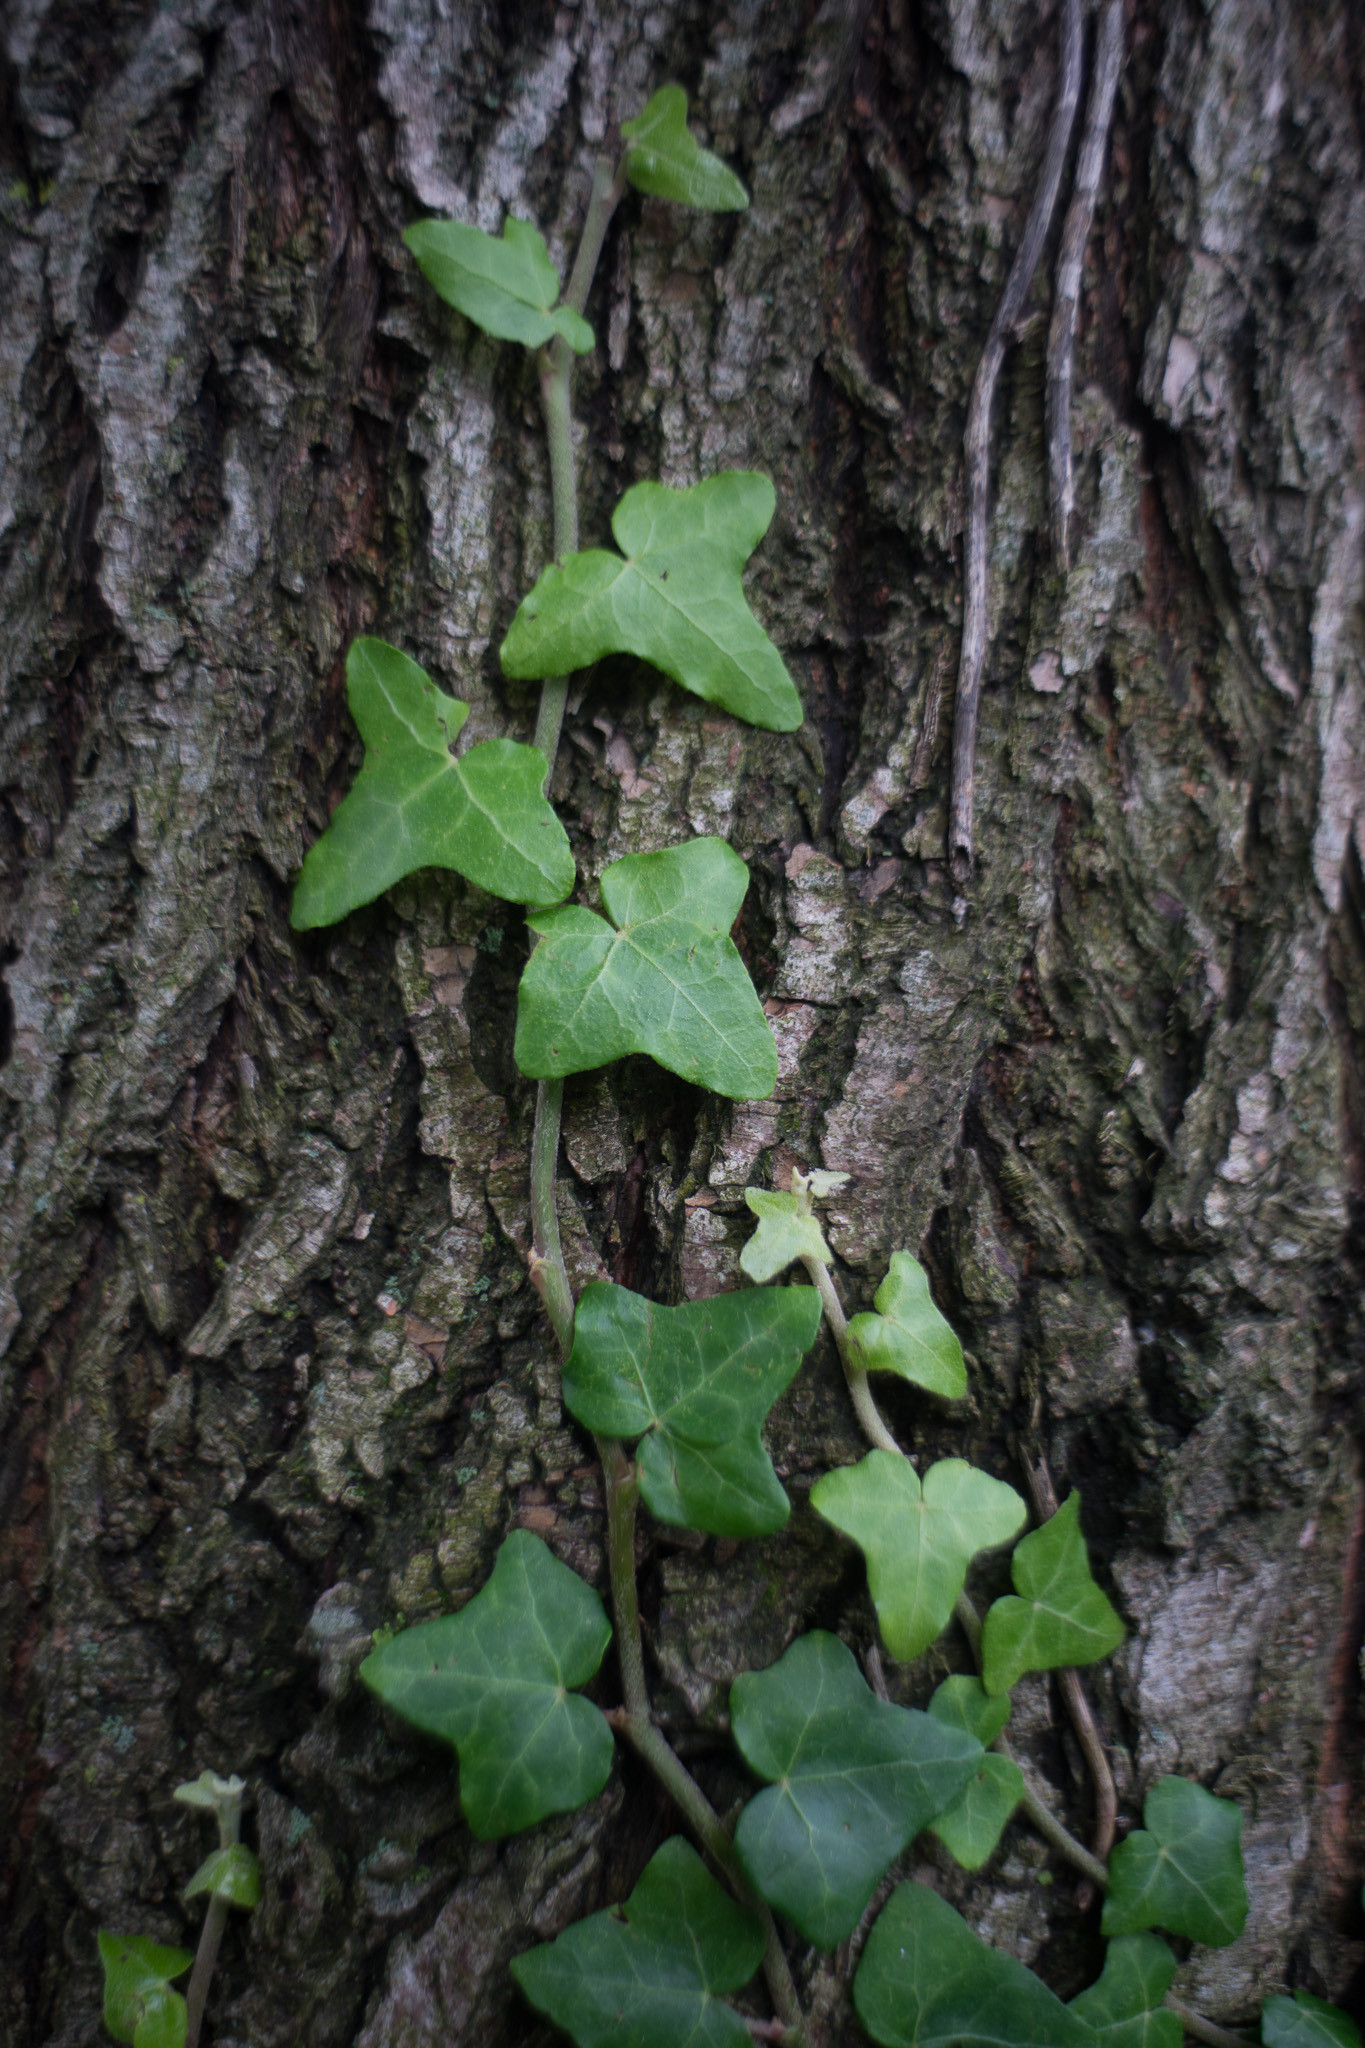
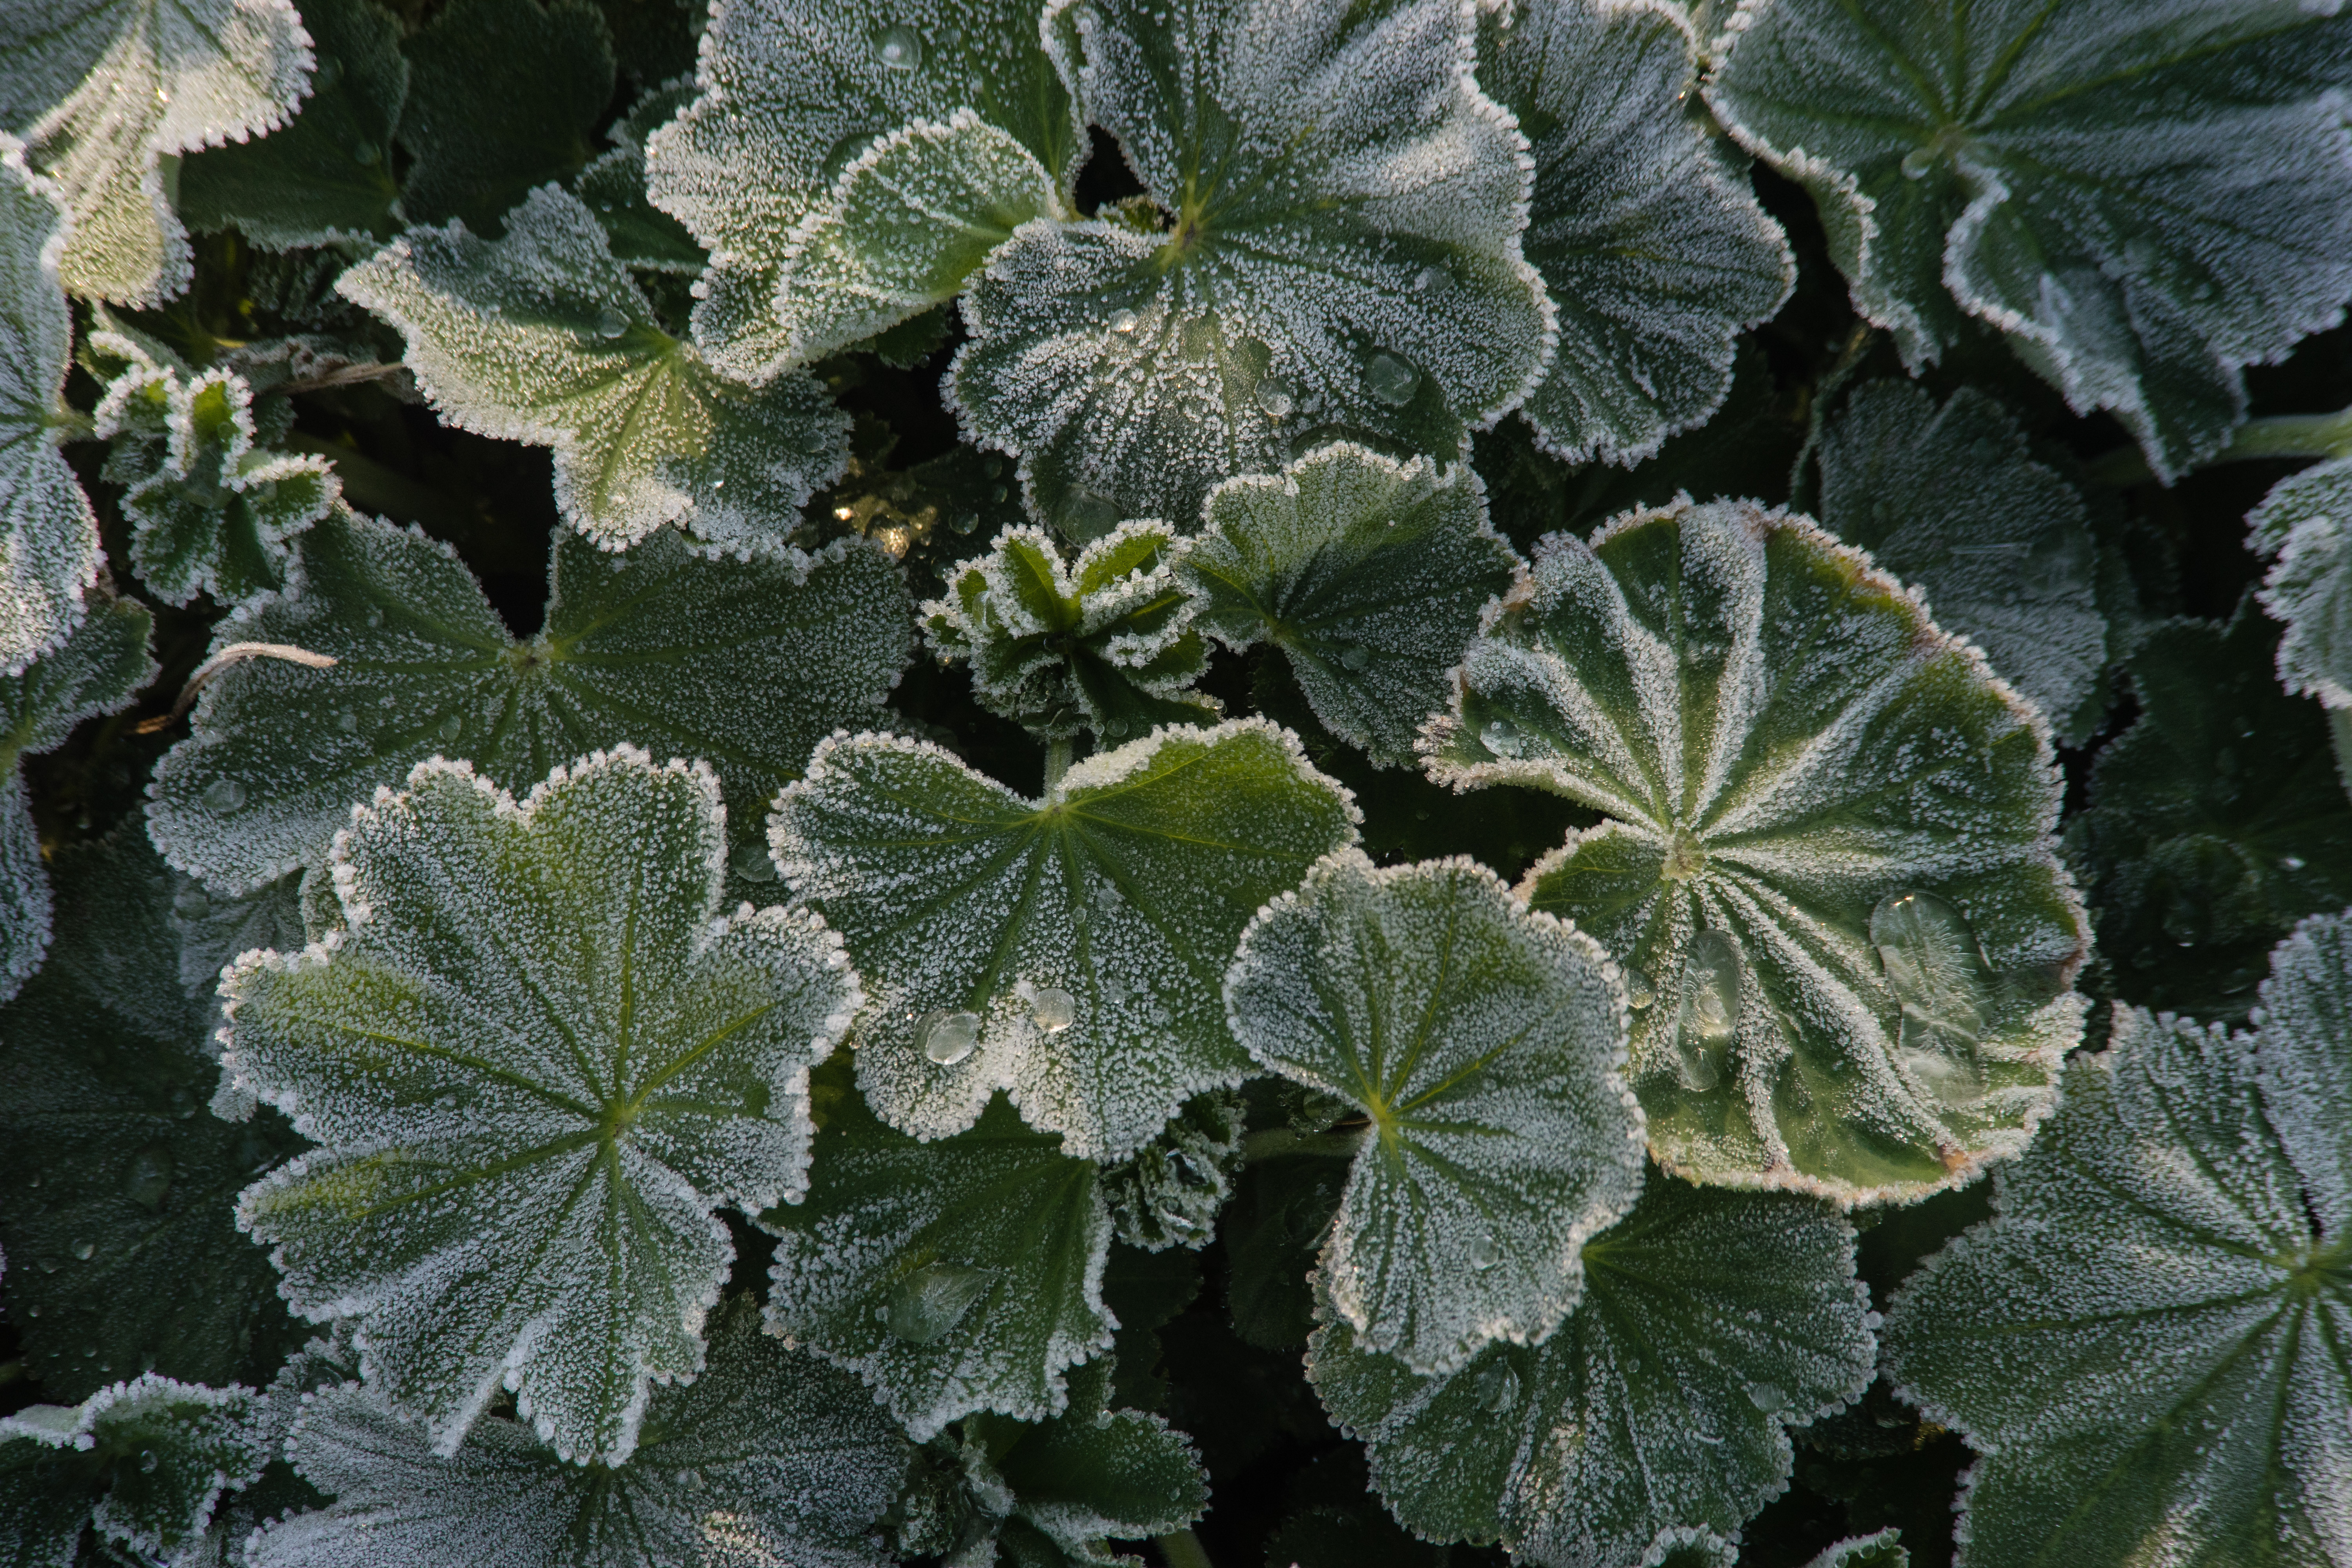
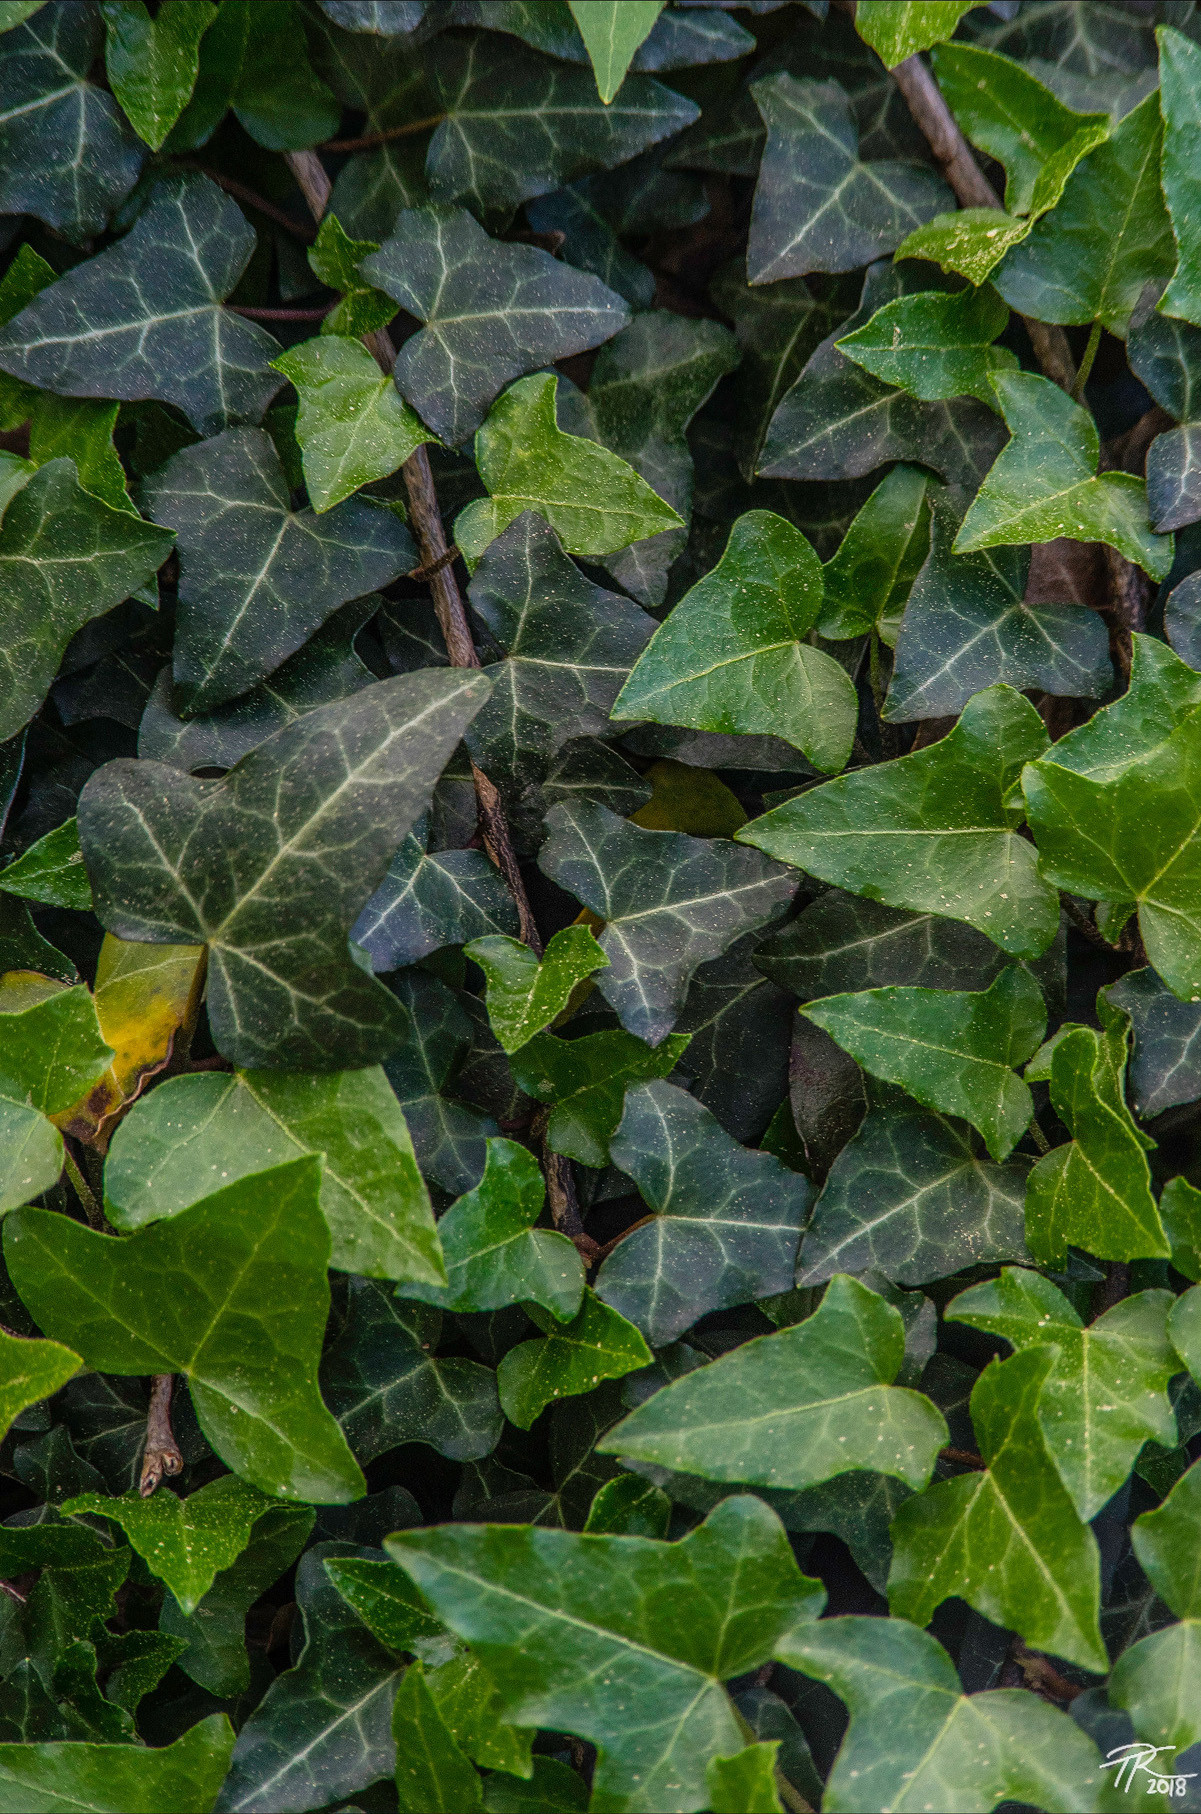 Efeu – processed sample
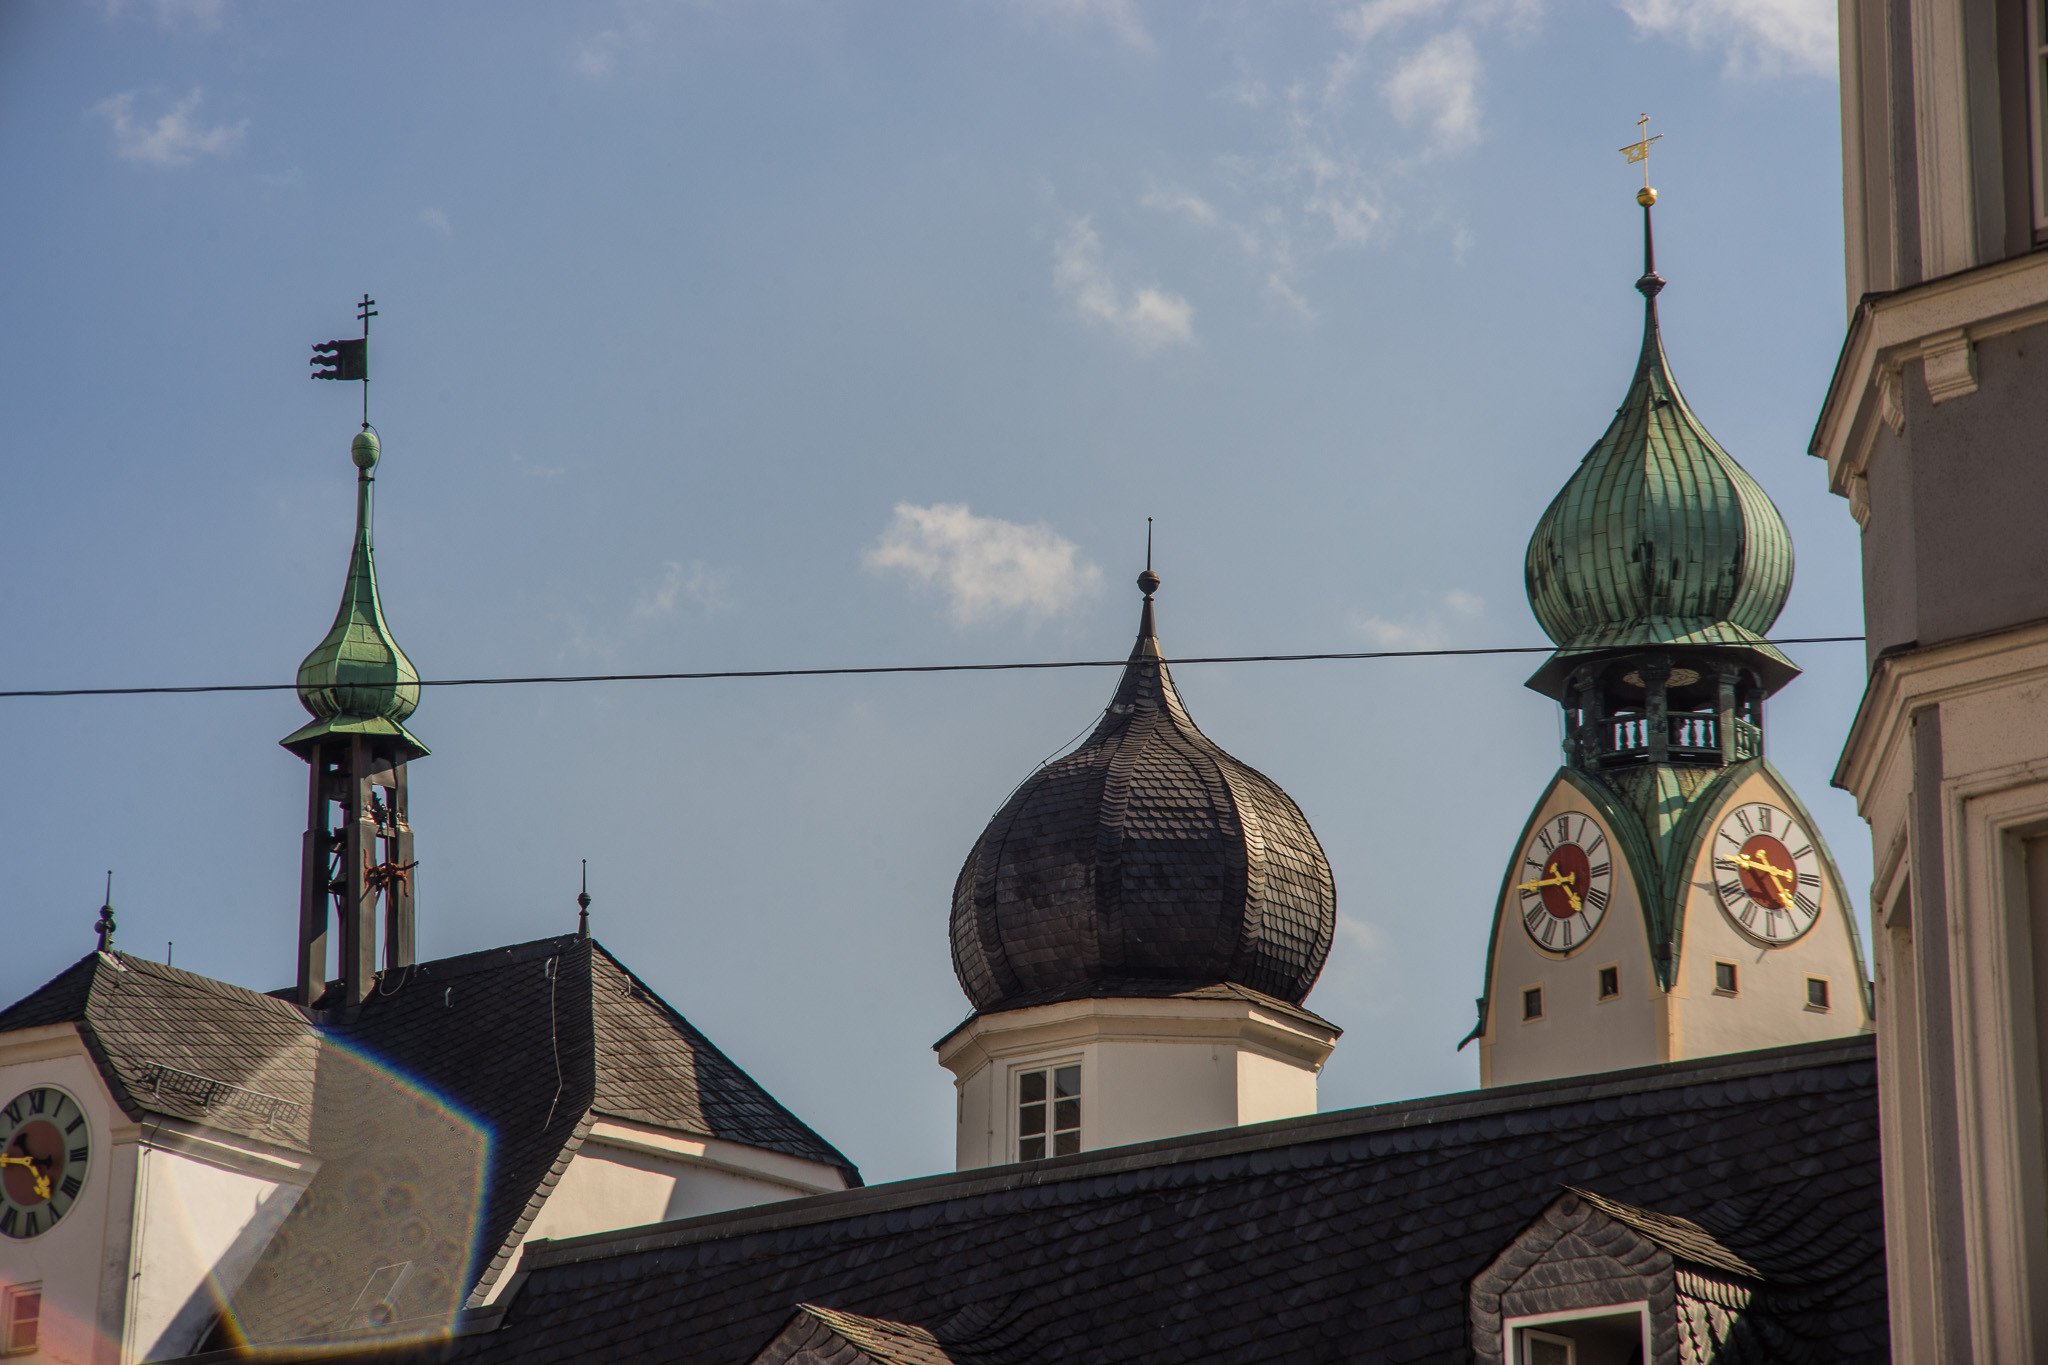 Lens flare sample
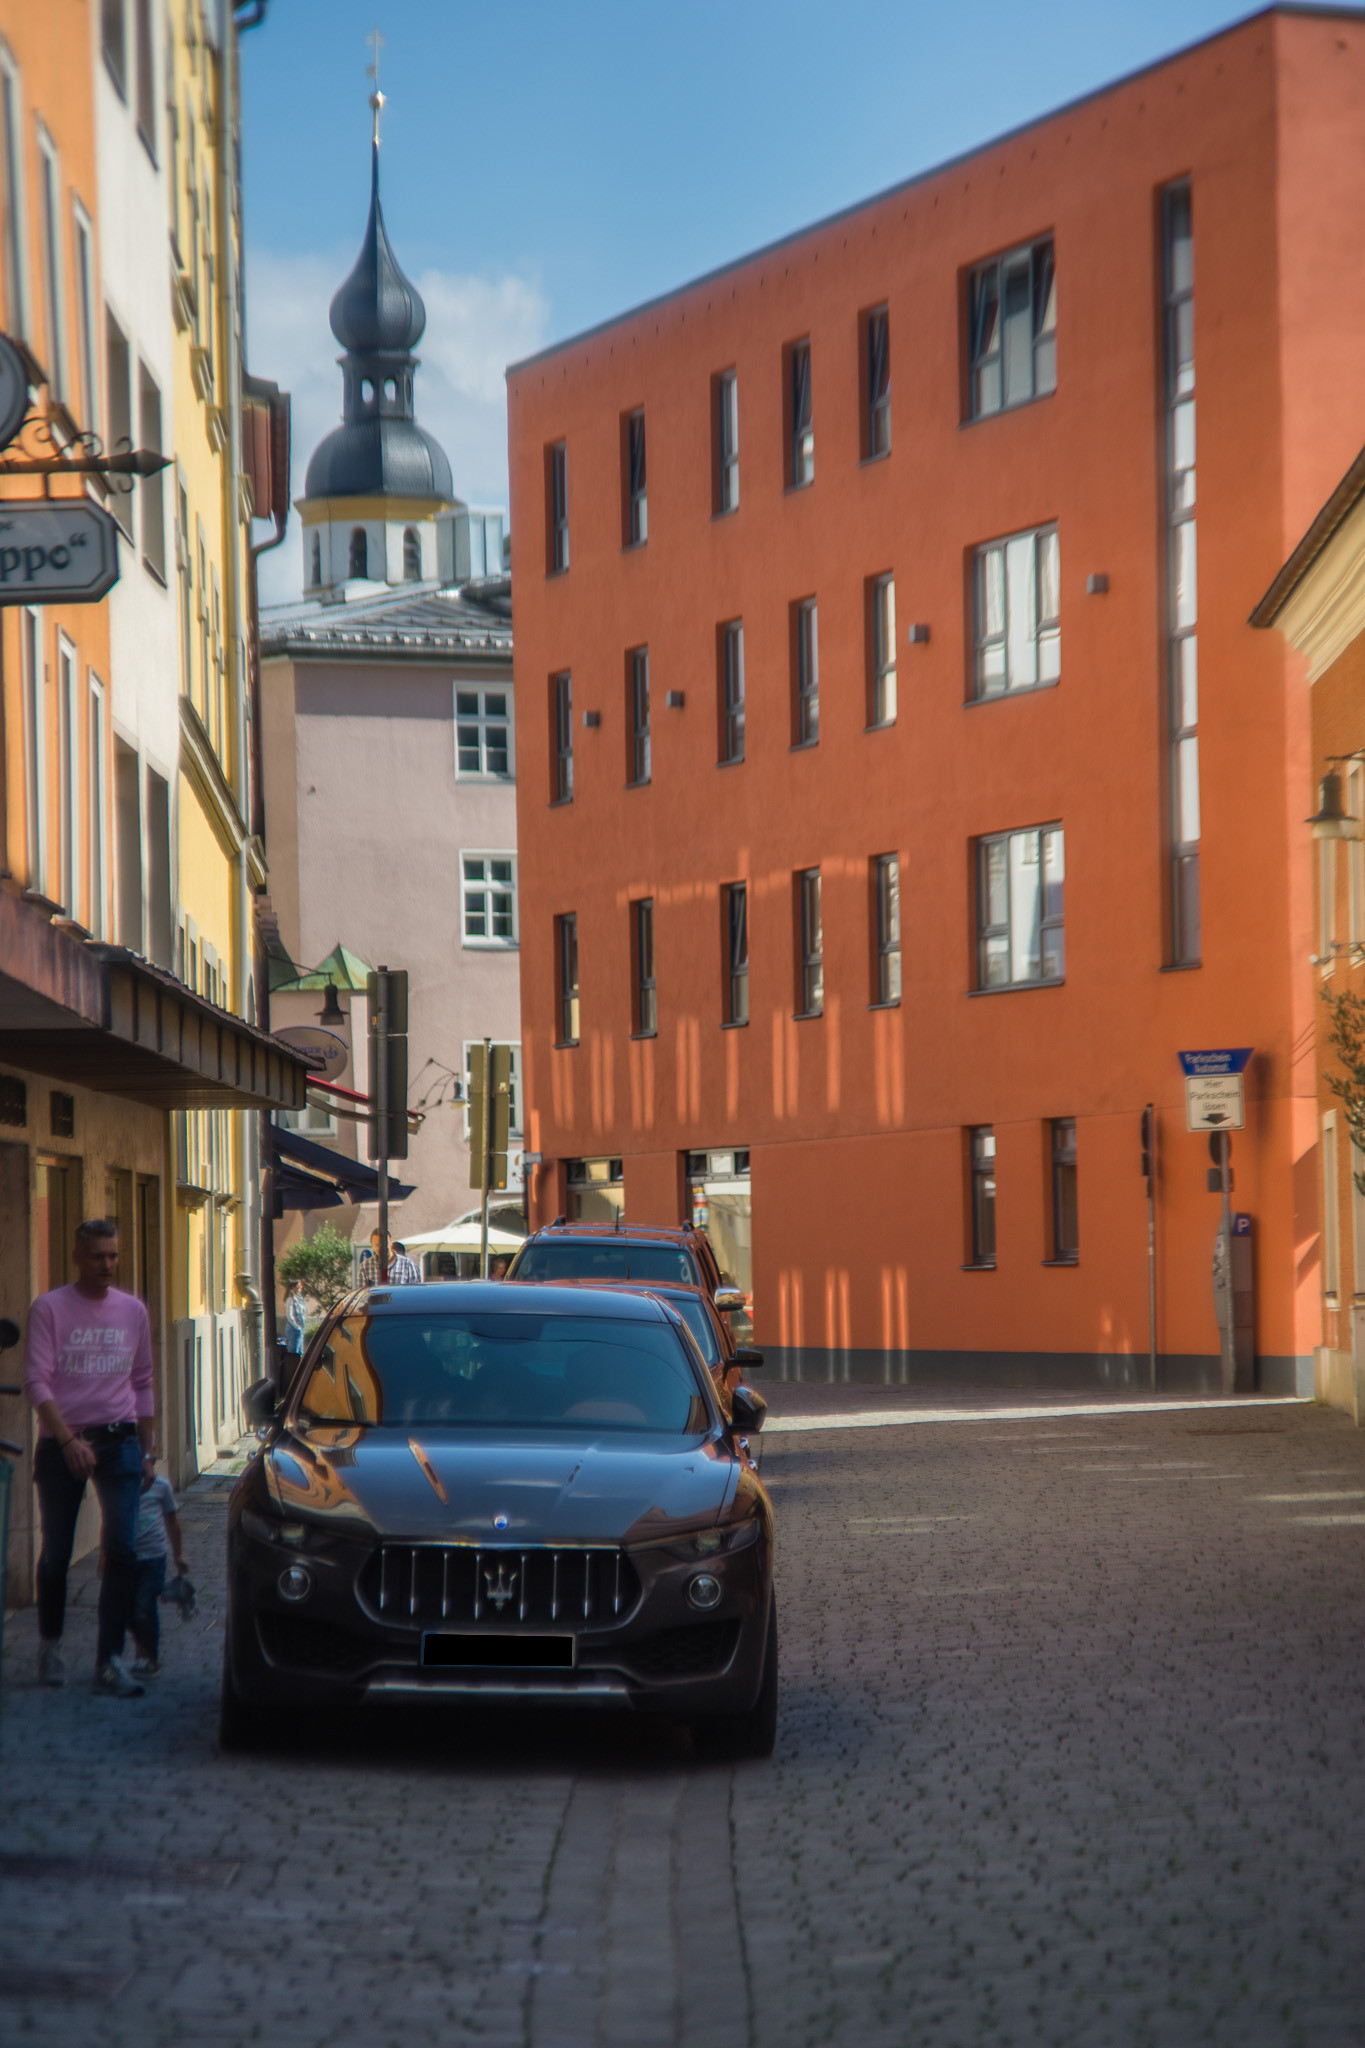 DSC04471 – processed sample
A limitation of the Pro Tessars is corner-to-corner sharpness on full-frame cameras; the far corners remain soft regardless of aperture. Additionally, those sensitive to lens flare and frequently shooting against bright light might encounter issues, as illustrated in the church tower shot.
Final Thoughts
Hopefully, this exploration has demonstrated the enduring quality of these Zeiss lenses, which hold their own even by contemporary standards. They offer beautiful, punchy colors, excellent center sharpness, pleasing contrast and micro-contrast, near-apochromatic performance, and are available at incredibly affordable prices – especially for Zeiss optics. For around the cost of 115 euros to dollars, or perhaps even less if you’re lucky, you can unlock a world of vintage Zeiss image quality.