
Euro Sham pillows are a fantastic way to elevate the look of any bedroom. These large, square pillows not only add a touch of luxury and sophistication but also provide extra comfort and support. If you’re looking to enhance your bedding arrangement with stylish accents, learning how to sew a euro sham pillow is a rewarding DIY project. Don’t worry if you’re new to sewing; this tutorial is designed for beginners and will guide you through each step to create beautiful euro shams for your home.
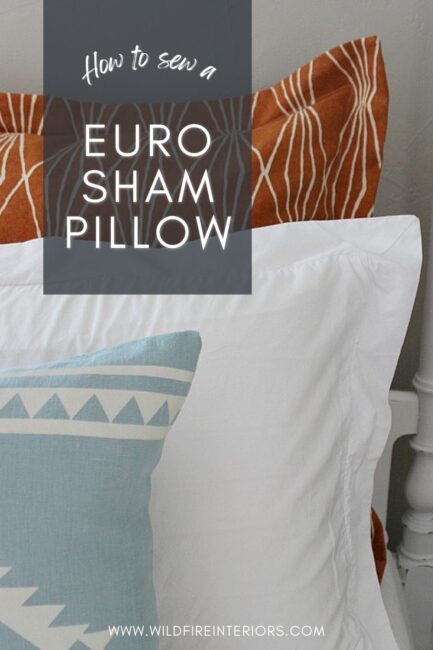 Close-up of a finished euro sham pillow showcasing its flange detail and fabric texture
Often used as decorative pillows at the back of a bed setup, euro shams are typically larger than standard pillows, commonly measuring 26 x 26 inches or 28 x 28 inches. They are incredibly versatile and can be customized to match any décor style, from modern minimalist to cozy farmhouse. The beauty of making your own euro sham pillows is the ability to choose your fabric and add personal touches, like flanges, to perfectly complement your bedroom aesthetic.
This tutorial will walk you through creating a euro sham pillow cover with an envelope closure and stylish flanges. The envelope closure makes it easy to insert and remove pillow forms for cleaning, while the flanges add a decorative border that enhances the pillow’s visual appeal. Even if you’re a novice sewer, you’ll find this project straightforward and satisfying. Let’s get started and transform your bedroom with custom-made euro sham pillows!
Materials You’ll Need to Sew Your Euro Sham
Before you begin, gather all the necessary supplies to ensure a smooth and enjoyable sewing experience. Here’s what you’ll need to create your euro sham pillow:
- Fabric: Choose a fabric that complements your home décor. Home décor fabric is recommended for its durability and thickness, but any fabric will work. For one pillow, you will need approximately 1 and 3/4 yards of fabric. Consider the fabric width when purchasing to ensure you have enough material.
- Sewing Machine: A reliable sewing machine is essential for this project.
- Matching Thread: Select thread that coordinates with your chosen fabric for a professional finish.
- Scissors or Rotary Cutter: For precise fabric cutting.
- Measuring Tape or Ruler: Accuracy is key in sewing, so a measuring tool is crucial.
- Iron and Ironing Board: For pressing seams and creating crisp folds.
- Pins: To hold fabric pieces together before sewing.
- Optional Flange Stiffeners: Plastic collar stays and fabric glue can be used to create perky, well-defined flanges.
- Euro Sham Pillow Insert: Choose a pillow insert that is slightly larger than your finished pillow cover for a plump and full look. For a 28×28 inch euro sham cover, a 28×28 inch or 30×30 inch insert is recommended.
Step-by-Step Guide: Sewing Your Euro Sham Pillow Cover
Now, let’s move on to the sewing process. Follow these detailed steps to create your own beautiful euro sham pillow cover:
Step 1: Cutting the Fabric for Your Euro Sham
Precise cutting is crucial for a well-fitted euro sham cover. For each pillow cover, you will need to cut three pieces of fabric:
- One Square: Cut a 29 x 29-inch square. This will be the front piece of your euro sham.
- Two Rectangles (for envelope closure): Cut two 29 x 24-inch rectangles. These will form the back envelope closure of your pillow cover.
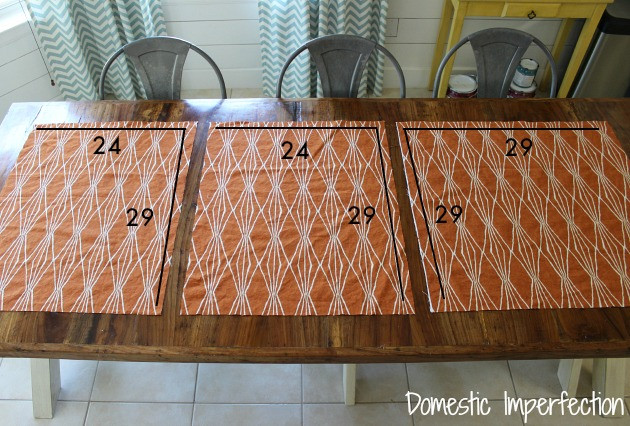 Fabric pieces cut for sewing a euro sham pillow cover, including a square and two rectangles
Ensure your cuts are straight and accurate for a professional-looking finish. Using a rotary cutter and a cutting mat can help achieve precise cuts, but sharp scissors will also work well.
Step 2: Sewing the Envelope Closure Edges
The envelope closure makes it easy to remove and insert the pillow form. To create a clean edge for the closure:
- Take one of the 29 x 24-inch rectangular pieces. Fold over one of the long edges by about 1/2 inch to 1 inch towards the wrong side of the fabric. Press this fold with an iron to create a crisp crease.
- Fold over the same edge again by the same amount (1/2 inch to 1 inch) to encase the raw edge. Press again with the iron.
- Sew along the folded edge, close to the inner fold, to create a neat hem.
- Repeat steps 1-3 for the other 29 x 24-inch rectangular piece, hemming one long edge.
These hemmed edges will overlap to form the envelope closure at the back of your euro sham pillow cover.
Step 3: Assembling the Euro Sham Pillow Cover
Now, it’s time to assemble the three fabric pieces to form the pillow cover:
- Place the 29 x 29-inch square piece right side up on your work surface.
- Lay one of the 29 x 24-inch rectangles right side down on top of the square, aligning one unhemmed long edge with the top edge of the square.
- Place the second 29 x 24-inch rectangle right side down on top, overlapping the first rectangle. The hemmed edges should be towards the center of the square, creating the envelope closure. Ensure all raw edges are aligned with the square piece.
- Pin all three layers together securely around all four edges to prevent shifting during sewing.
 Pinned fabric layers for a euro sham pillow cover, ready for sewing around the edges
- Sew around all four edges of the pinned fabric sandwich with a 1/2-inch seam allowance. Backstitch at the beginning and end of each seam to secure the stitching.
- Clip the corners of the sewn square to reduce bulk when you turn the pillow cover right side out. Be careful not to clip too close to the seam.
If you prefer a simple euro sham without flanges, you can turn the cover right side out at this point, press the seams, and your basic euro sham cover is complete!
Step 4: Adding Flanges for a Decorative Touch (Optional)
To add flanges and create a more decorative euro sham pillow:
- Turn your sewn pillow cover right side out. Use a point turner or a knitting needle to gently push out the corners and make them sharp.
- Press the seams of the pillow cover flat.
- On the right side of the pillow cover, measure and mark a line 2 inches in from each edge, all the way around the square. You can use a fabric marker or pins to mark this line.
 Marking a two-inch flange border around the edge of a euro sham pillow cover
- Optional Flange Stiffening: For perky flanges, insert plastic collar stays inside the flange area. Apply fabric glue to both sides of a collar stay and position it just inside the marked 2-inch line, along the inner edge of the flange. Let the glue dry completely. Repeat this process for all four sides.
- Sew along the marked lines, creating the flange. Sew slowly and carefully to ensure a straight and even flange border.
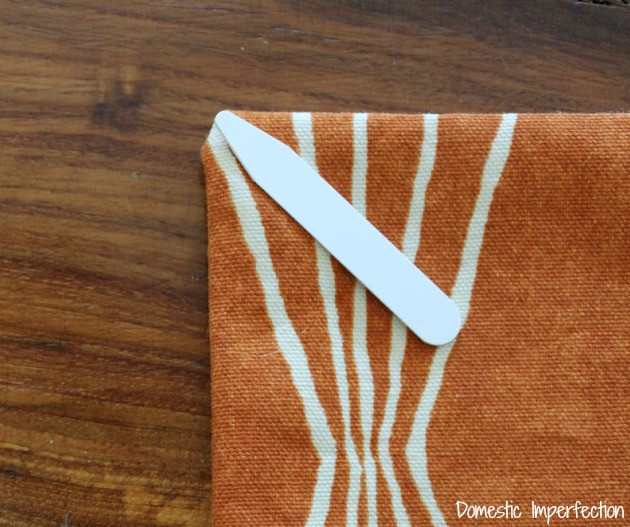 Close-up of perky flanges on a euro sham pillow, achieved with collar stays
Step 5: Inserting the Pillow Form and Finishing Your Euro Sham
The final step is to insert the pillow form and admire your finished euro sham:
- Open the envelope closure at the back of the pillow cover.
- Insert your euro sham pillow form, ensuring it fills the corners and creates a plump appearance. Remember, using a slightly larger insert than the cover size will result in a fuller, more luxurious-looking pillow.
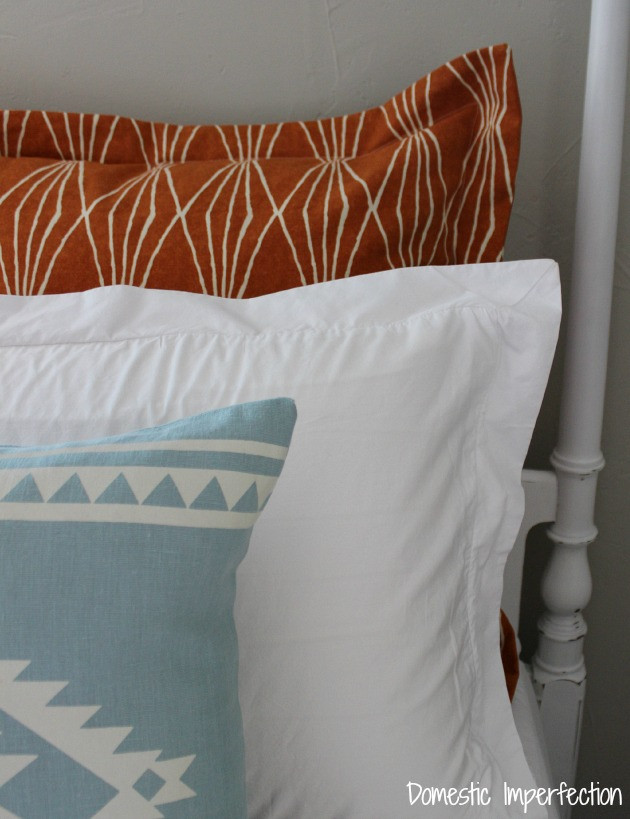 Finished euro sham pillows in blue and orange, showcasing flange detail and fabric choice
- Arrange your new euro sham pillows on your bed, sofa, or favorite seating area and enjoy the touch of elegance and comfort they bring to your space!
Tips for Perfect Euro Shams
- Oversized Inserts are Key: Always use pillow inserts that are slightly larger than your pillow cover dimensions for a full and firm look. This prevents saggy corners and ensures your euro sham looks professionally made.
- Fabric Choice Matters: Consider the weight and texture of your fabric. Home décor fabrics are durable and hold their shape well, making them ideal for euro shams. However, lighter fabrics can also work beautifully, depending on the desired style.
- Achieving Stiff Flanges: For flanges that stand up nicely, the collar stay trick is a game-changer. It prevents floppy flanges and adds a crisp, tailored look to your euro sham pillows.
- Press as You Sew: Ironing seams flat at each step makes a significant difference in the final appearance of your euro sham. Pressed seams are neater and make sewing subsequent steps easier.
Congratulations! You’ve successfully sewn your own euro sham pillow cover. With a few simple steps and basic sewing skills, you can create custom euro shams that perfectly match your décor and add a touch of sophistication to your home. Enjoy your beautiful, handmade creations!